
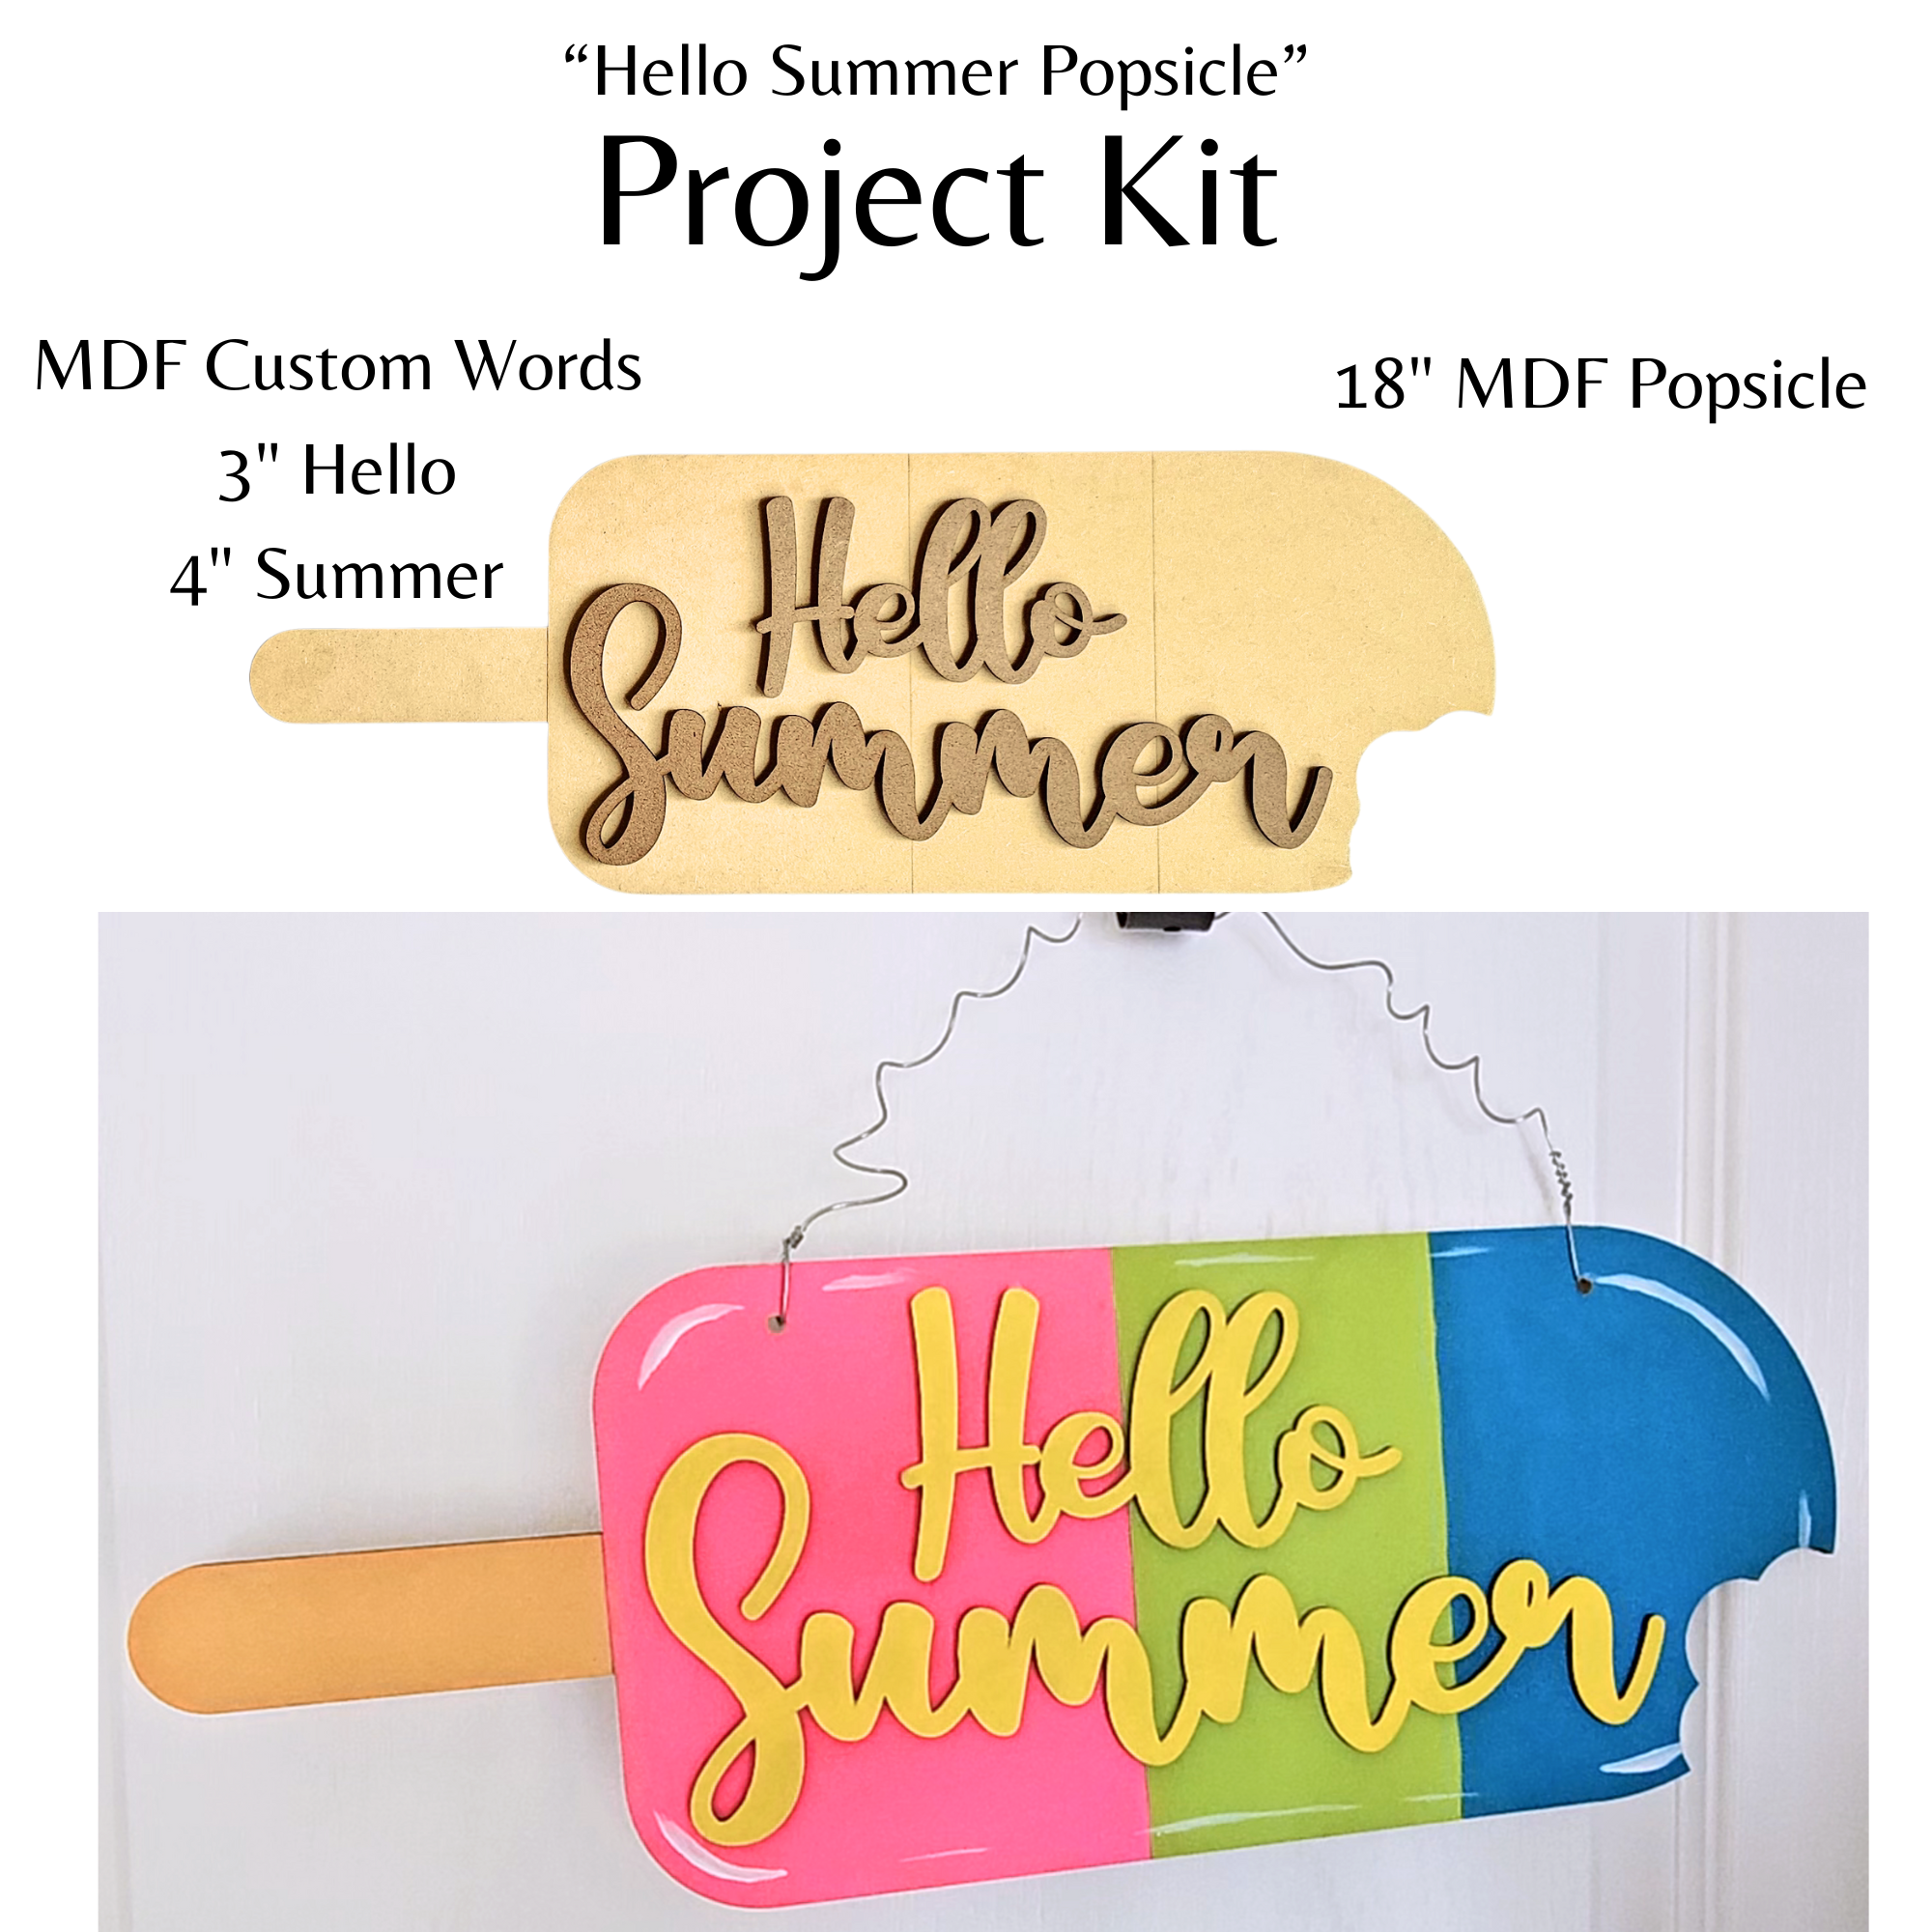
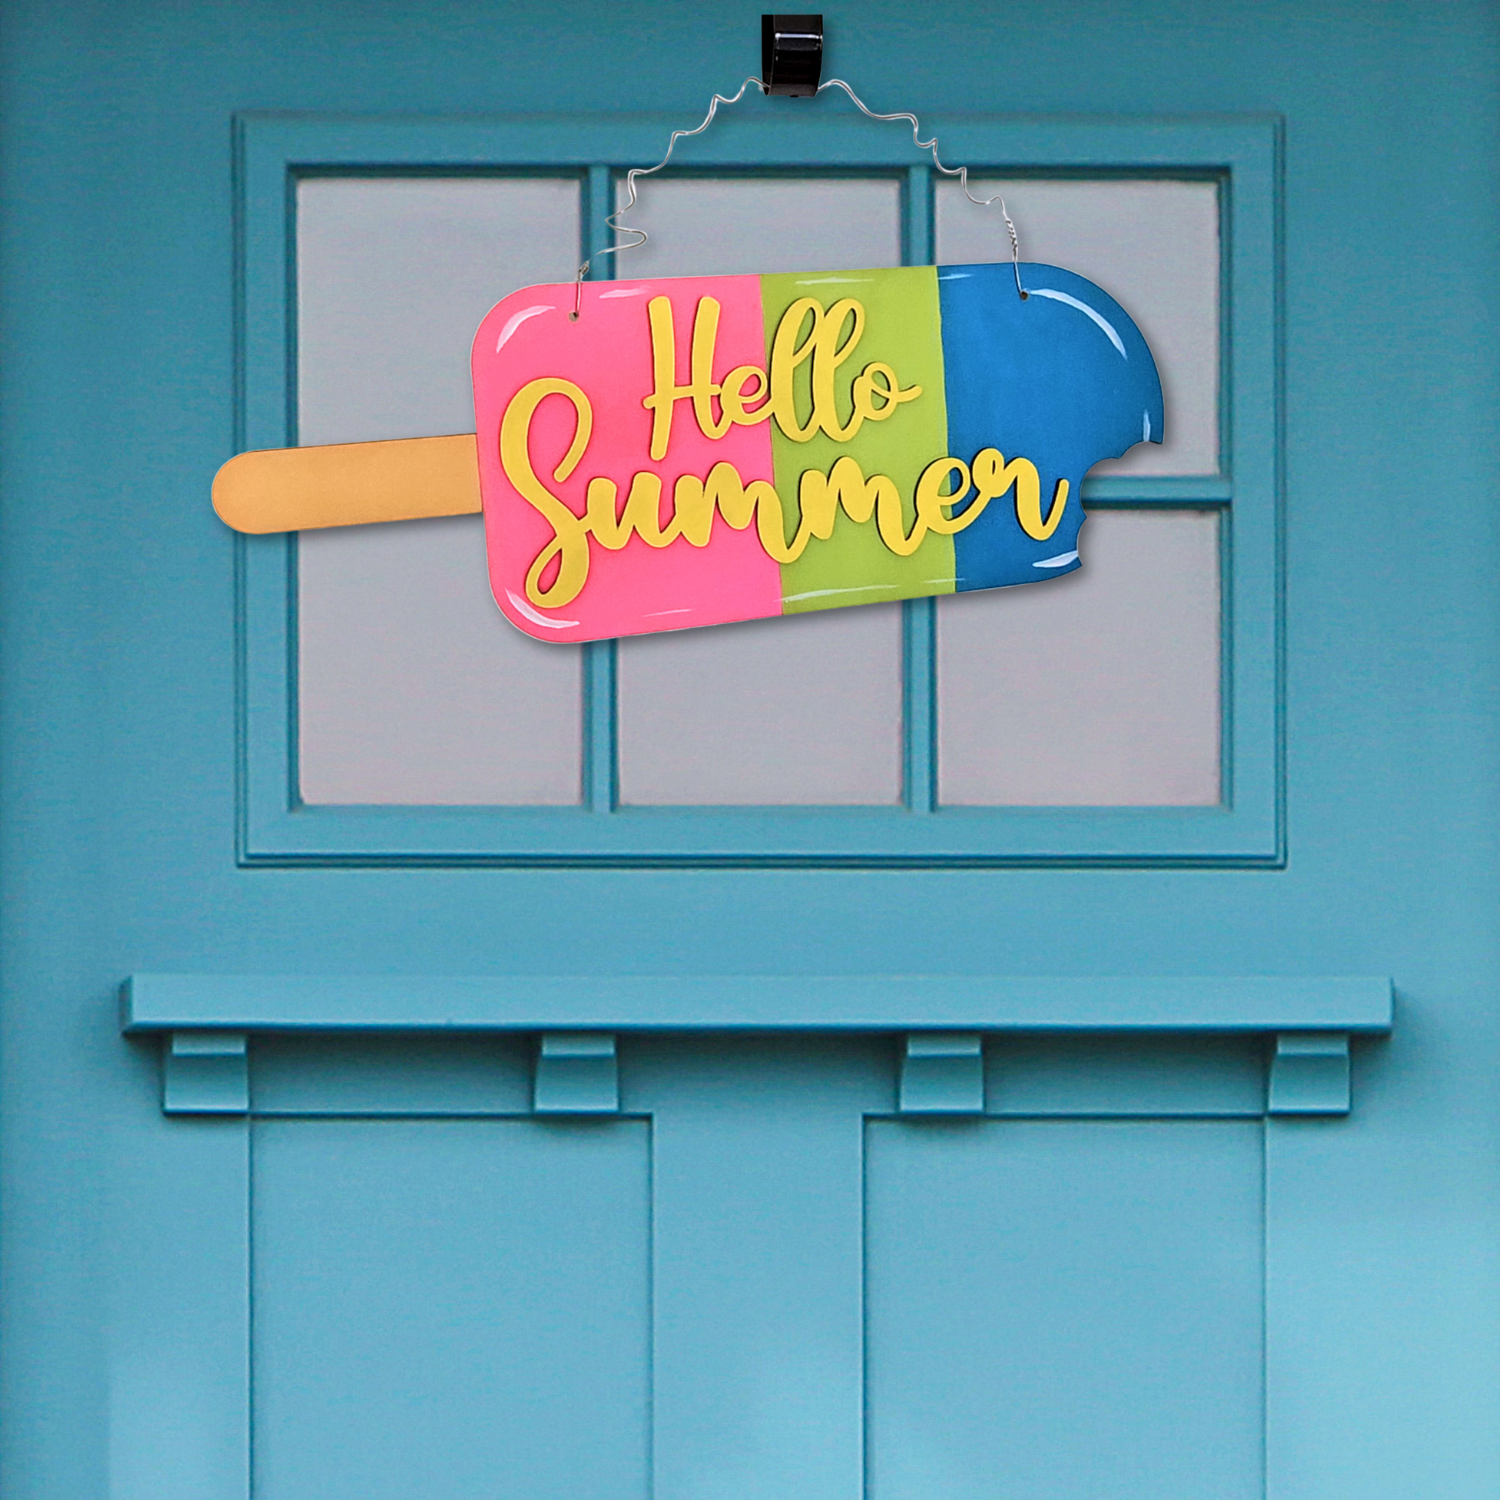
Hello Summer Popsicle Door Hanger
Summer is here with this 18" Hello Summer Popsicle Door Hanger. Customize it with the colors that make you feel that summer joy.

This kit includes all of the wood pieces you will need to create the project shown. View the photos and video to learn how to create this awesome DIY craft project.
MATERIALS
Kit Includes:
(1) 18" MDF Popsicle
(1) "Hello" in 3" font Catalina
(1) "Summer" in 4" font Catalina
You will also need:
- pliers (if using wire)
- three paint colors for the popsicle layers
- combination of peach, orange, tan, or yellow paint colors for the stick
- craft glue
- string or wire for the hanger
- varnish/sealer
- drill with 3/8" drill bit or similar size

LET'S GET STARTED
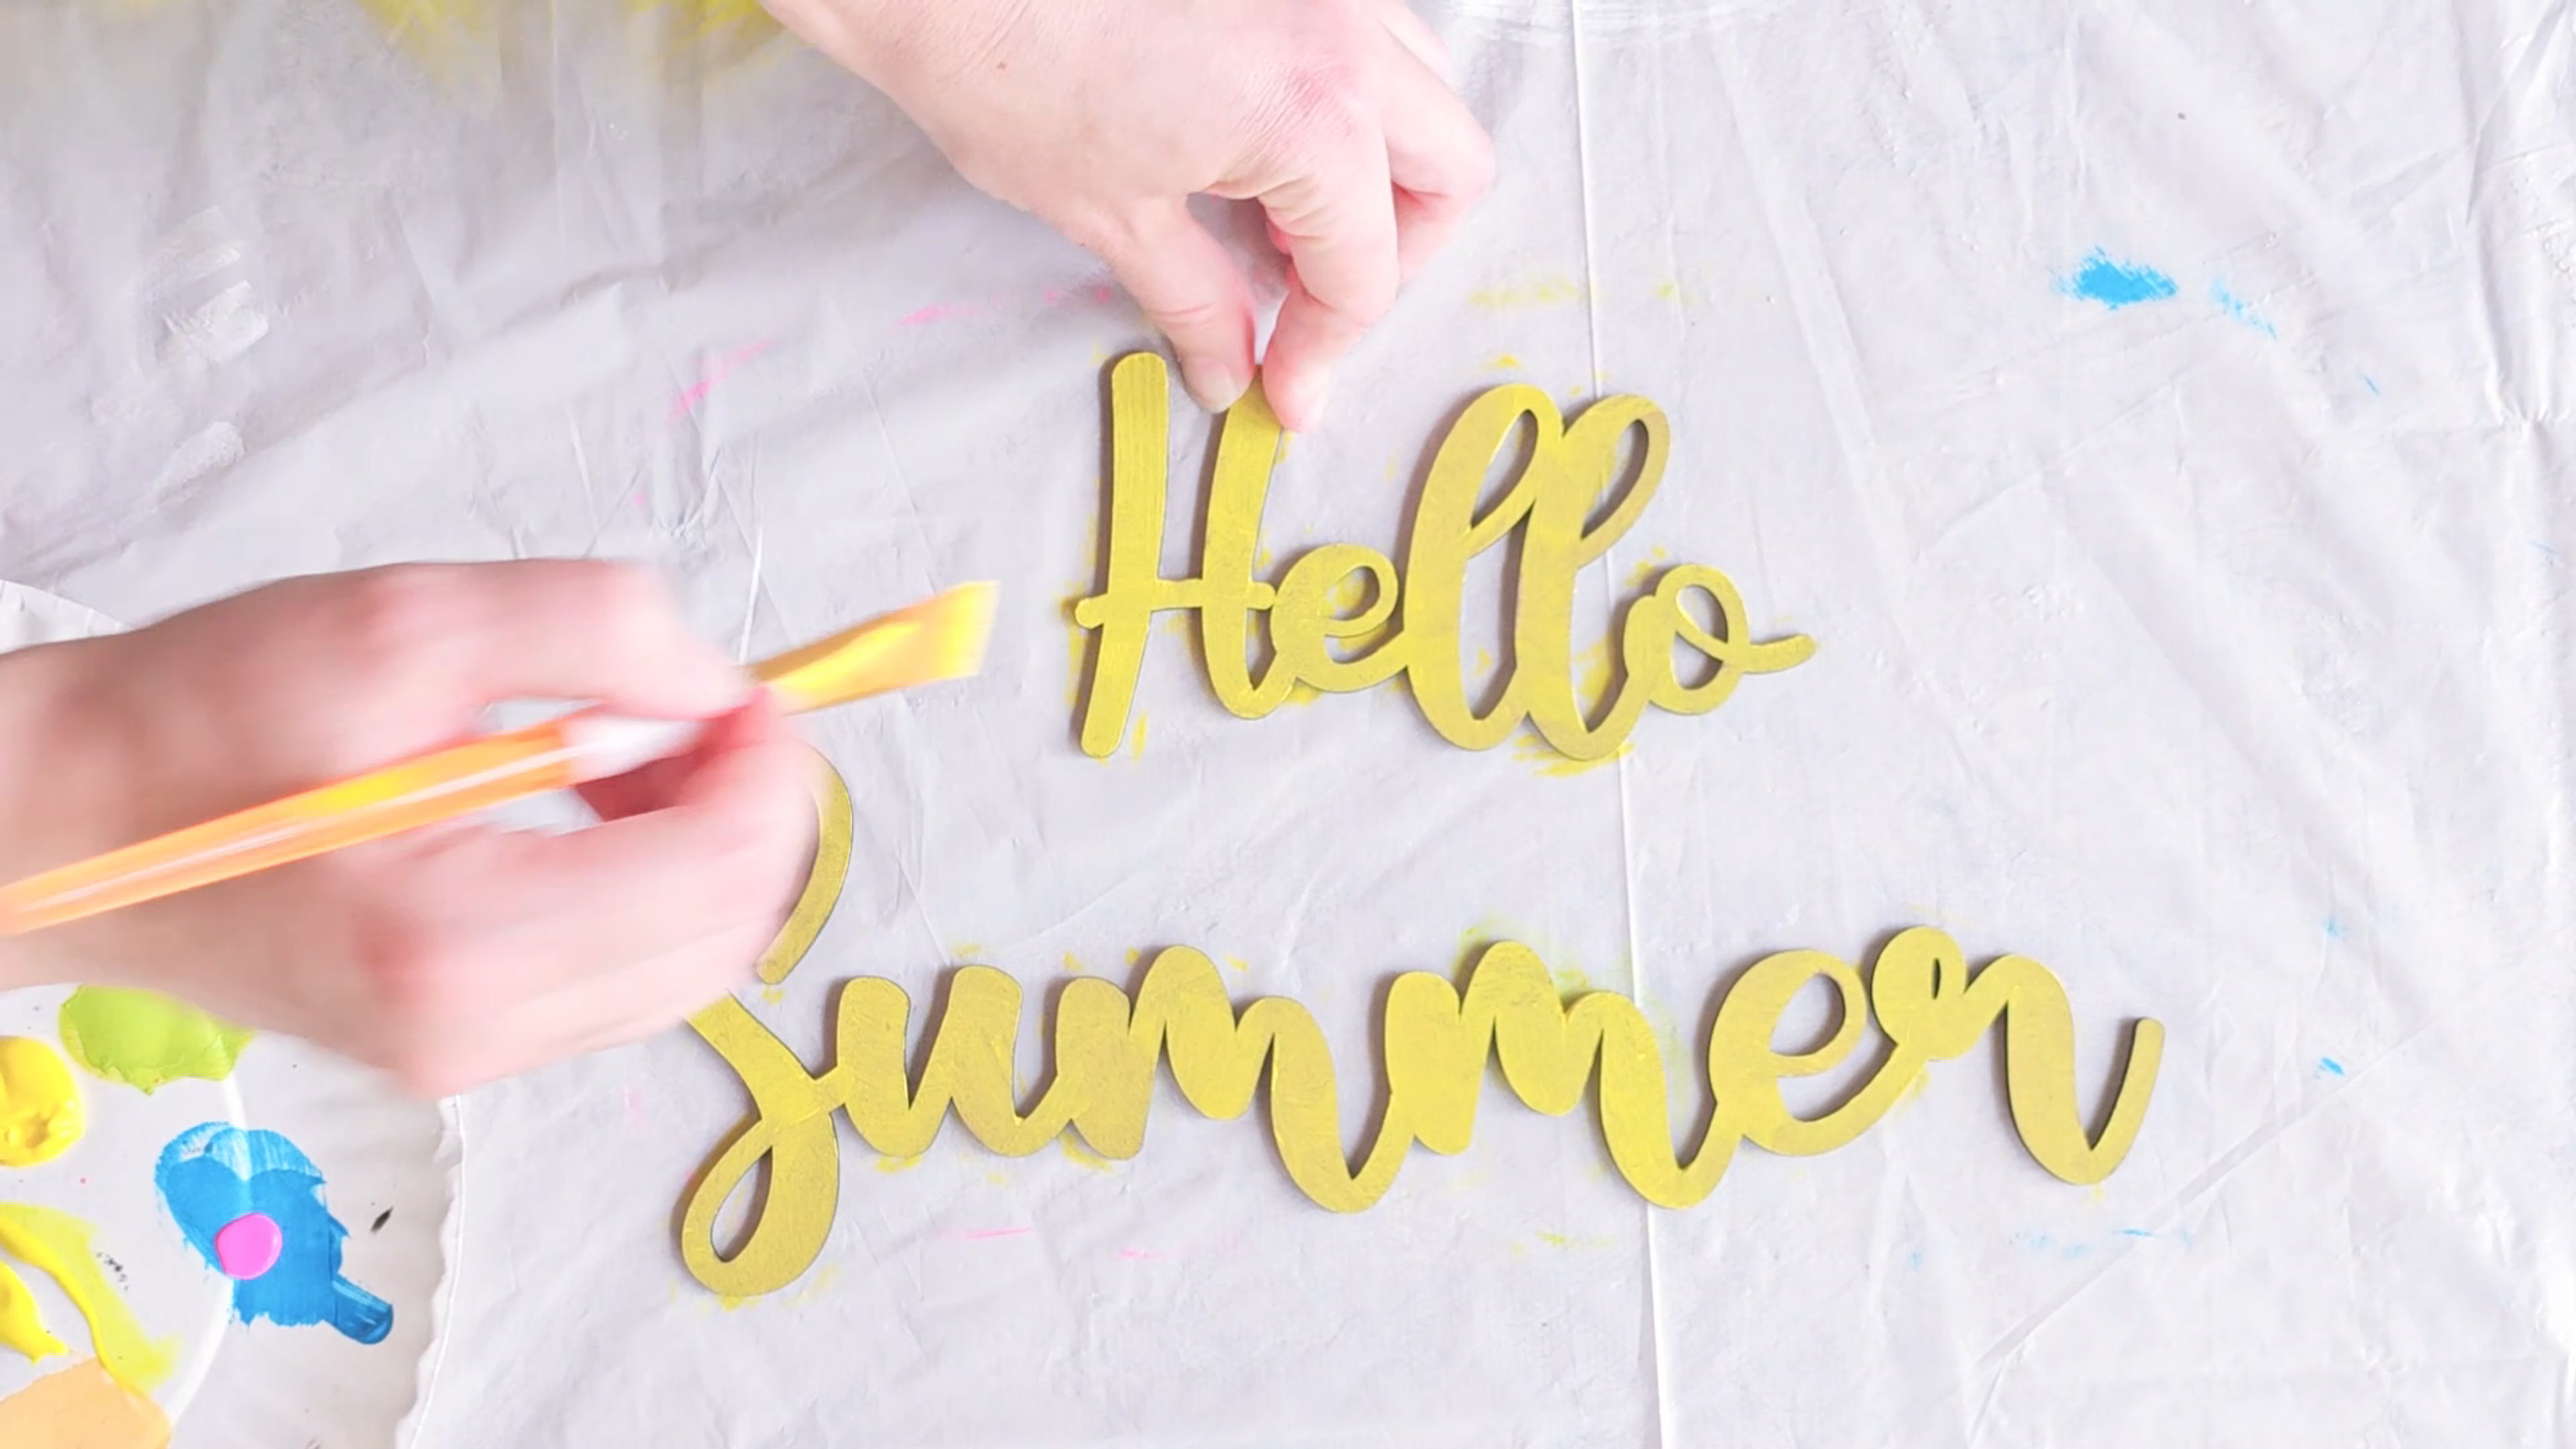
1. After you receive your kit, begin by painting the letters yellow (or the color of your choice). A very light or very dark color will look best on the background. You probably need at least two coats. I like to use acrylic paint but you could also use spray paint to paint the letters.

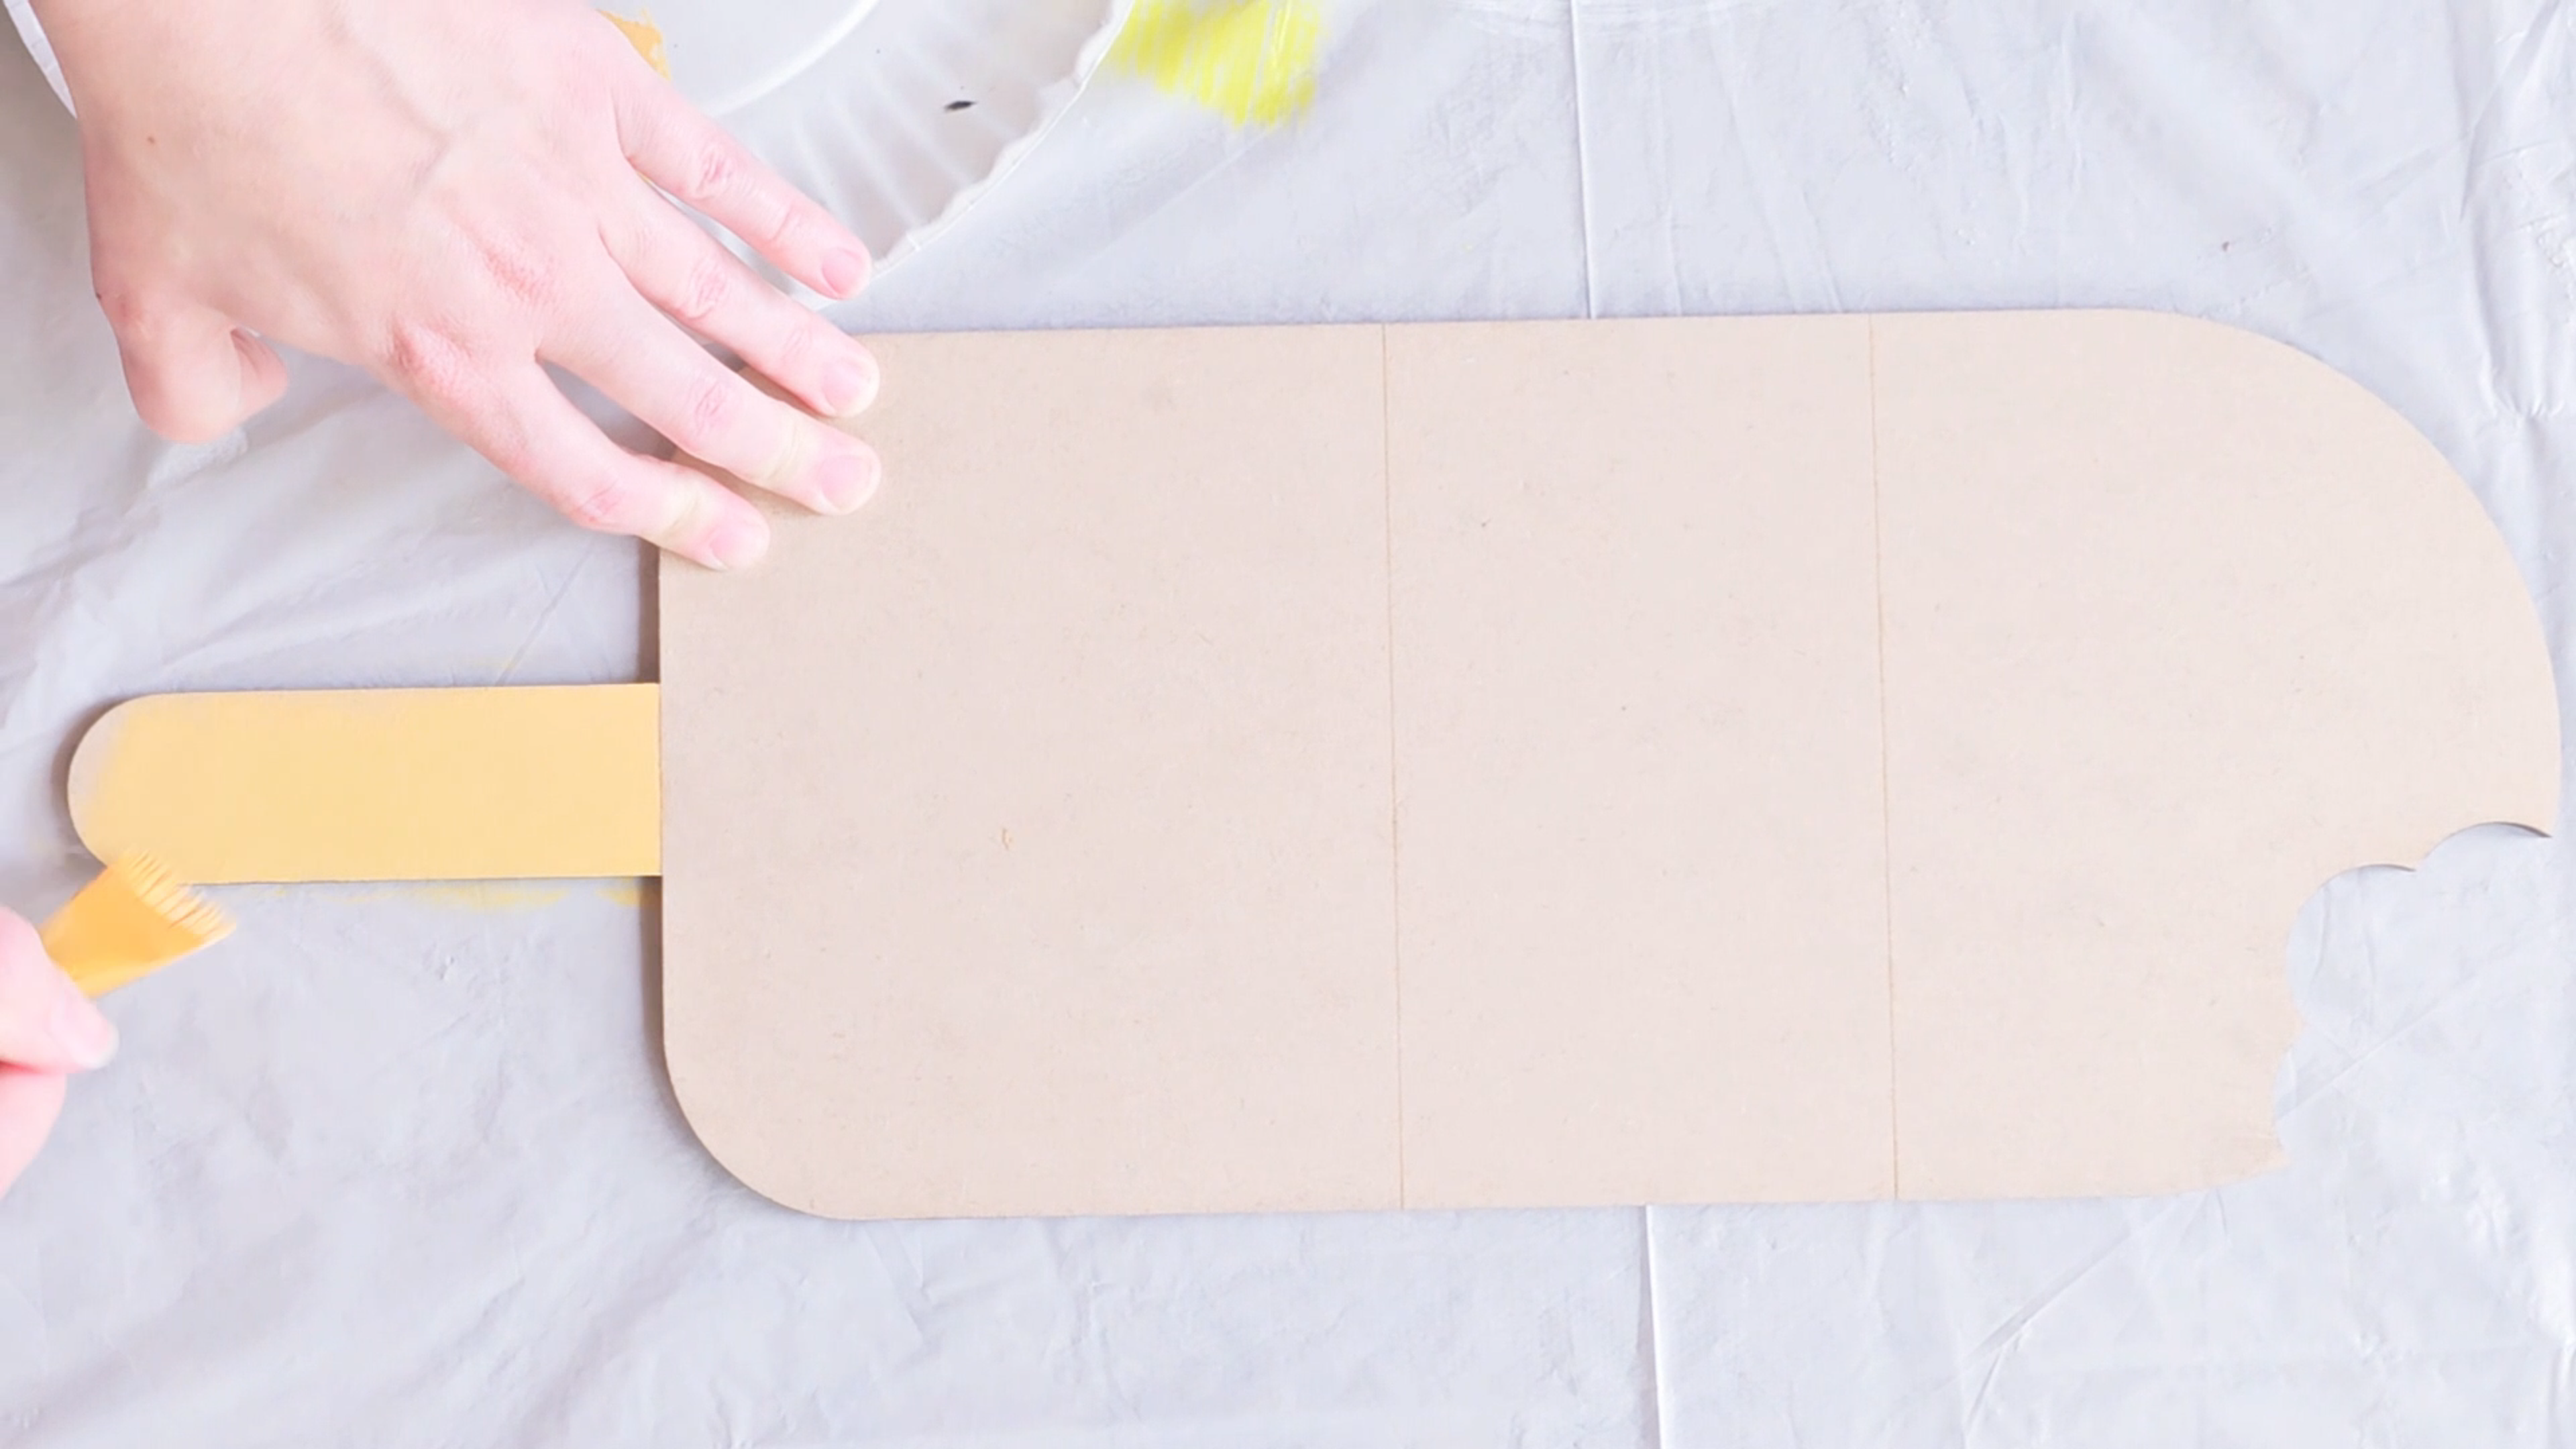
2. I mixed a tan and peach color in order to get the color for the popsicle stick. Popsicle sticks are made of wood and you are painting wood so technically, you don't even have to paint the stick, but I really enjoyed mixing this color.
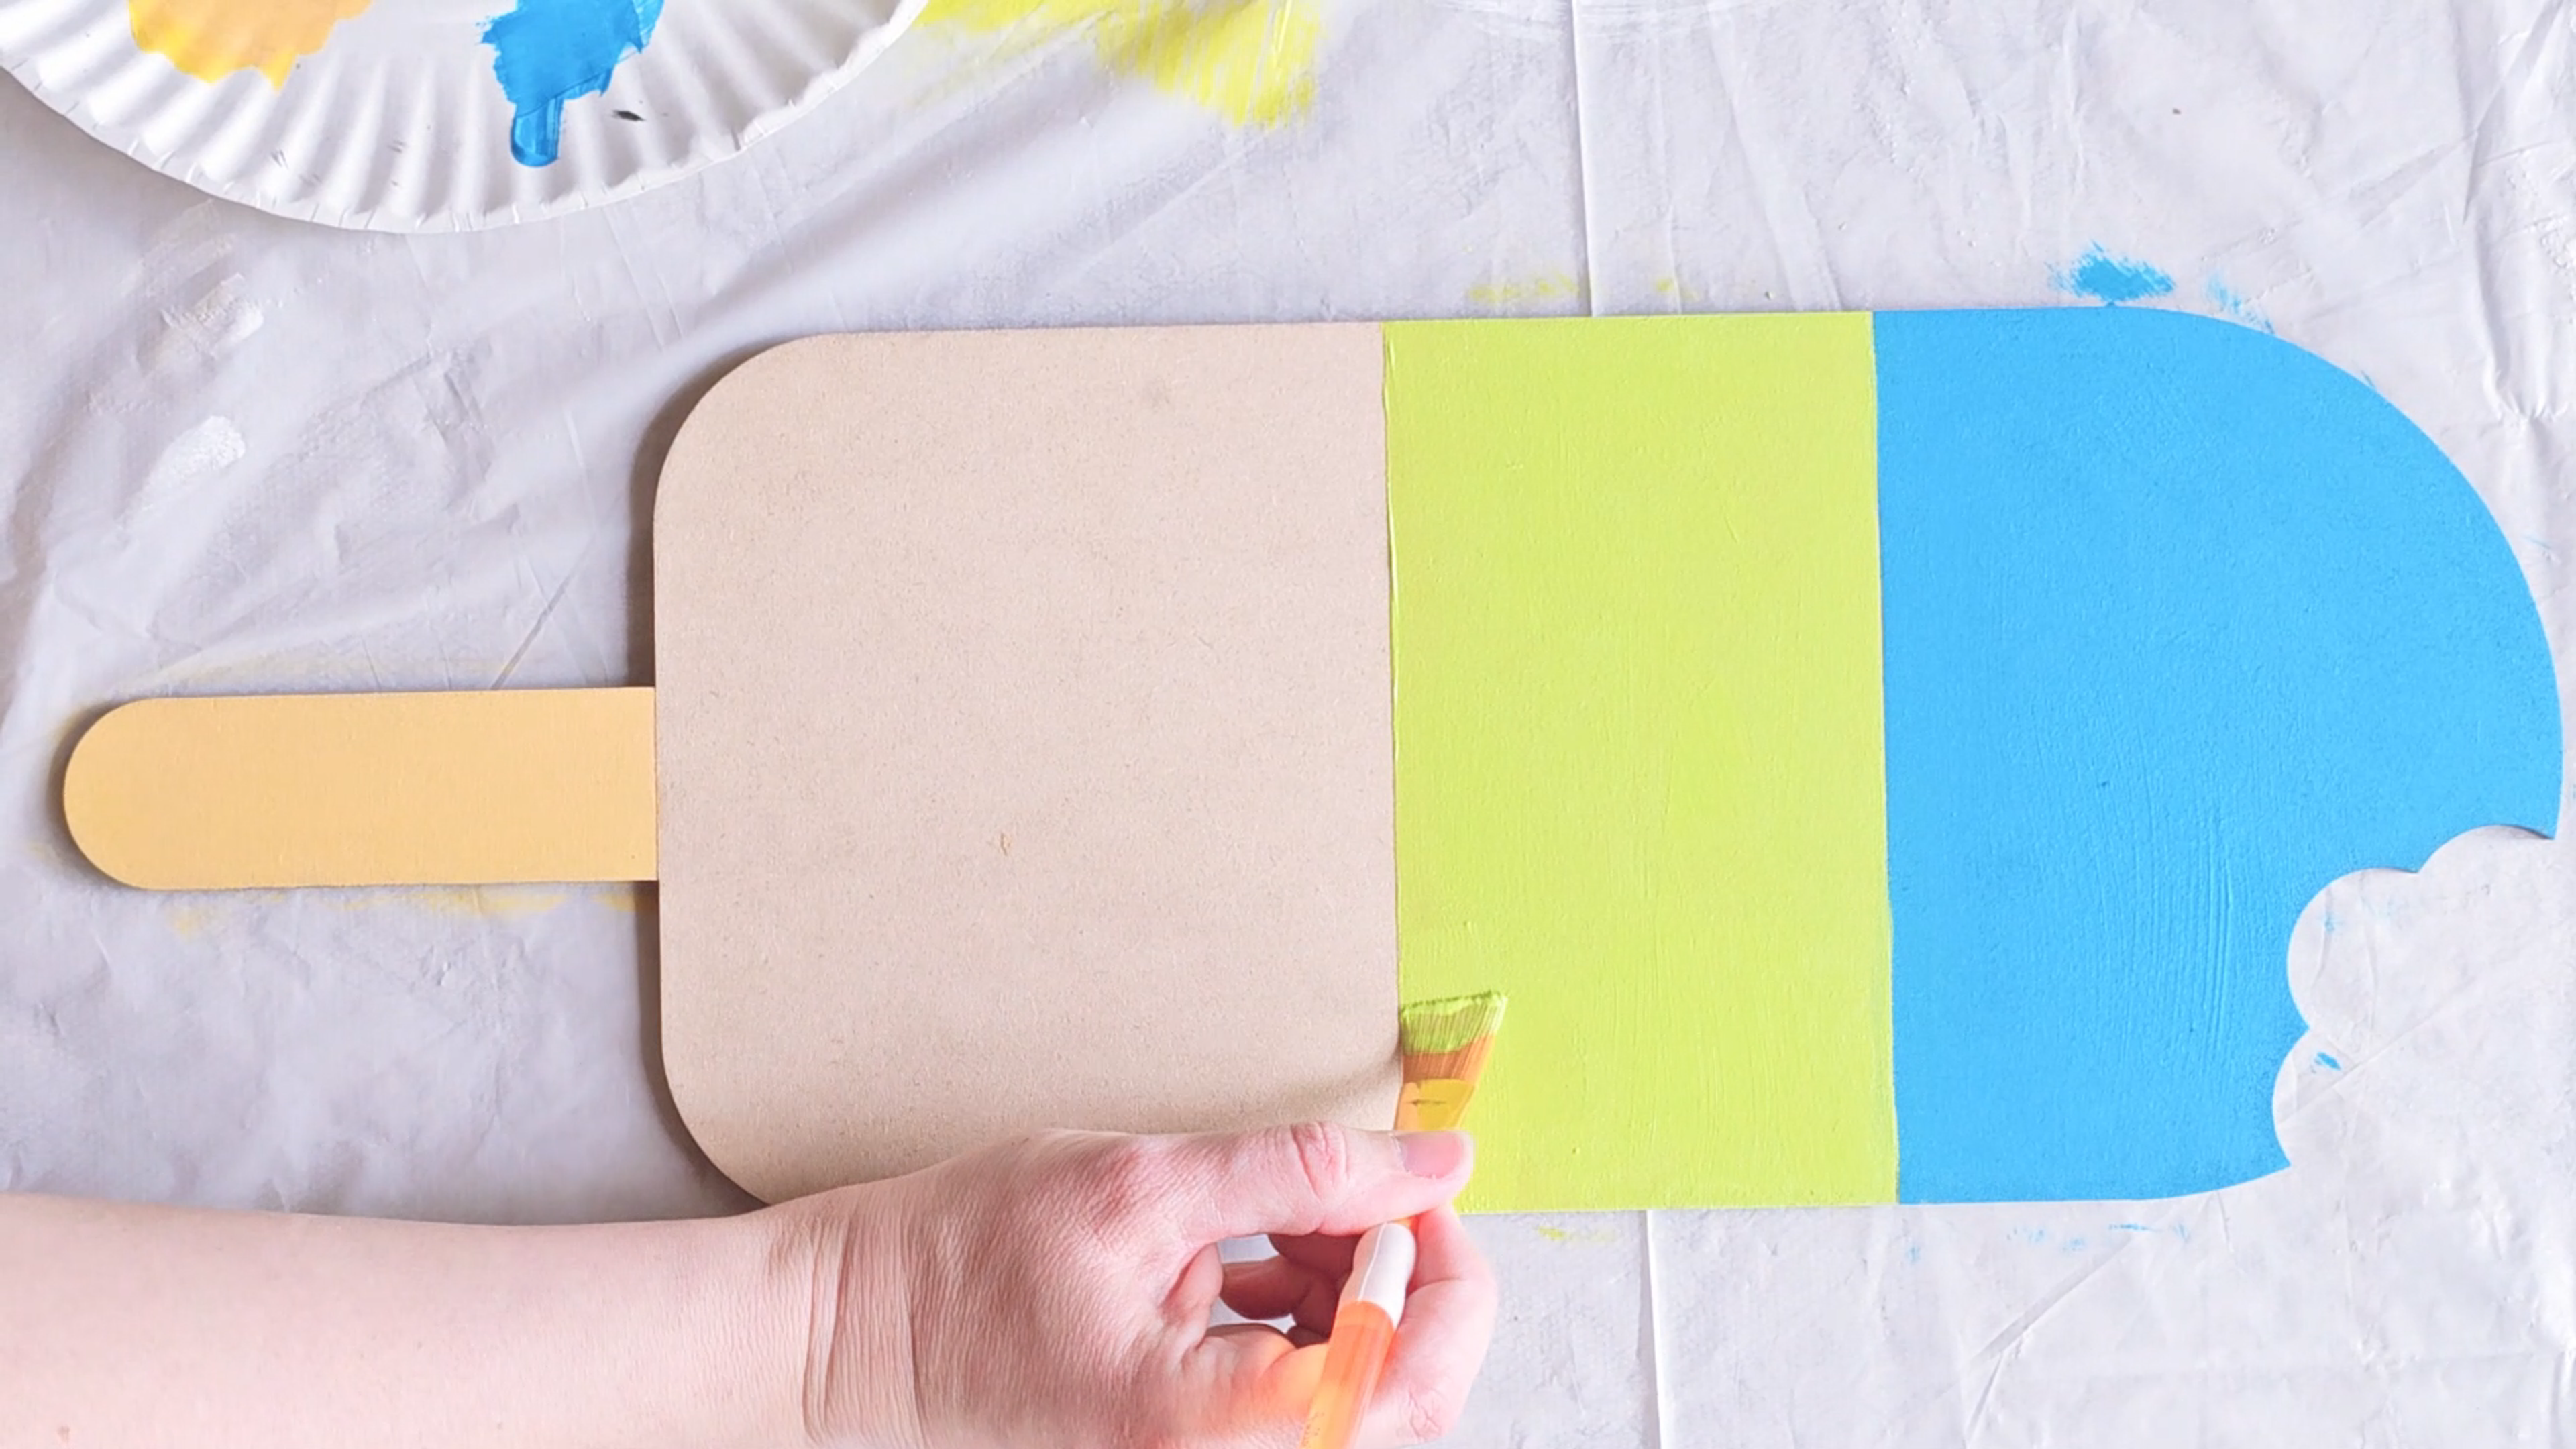
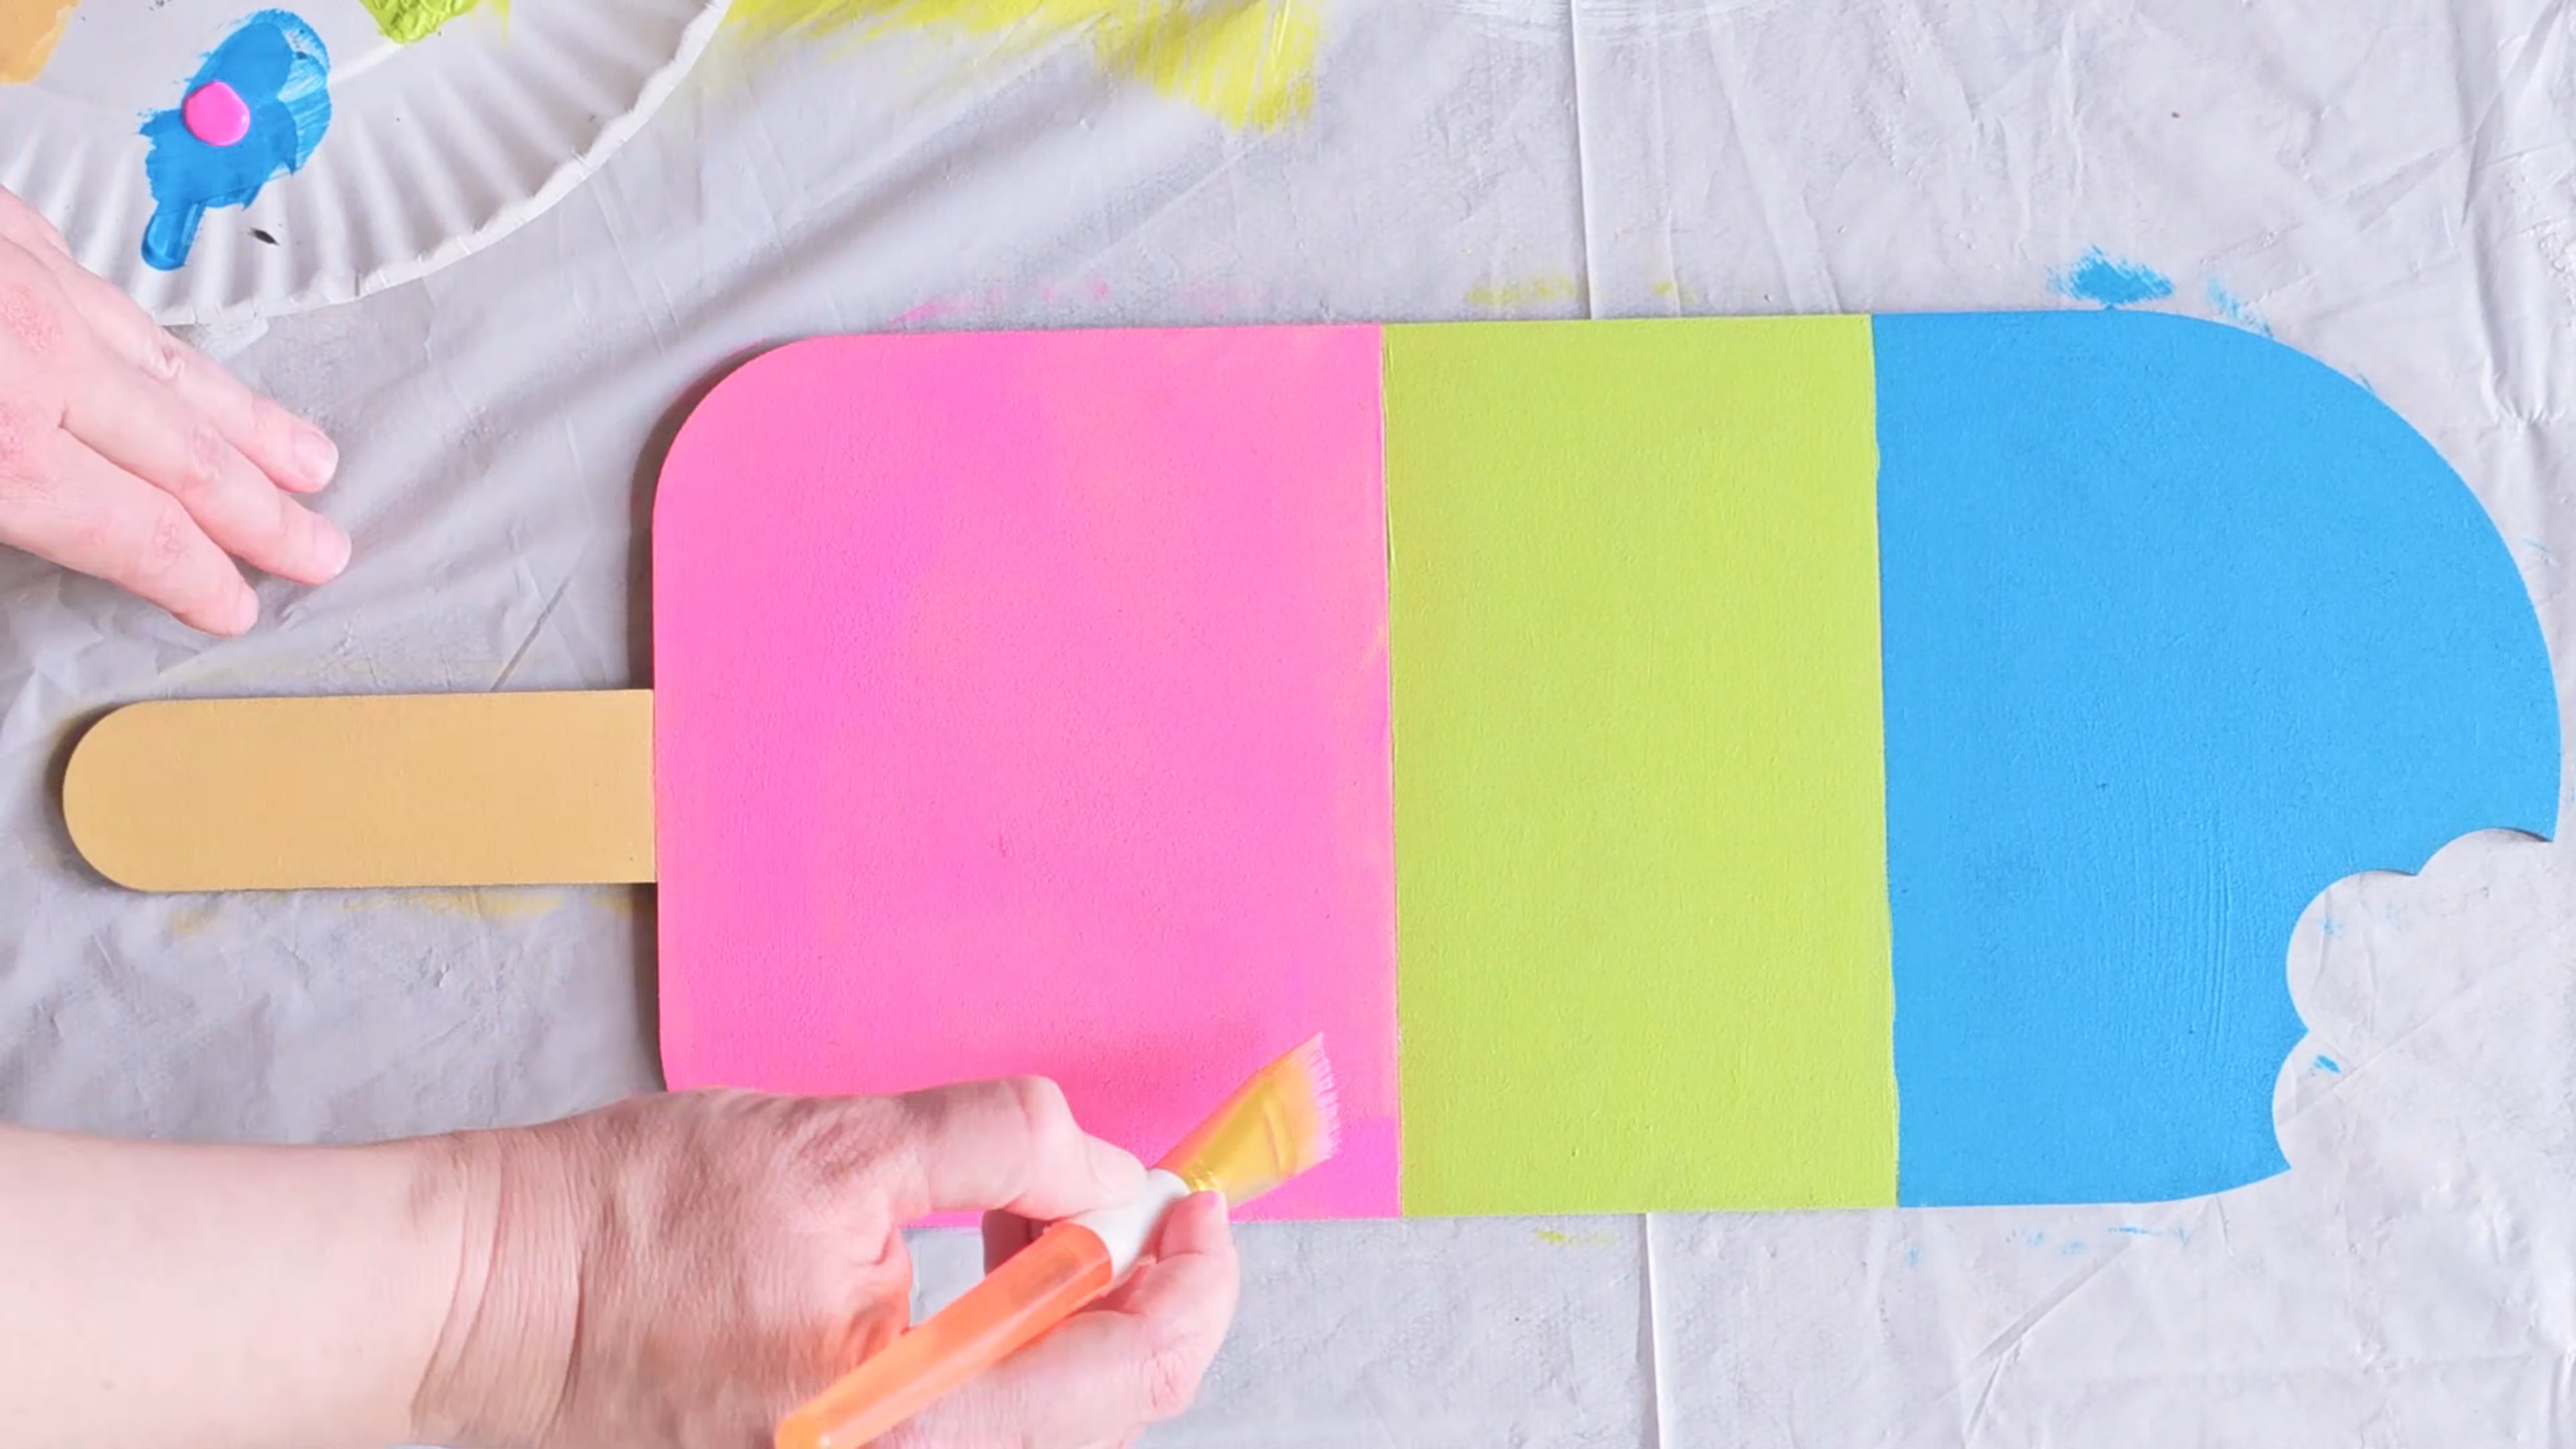
3. Next, paint the body of the popsicle. You can choose any colors you want but remember that the letters will need to stand out on the colors you choose. It is best to choose three colors of the same tone. I'm using midtone colors so that my yellow will stand out. If you choose three dark colors for the body, lighter letters will stand out. If you choose three light colors for the background, dark letters will stand out. If you mess up, don't worry, you can paint over it a different color. I used a large 1" flat brush and that worked well.
To make this step even easier, use painters tape or washi tape to mark off you lines. This will allow you to achieve straight lines and will save time.

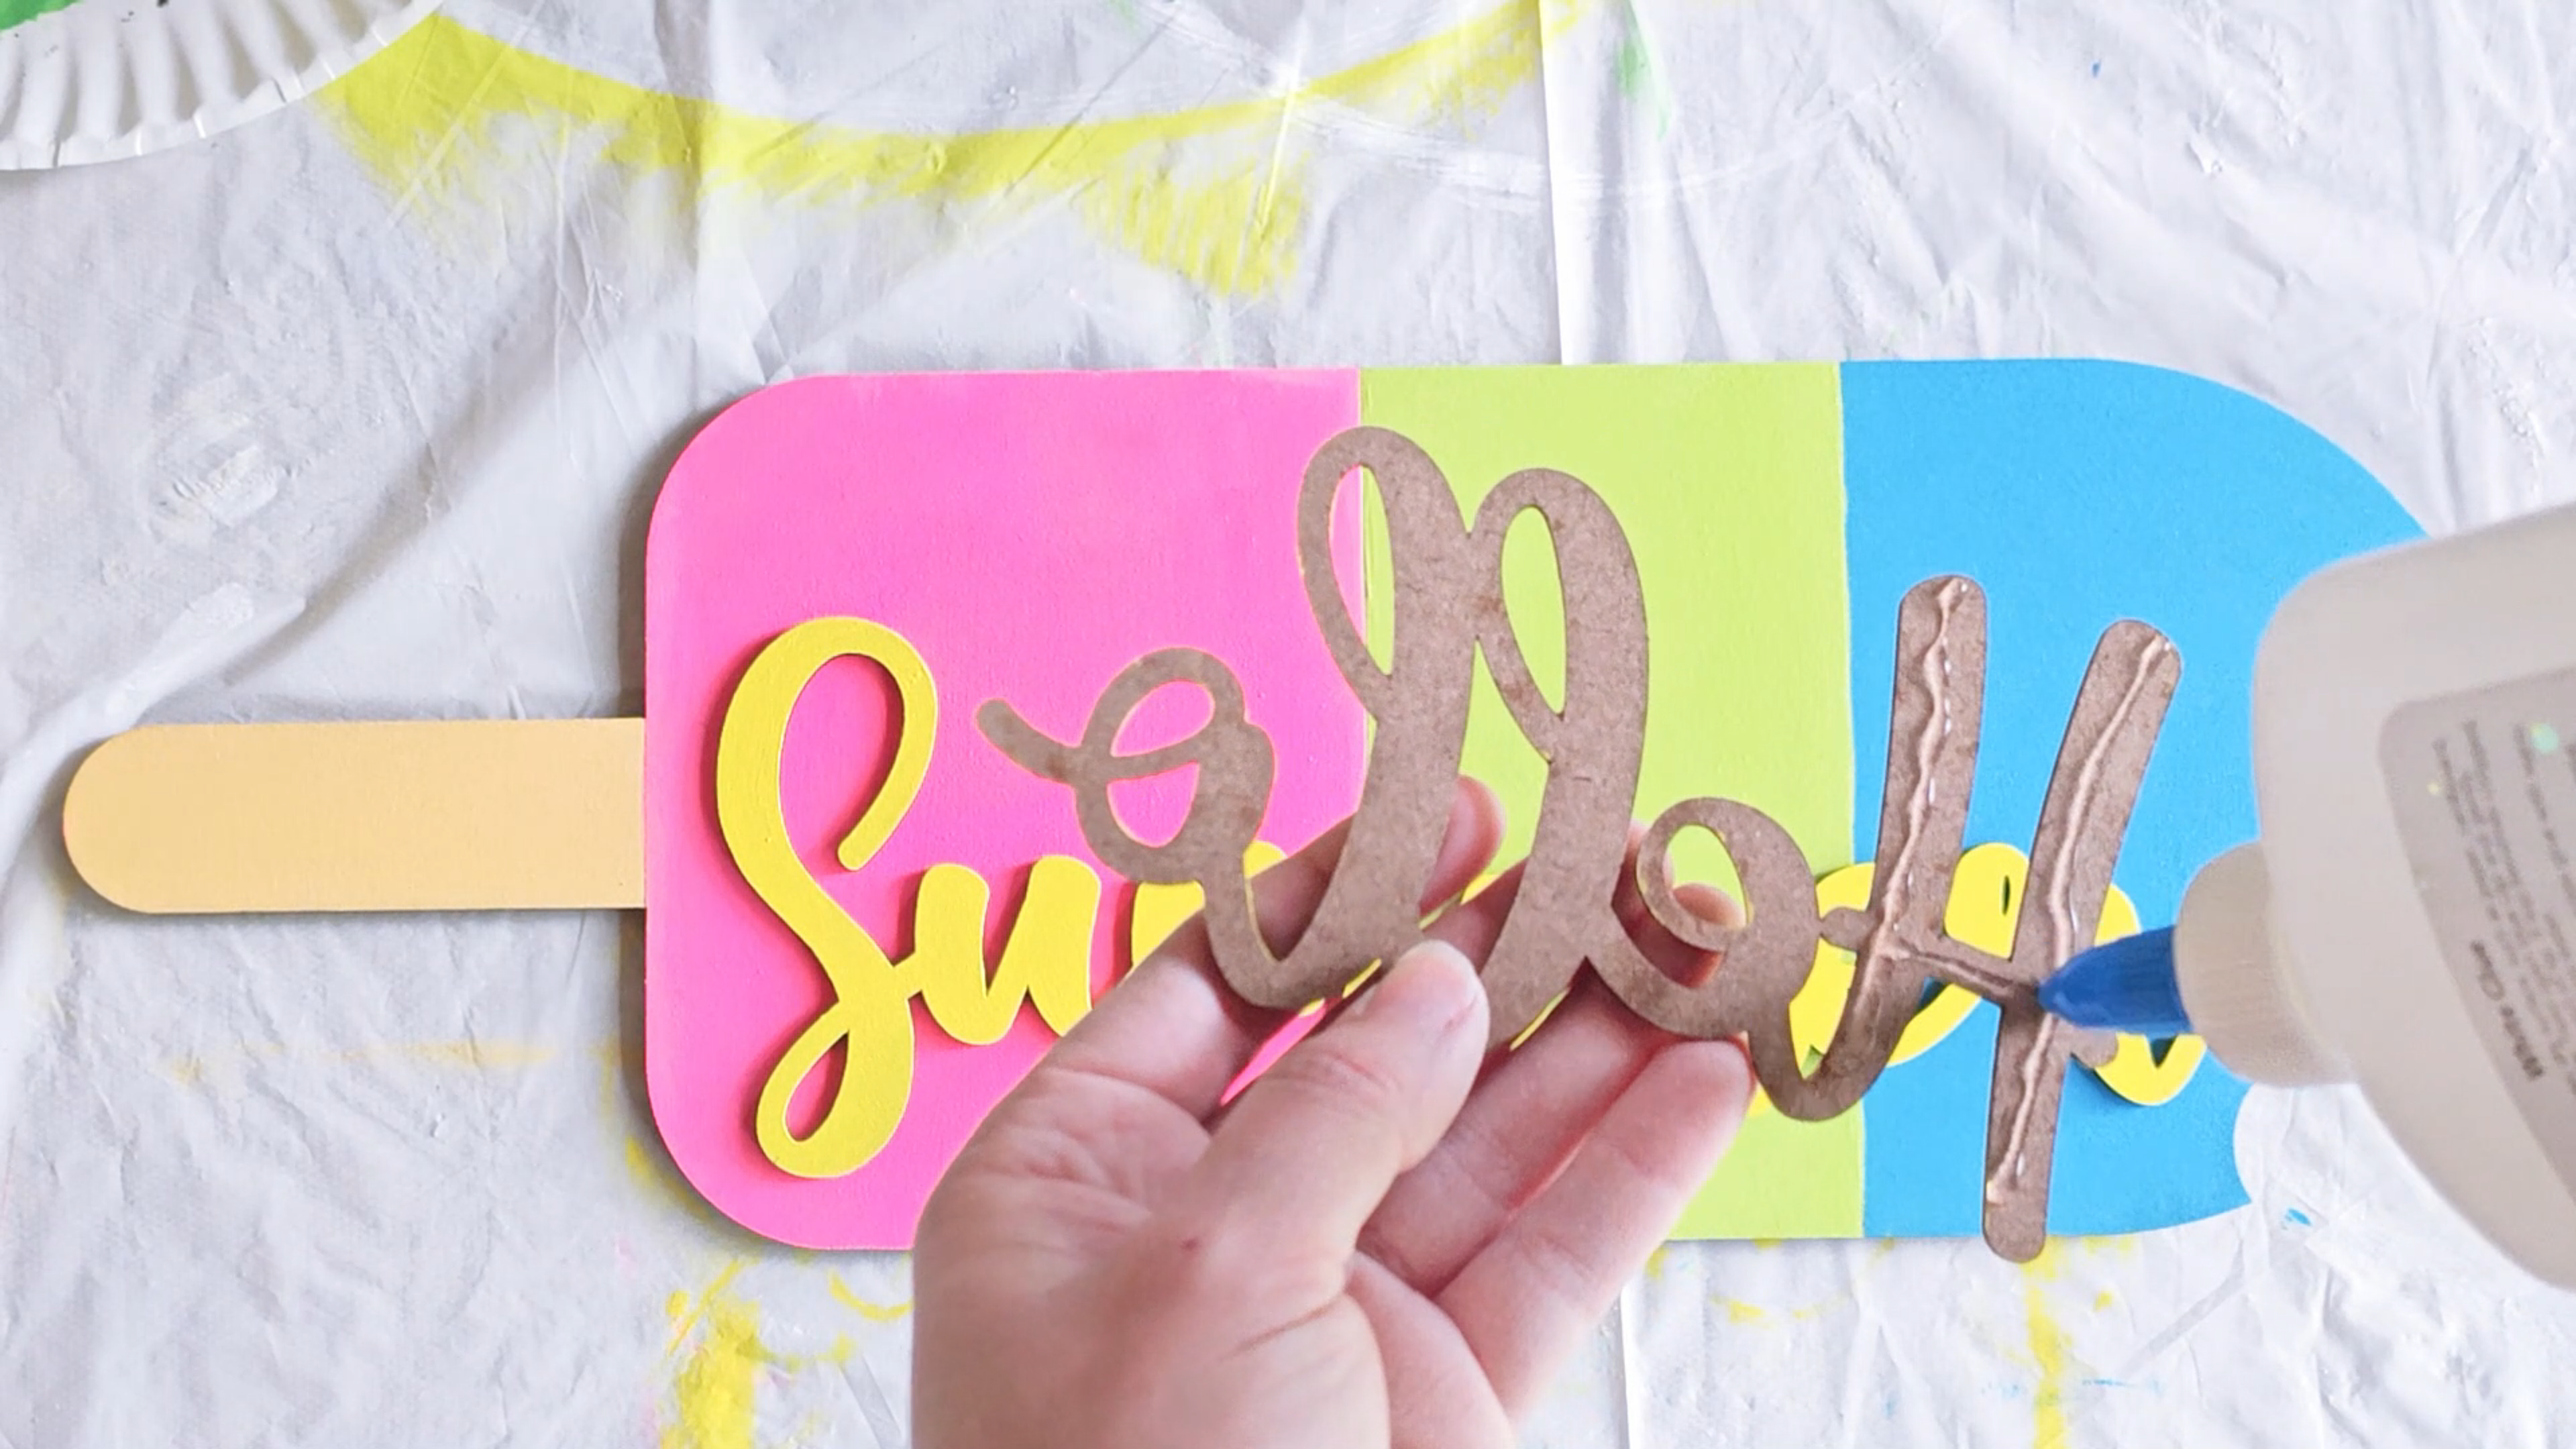
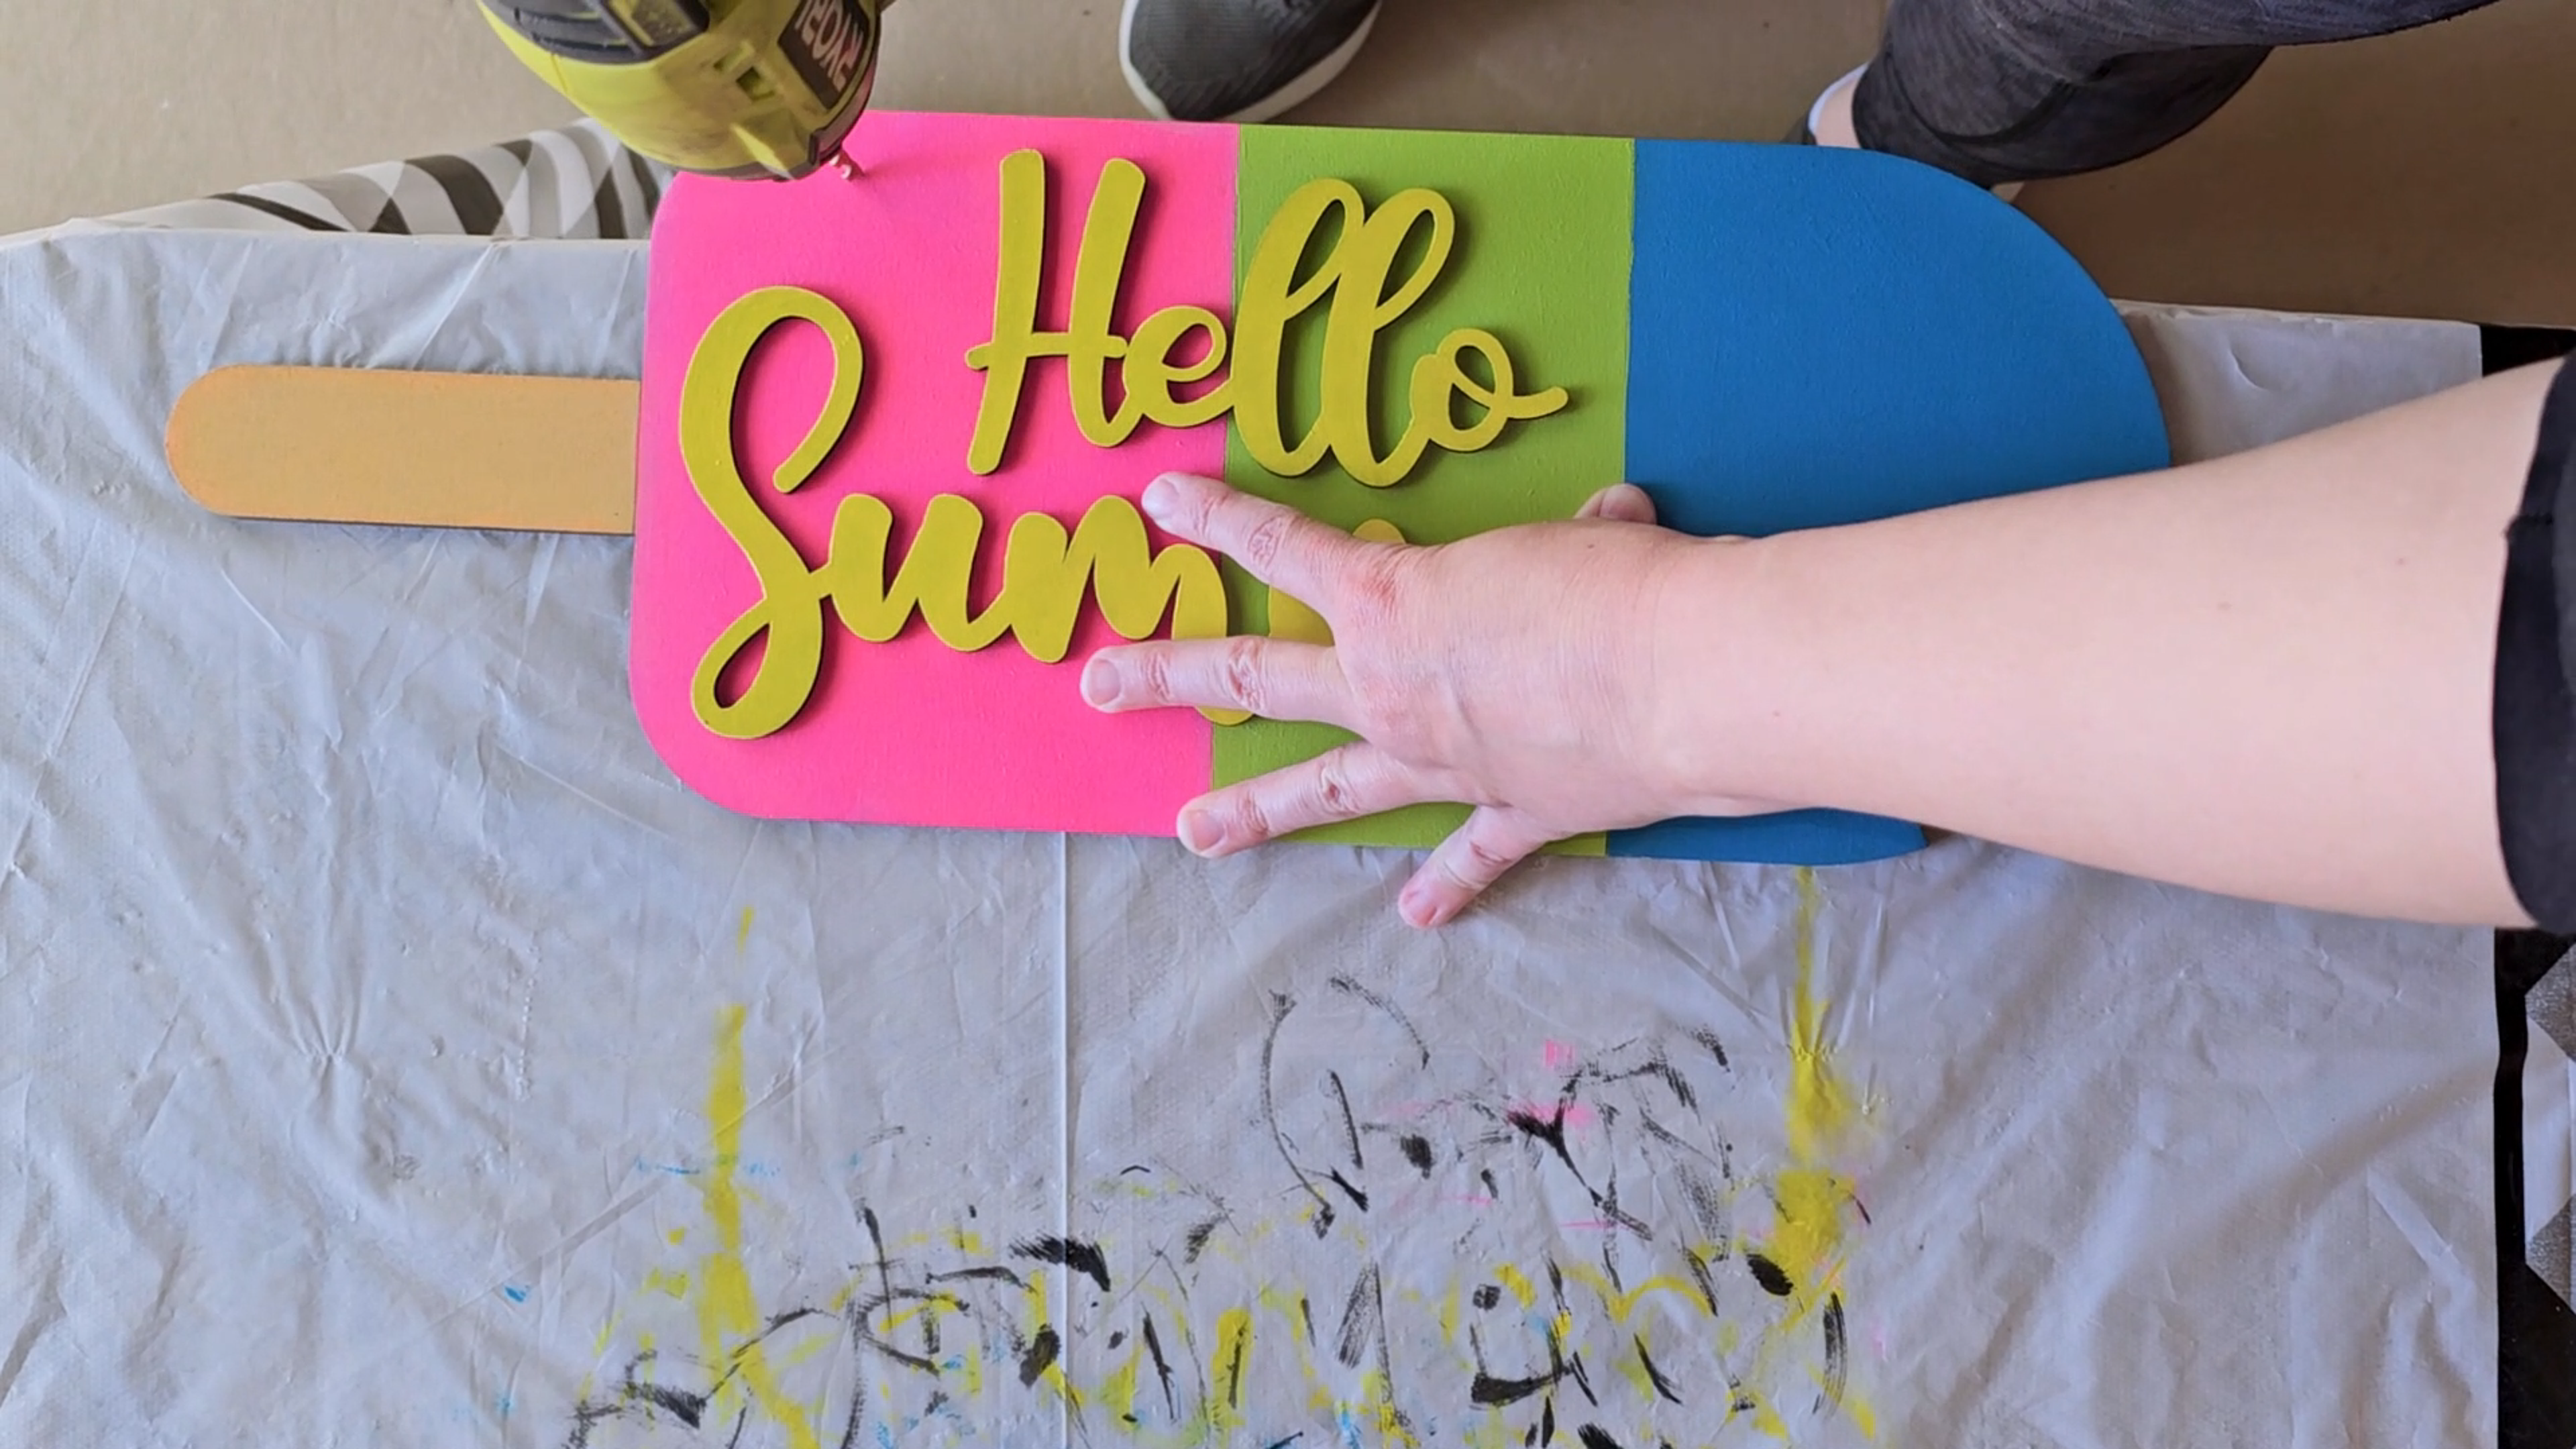
4. Glue the letters in place using a craft glue of your choice. Regular Elmer's school glue will work. Hot glue is not a good option due to potential issues with storage, summer heat, strings, bumps, and likely injury during placement. If using craft glue, you can use a small paintbrush and water to wash away any excess glue before it dries.
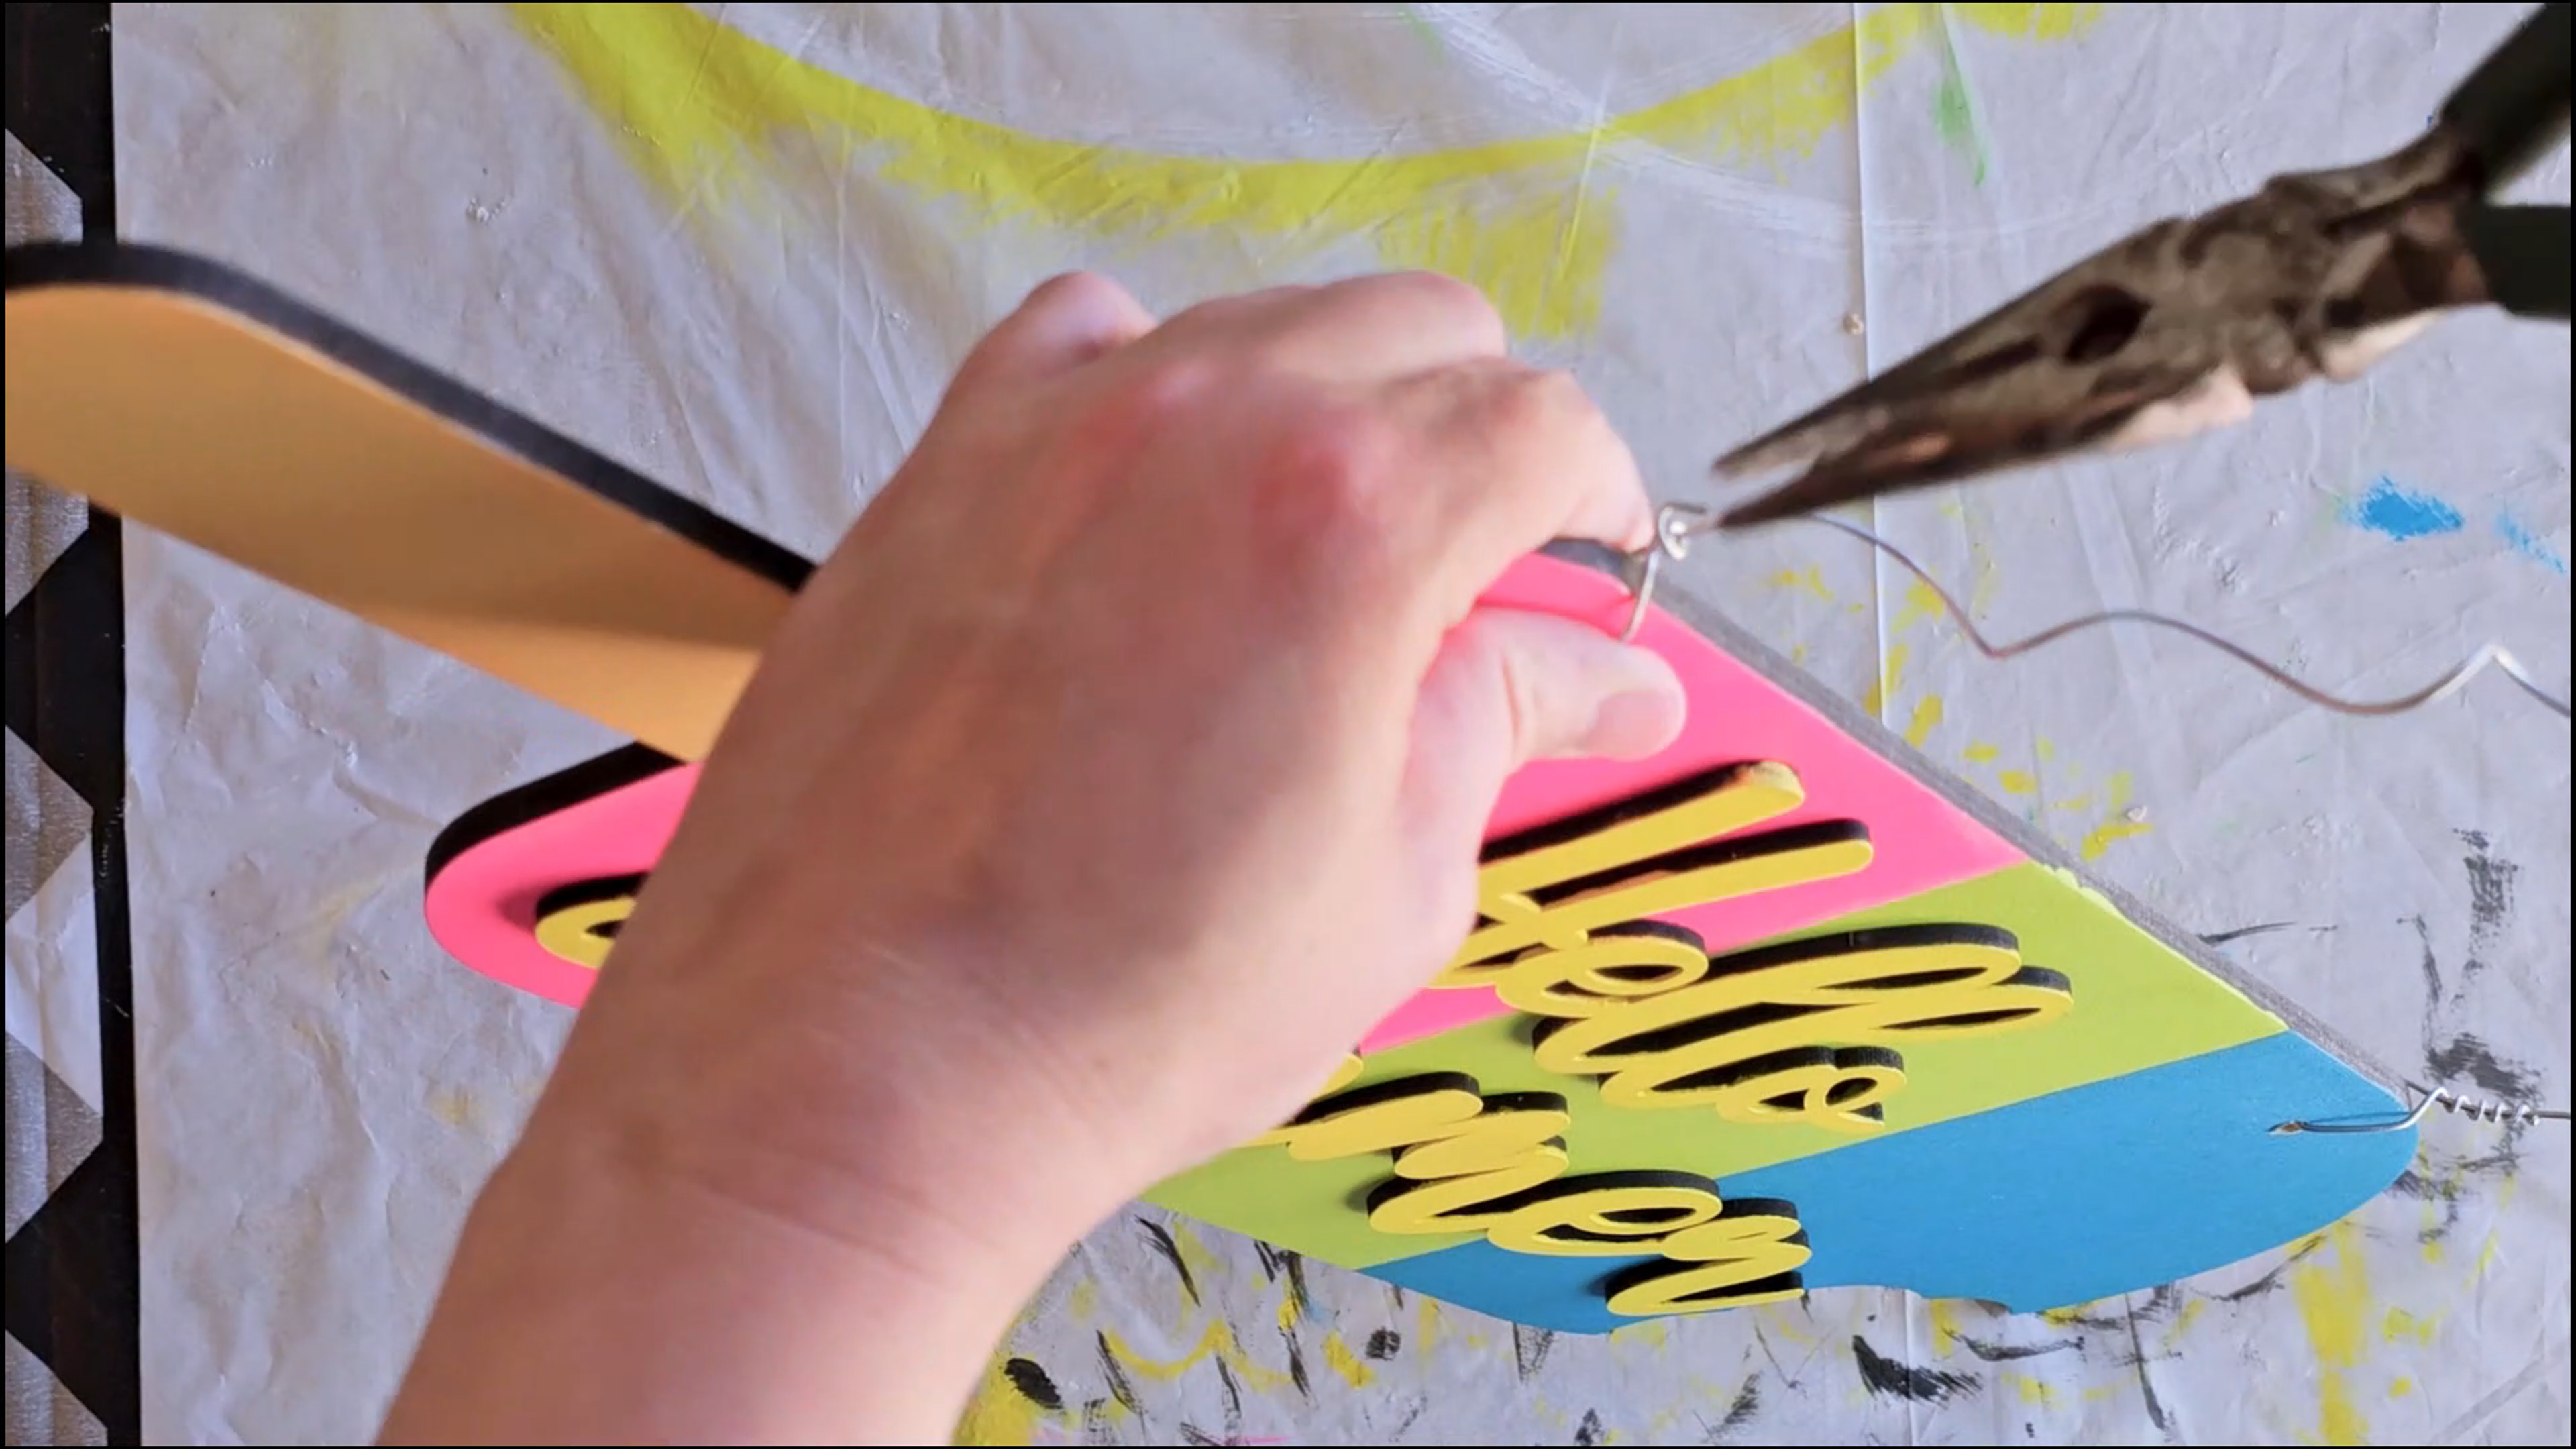
5. Using a large drill bit drill holes on either side at the top. Make sure the holes are at least one inch from the edge of the shape. In order to get the shape to hang evenly, drill the holes right before the shape starts to curve at the right and left corners.
6. If using wire, create an arch "handle" the size you desire. You can keep the wire straight or create a curly handle by wrapping the wire around something round. I used a paintbrush which wasn't the best idea. I thought it would break several times. It would have been better to use something sturdy or something that I didn't mind breaking like a pencil, pen, or wooden dowel.

7. Using pliers, wrap the ends of the wire around several times before trimming them. Use the same method if using string. Ribbon can also be used.
8. I almost forgot! You can do this step earlier but we need to add some shine! To make the popsicle look glossy and three dimensional, add some thin white lines to the corners and around the edges. I started by painting the lines along the corners with my flat brush. Then I added a few lines along the top and bottom.
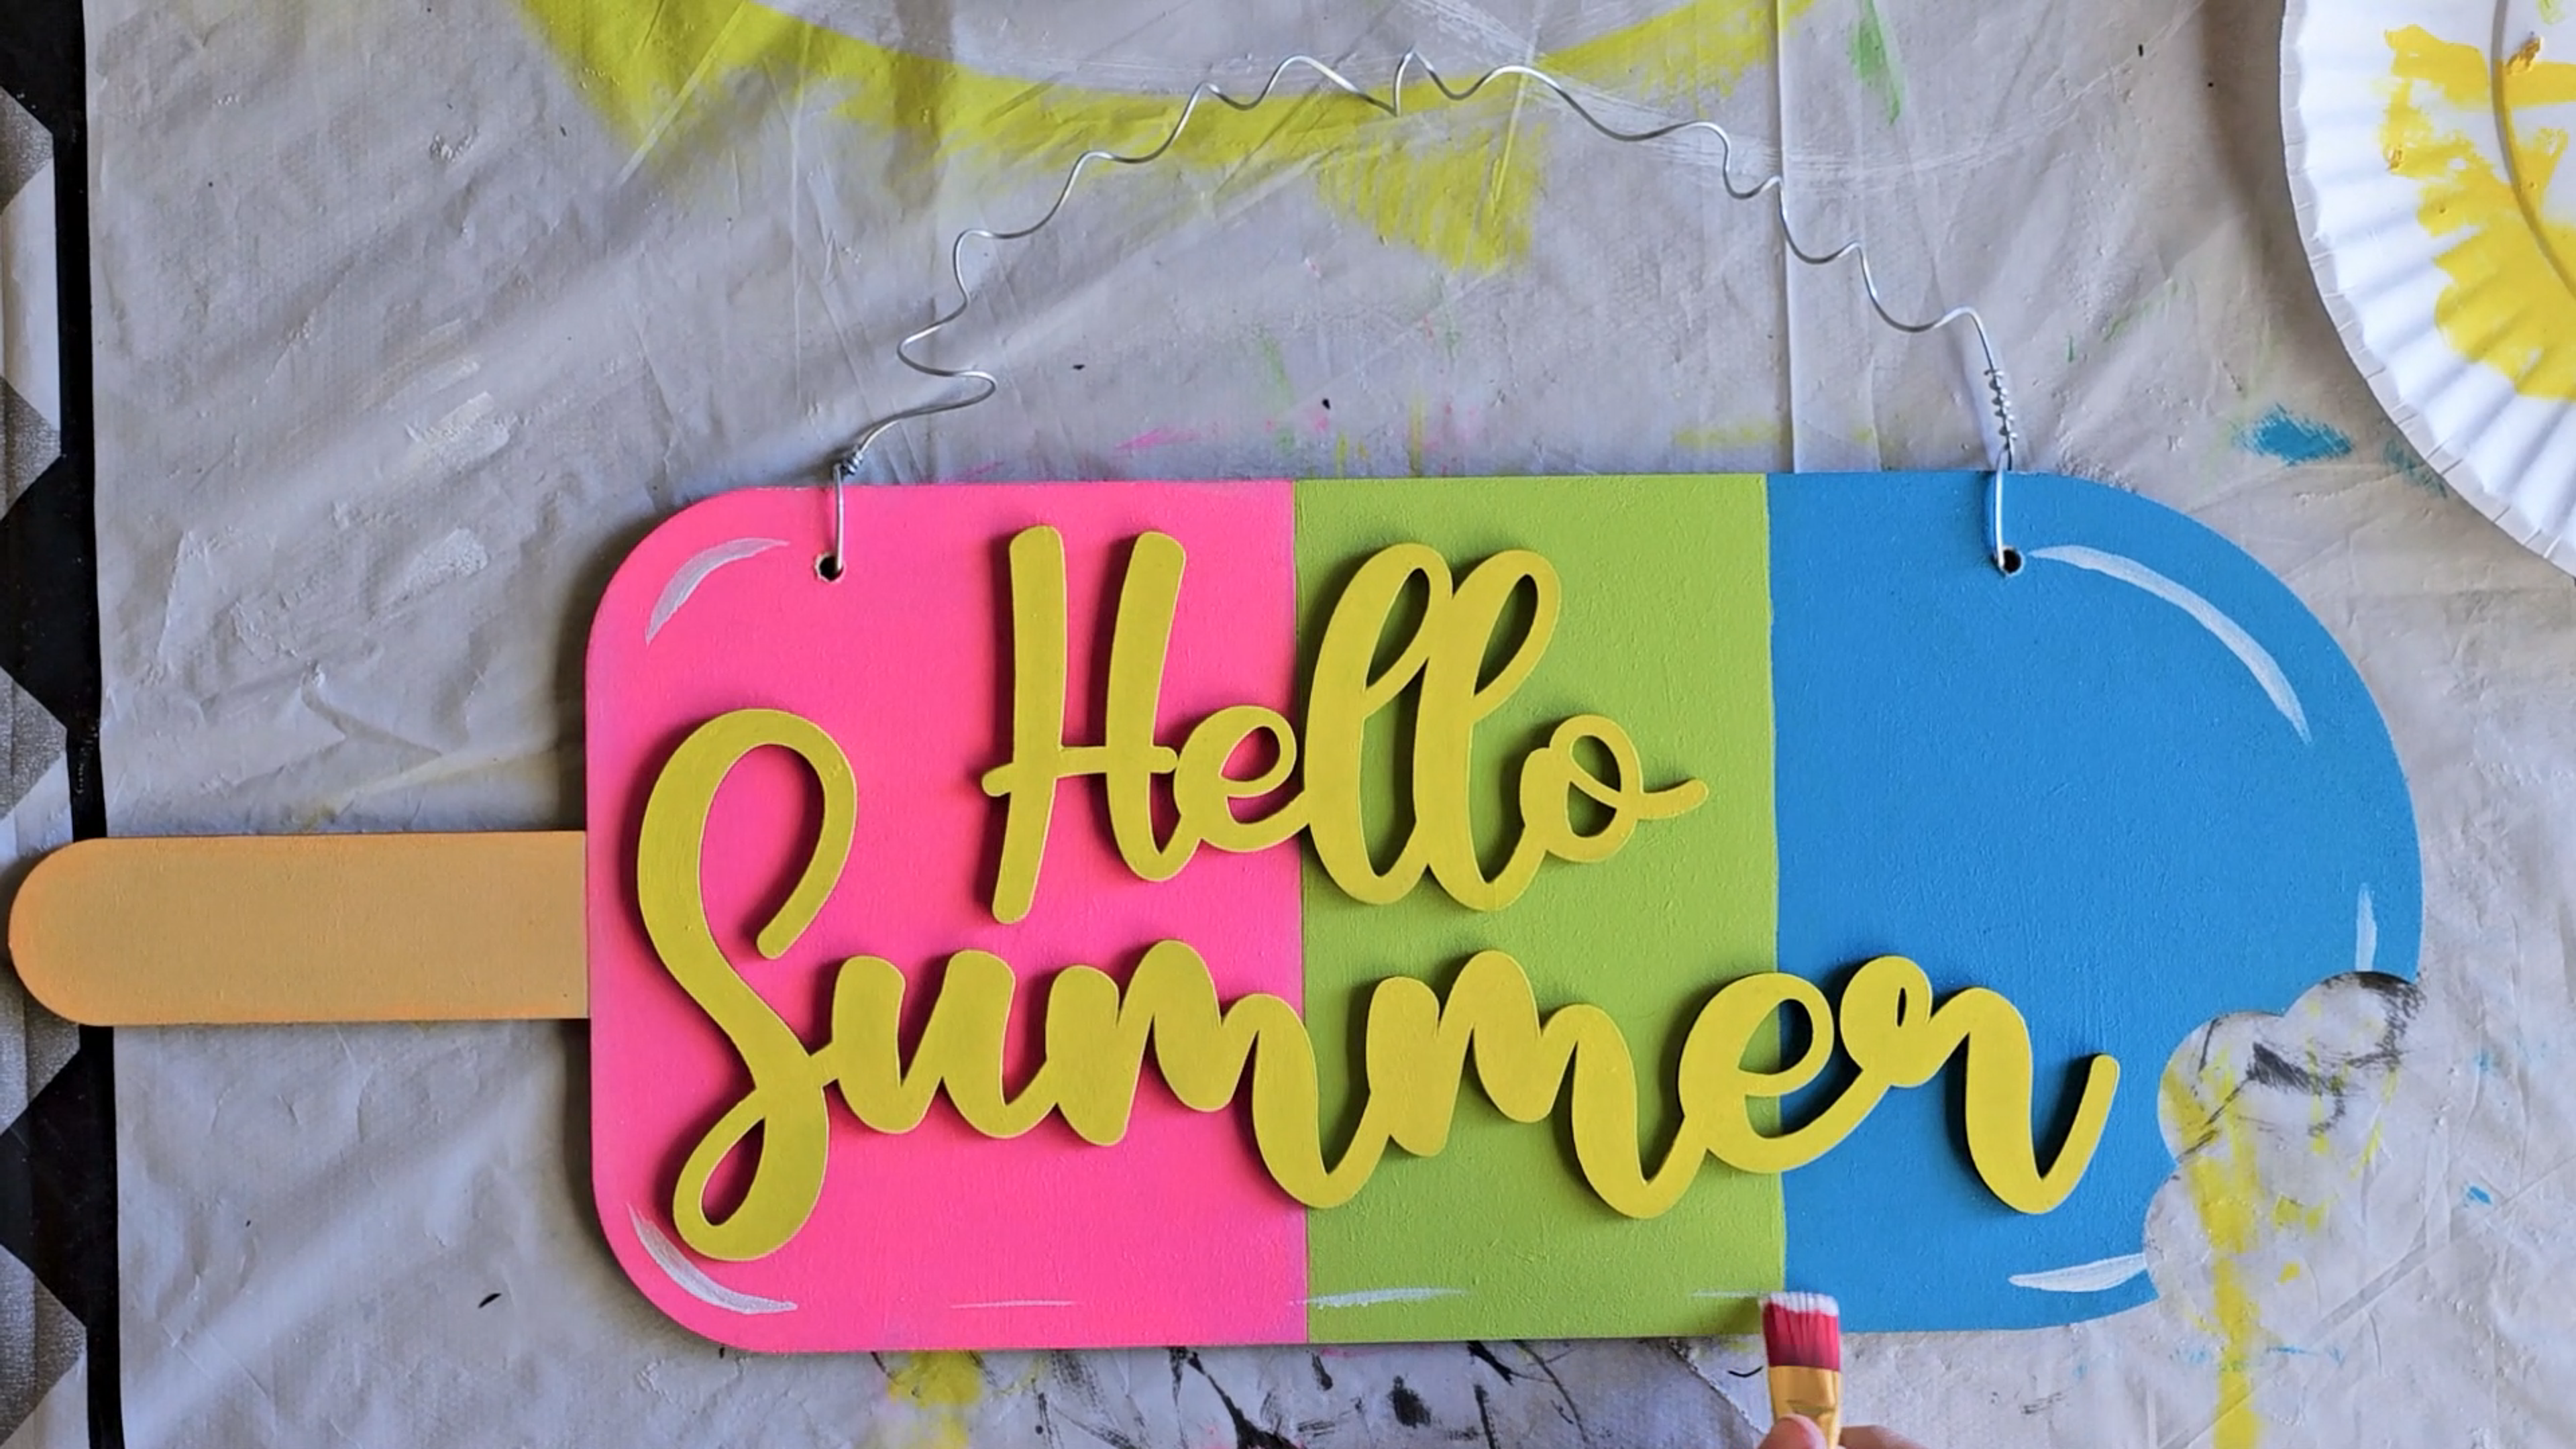

That's it! You are done!
We hope you enjoy this fun and easy summer treat themed craft project from Awesome Life Craft and that you personalize it with the colors that look best with your porch decor. This project is great for the months right after Easter and into summer when holidays are few and far between. This is the time when we can't wait to start enjoying the pool and warmer weather.

Recent Posts
-

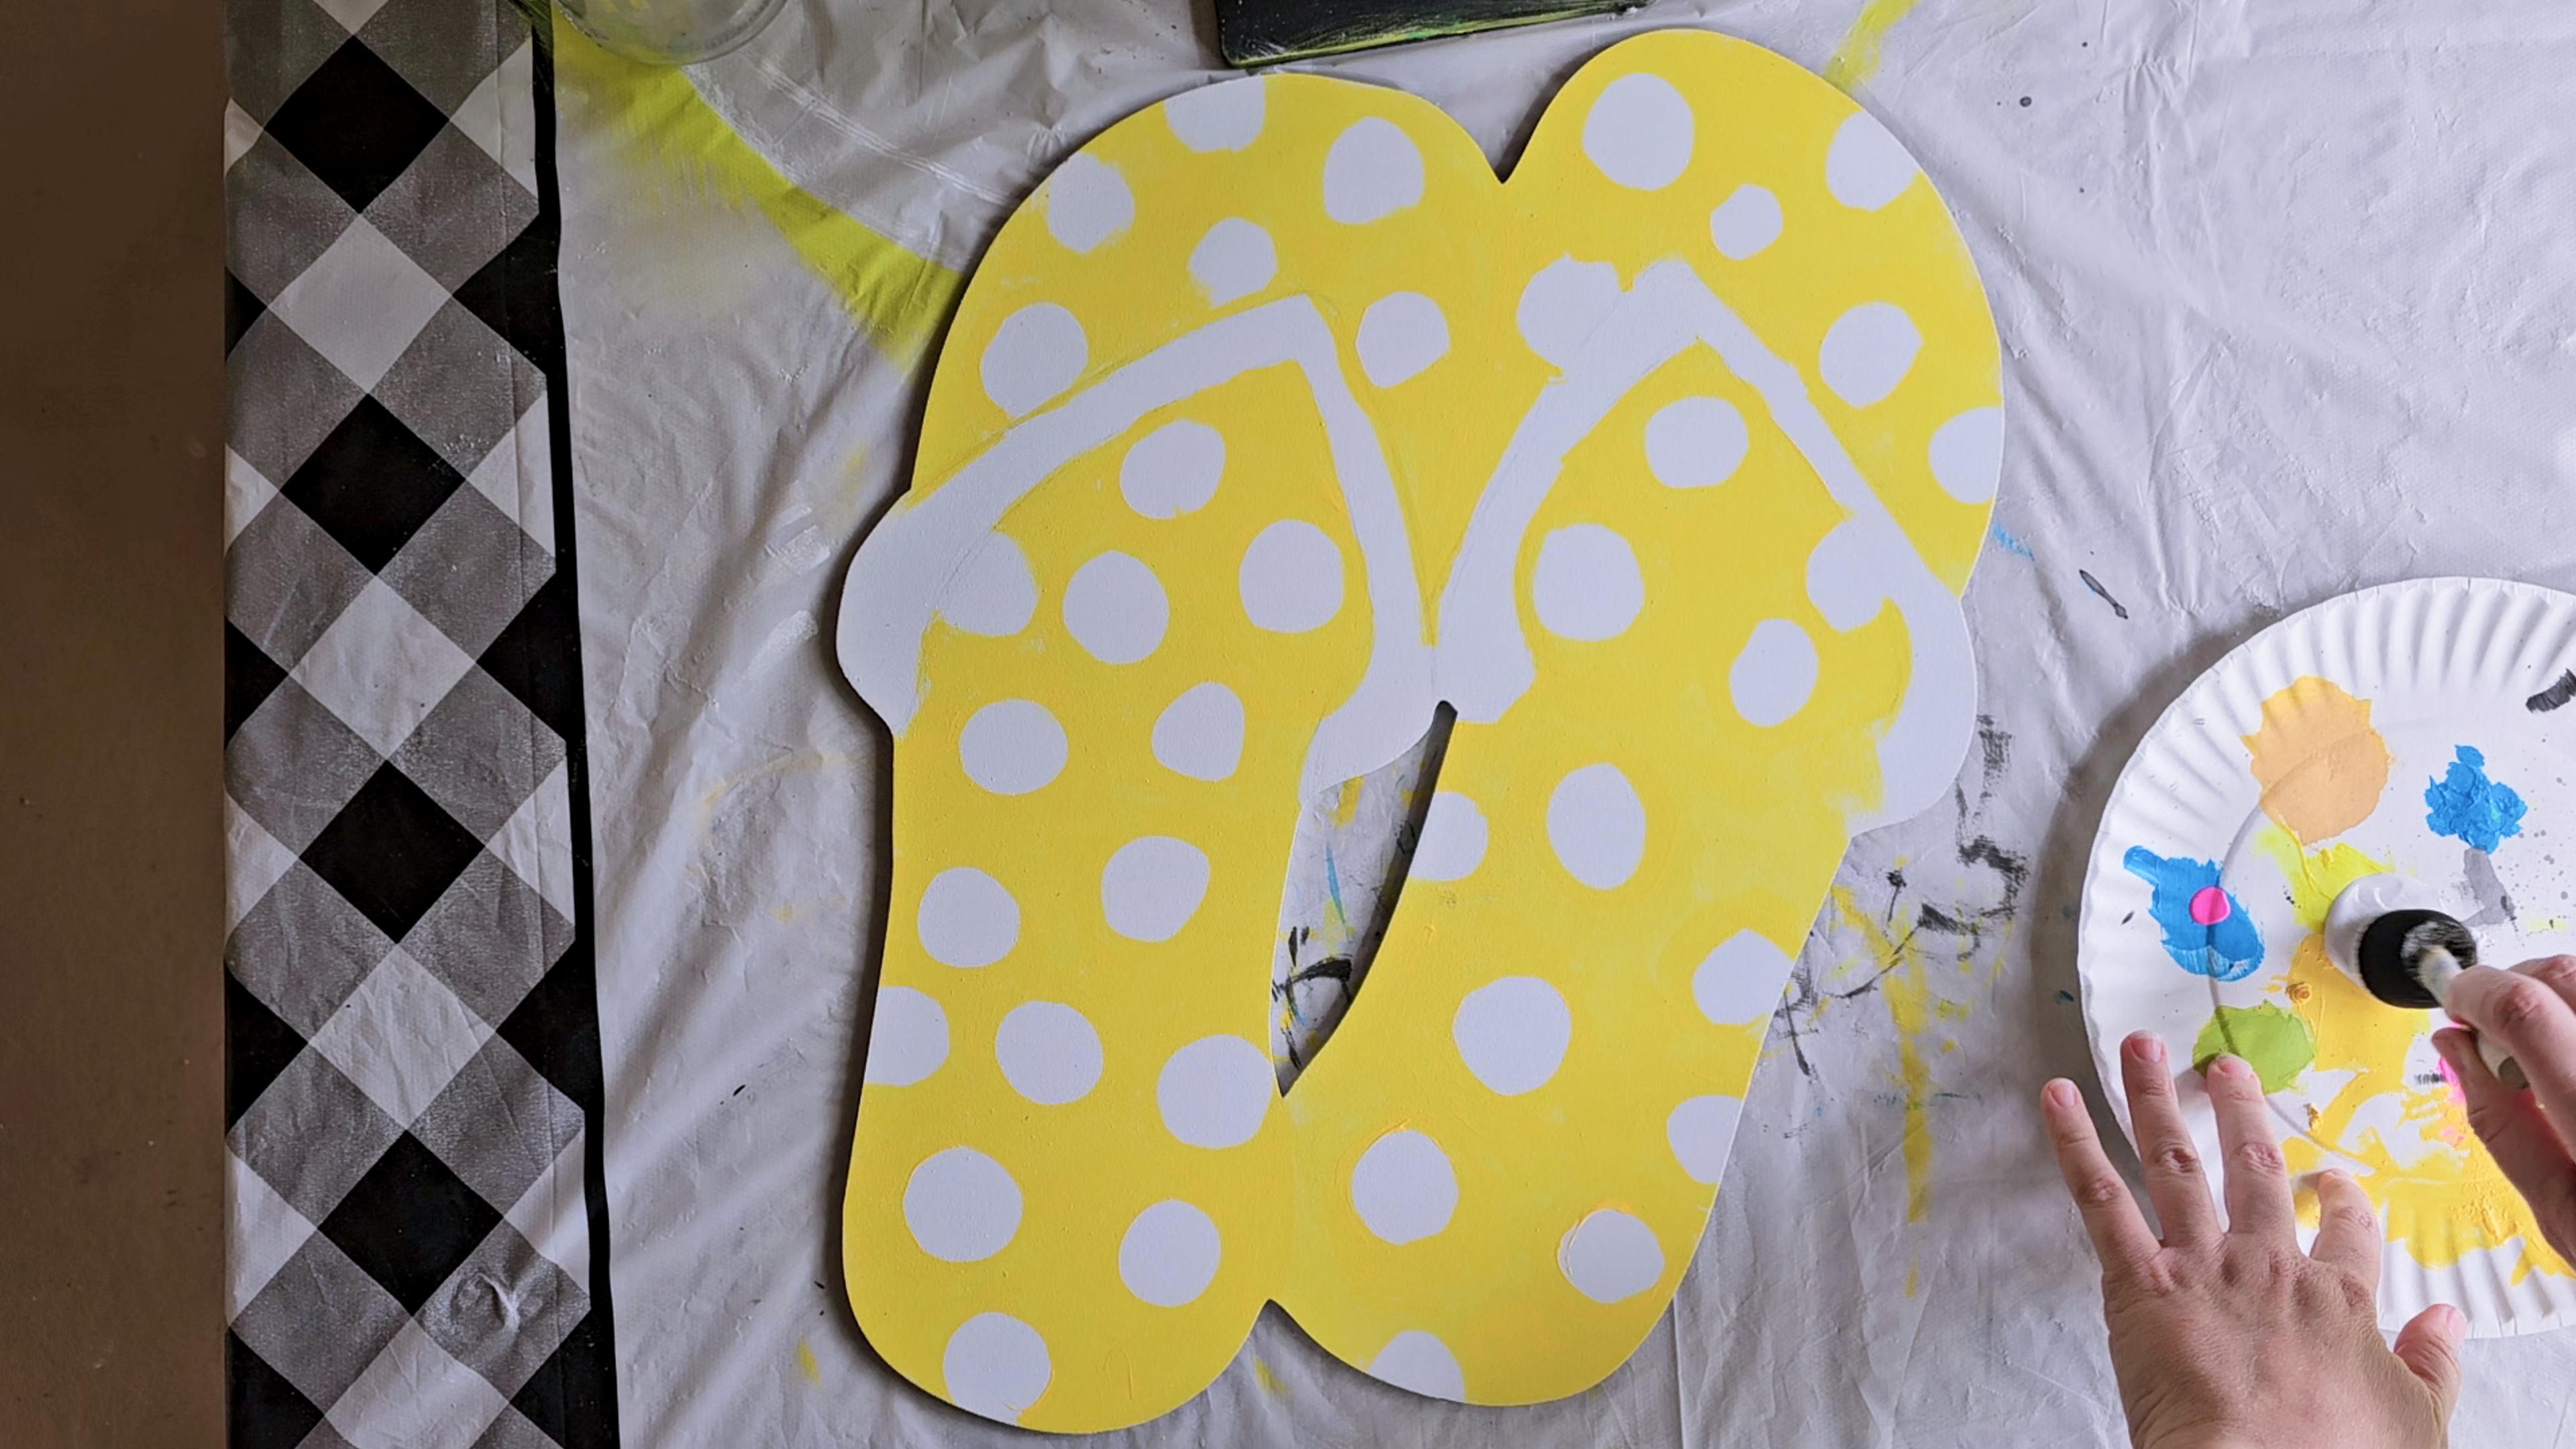
"Decks, Docks, & Flip Flops" Door Hanger
Summer is here with this 18" Decks, Docks, and Flip Flops Door Hanger. Customize it with the color …Jun 28th 2024 -

Hello Summer Popsicle Door Hanger
Summer is here with this 18" Hello Summer Popsicle Door Hanger. Customize it with the colors that …Jun 27th 2024 -

"Eat Sleep Softball Repeat" Door Hanger Wreath Decoration
This "Eat, Sleep, Baseball, Repeat" door hanger kit is for hardcore baseball or tee-ball players, …May 7th 2024