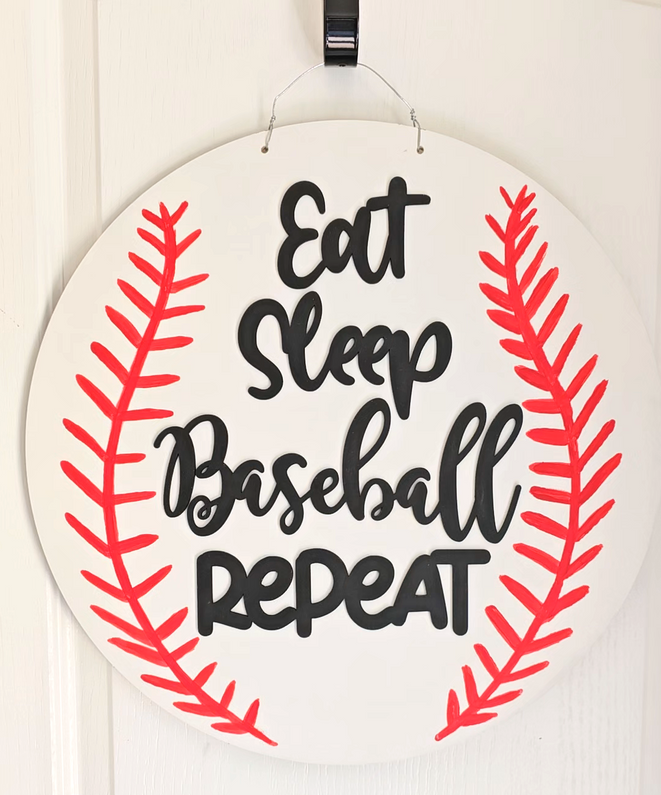
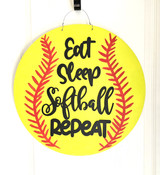
"Eat Sleep Baseball Repeat" Door Hanger Wreath Decoration
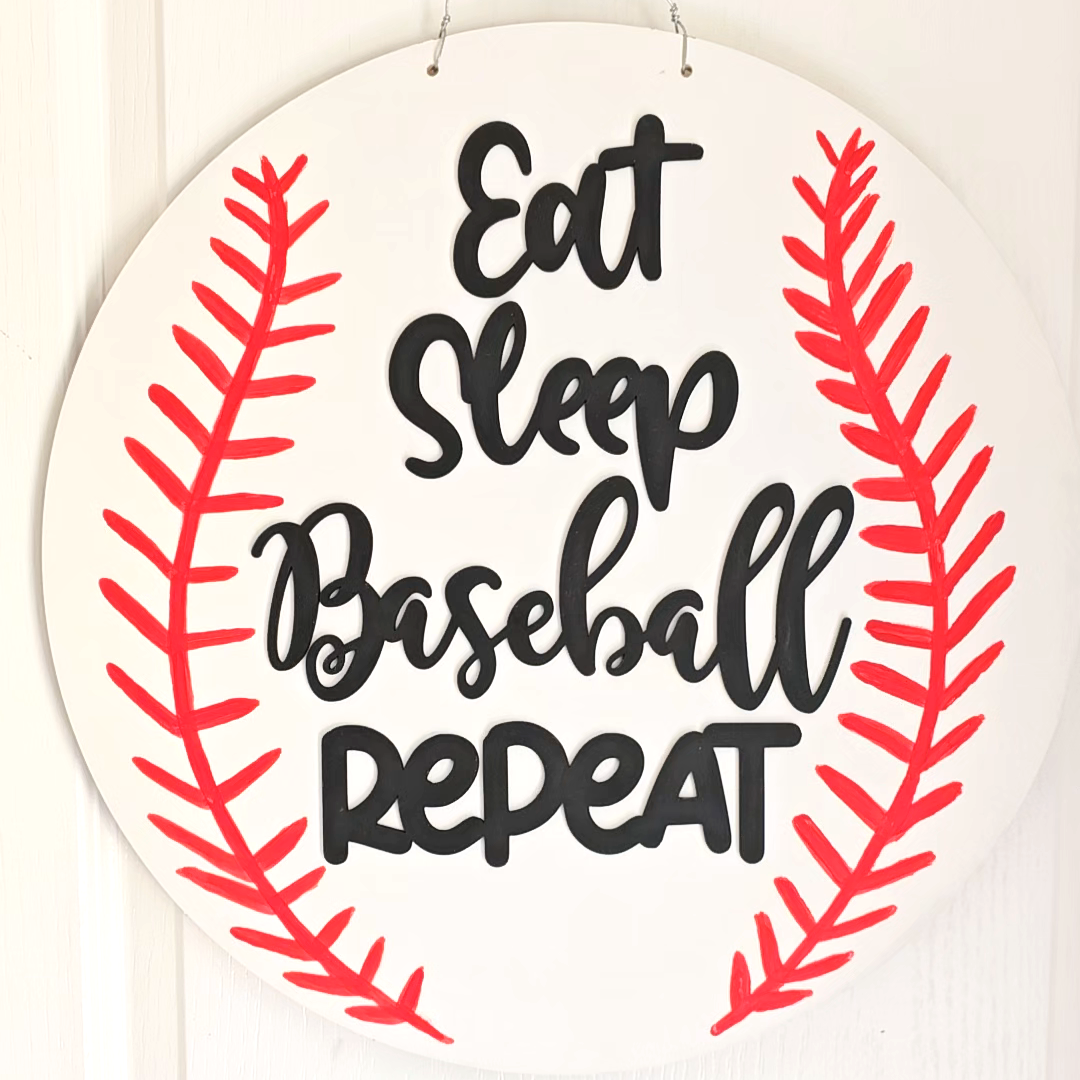
This "Eat, Sleep, Baseball, Repeat" door hanger kit is for hardcore baseball or tee-ball players, fans, and families. A must have during baseball season.
This kit includes all of the wood pieces you will need to create the project shown. View the photos and video to learn how to create this awesome DIY craft project.
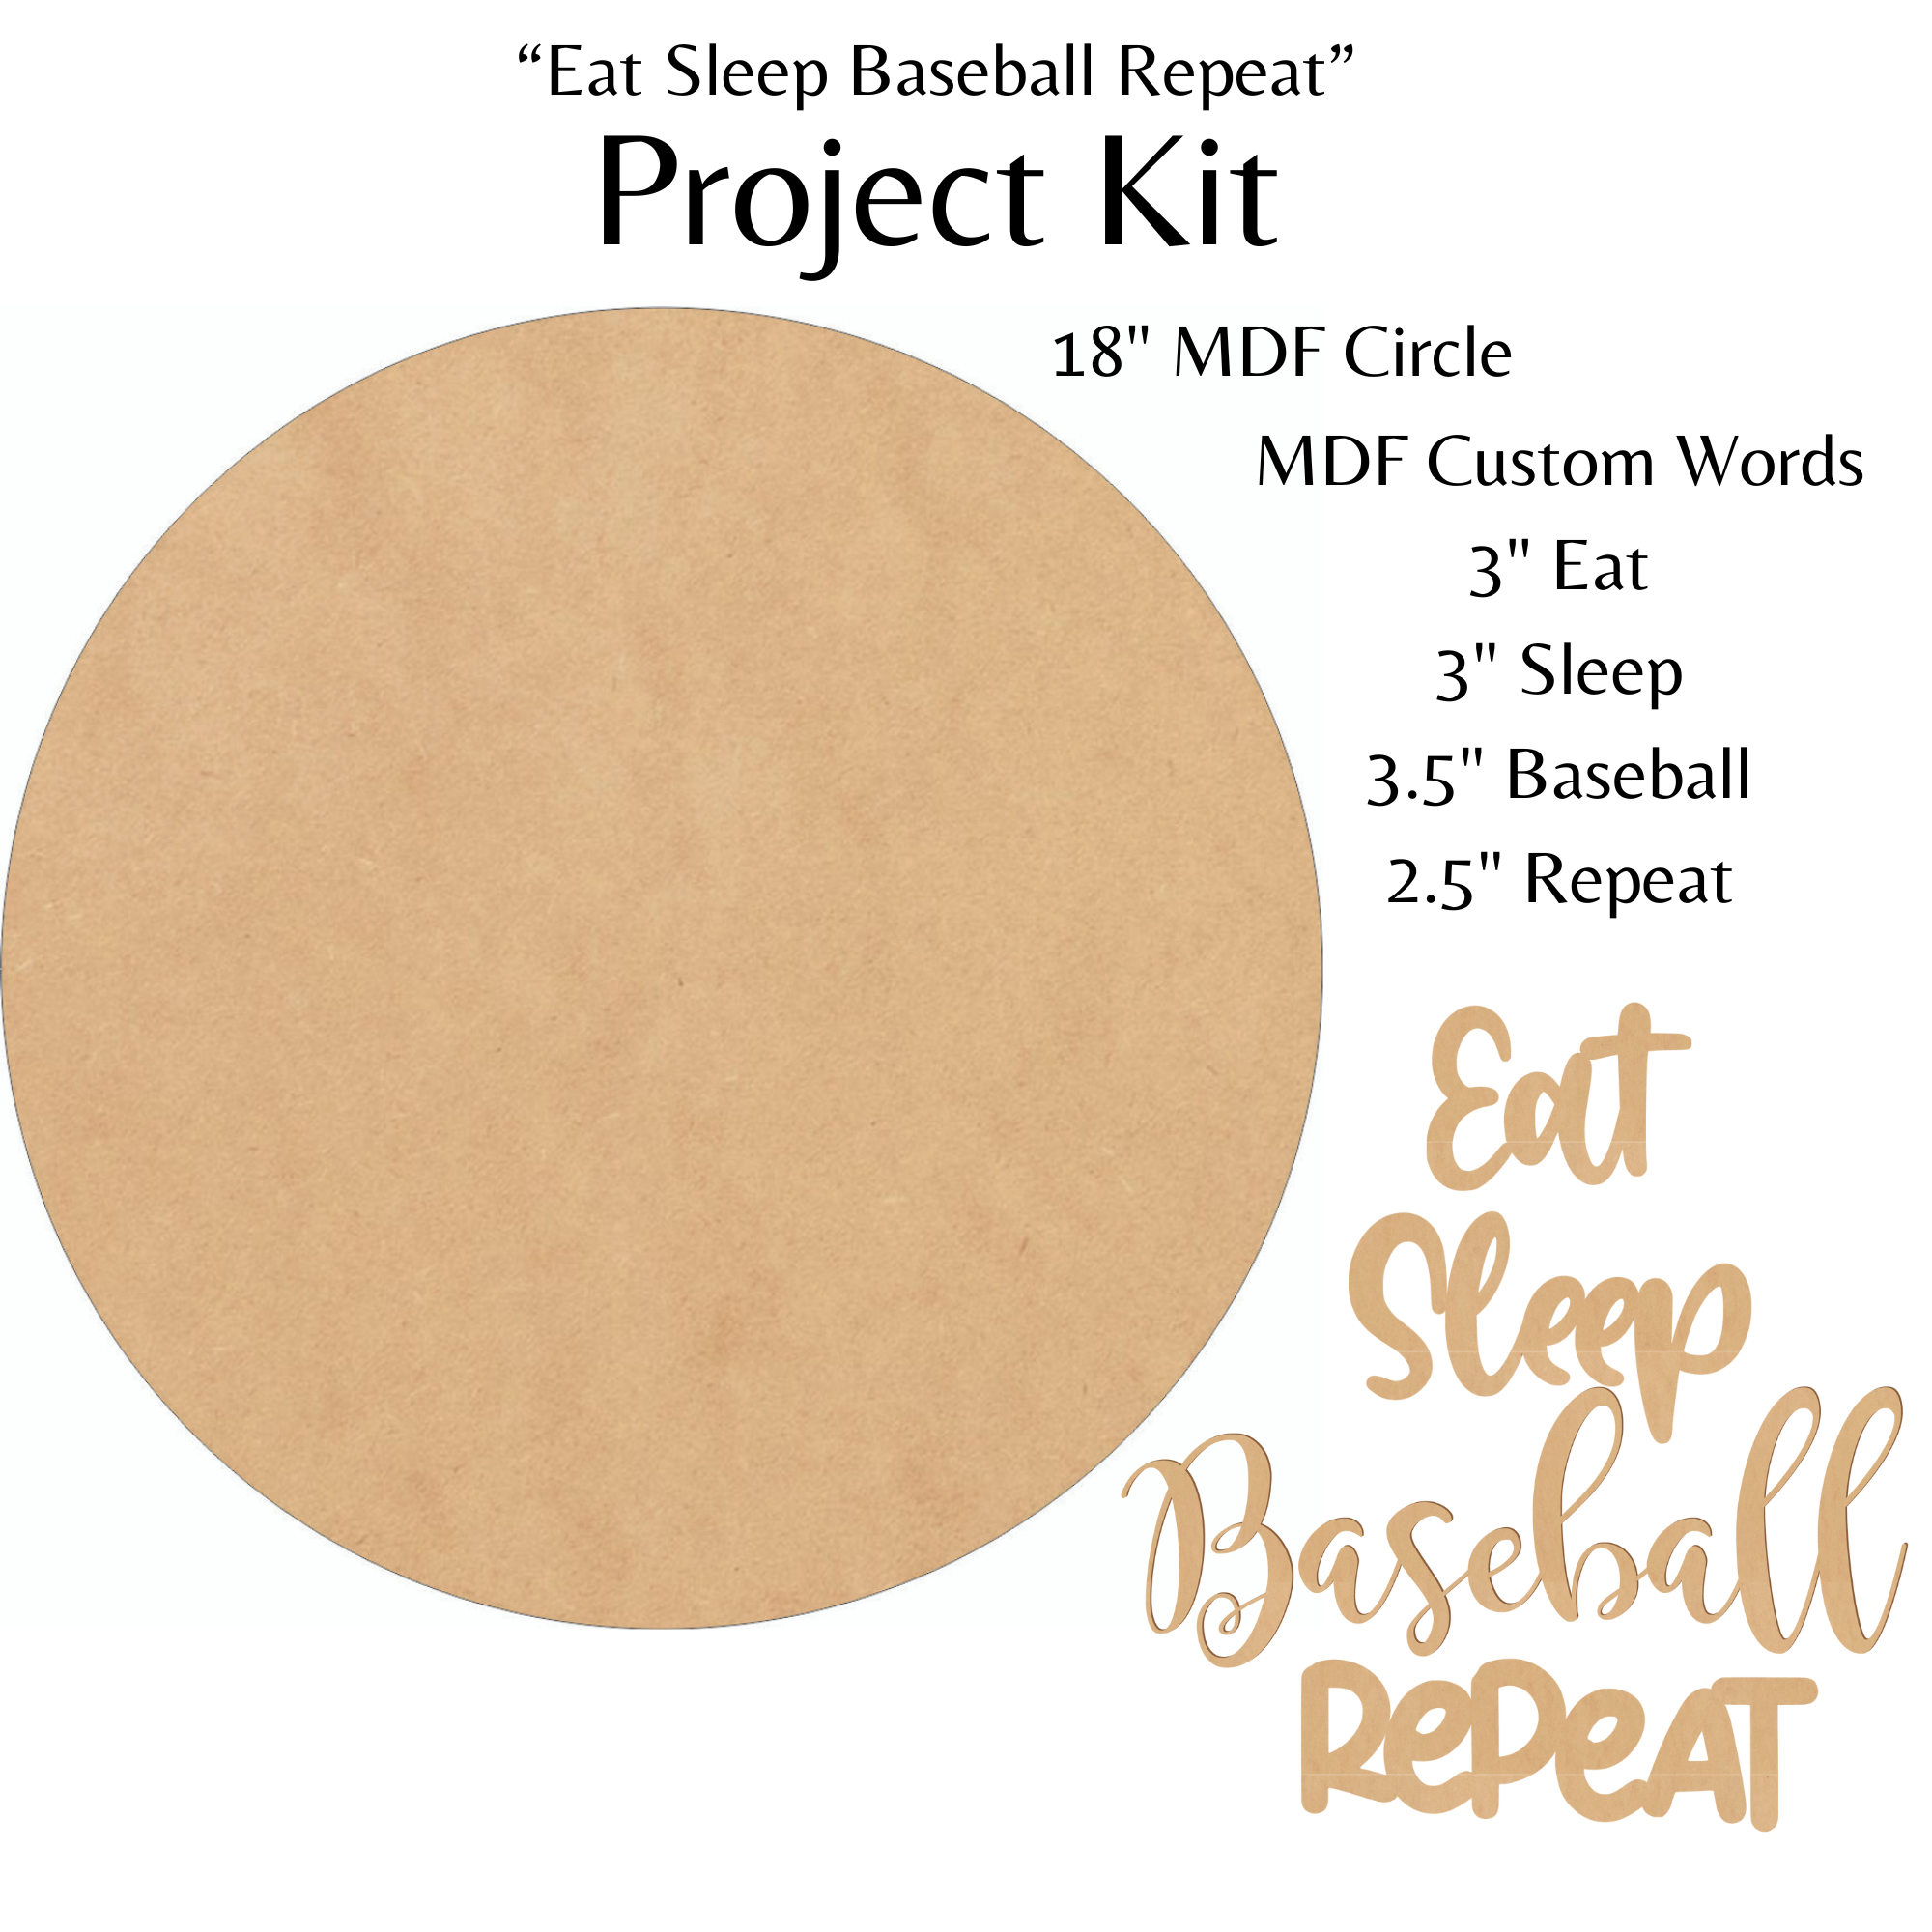
MATERIALS
Kit Includes:
(1) 18" MDF Circle
(1) "Eat" in 3" font Jacklin
(1) "Sleep" in 3" font Jacklin
(1) "Baseball" in 3.5" font Magnolia Sky
(1) "Repeat" in 2.5" font Shadow Beamer
You will also need:
- white paint or spray paint for the base coat
- red paint for the seams
- black paint or black marker to paint the letters
- craft glue
- string, ribbon, or wire for the hanger
- varnish/sealer
- pliers (if using wire)
- drill with drill bit large enough for your wire, string, or ribbon
ADDITIONAL CUSTOMIZATION
Search our site and add to your DIY kit order: You can also order your player's name, sports team numbers, hashtags, team name, or mascot shapes to customize your door hanger project kit. For names and numbers, 1 inch to 1.5 inch wood or acrylic letters or numbers will work best. Consider ordering acrylic to get a fun glitter or super high gloss finish that will jazz up your project. Ask about custom mascot shape designs if you can't find yours in the search results.
LET'S GET STARTED
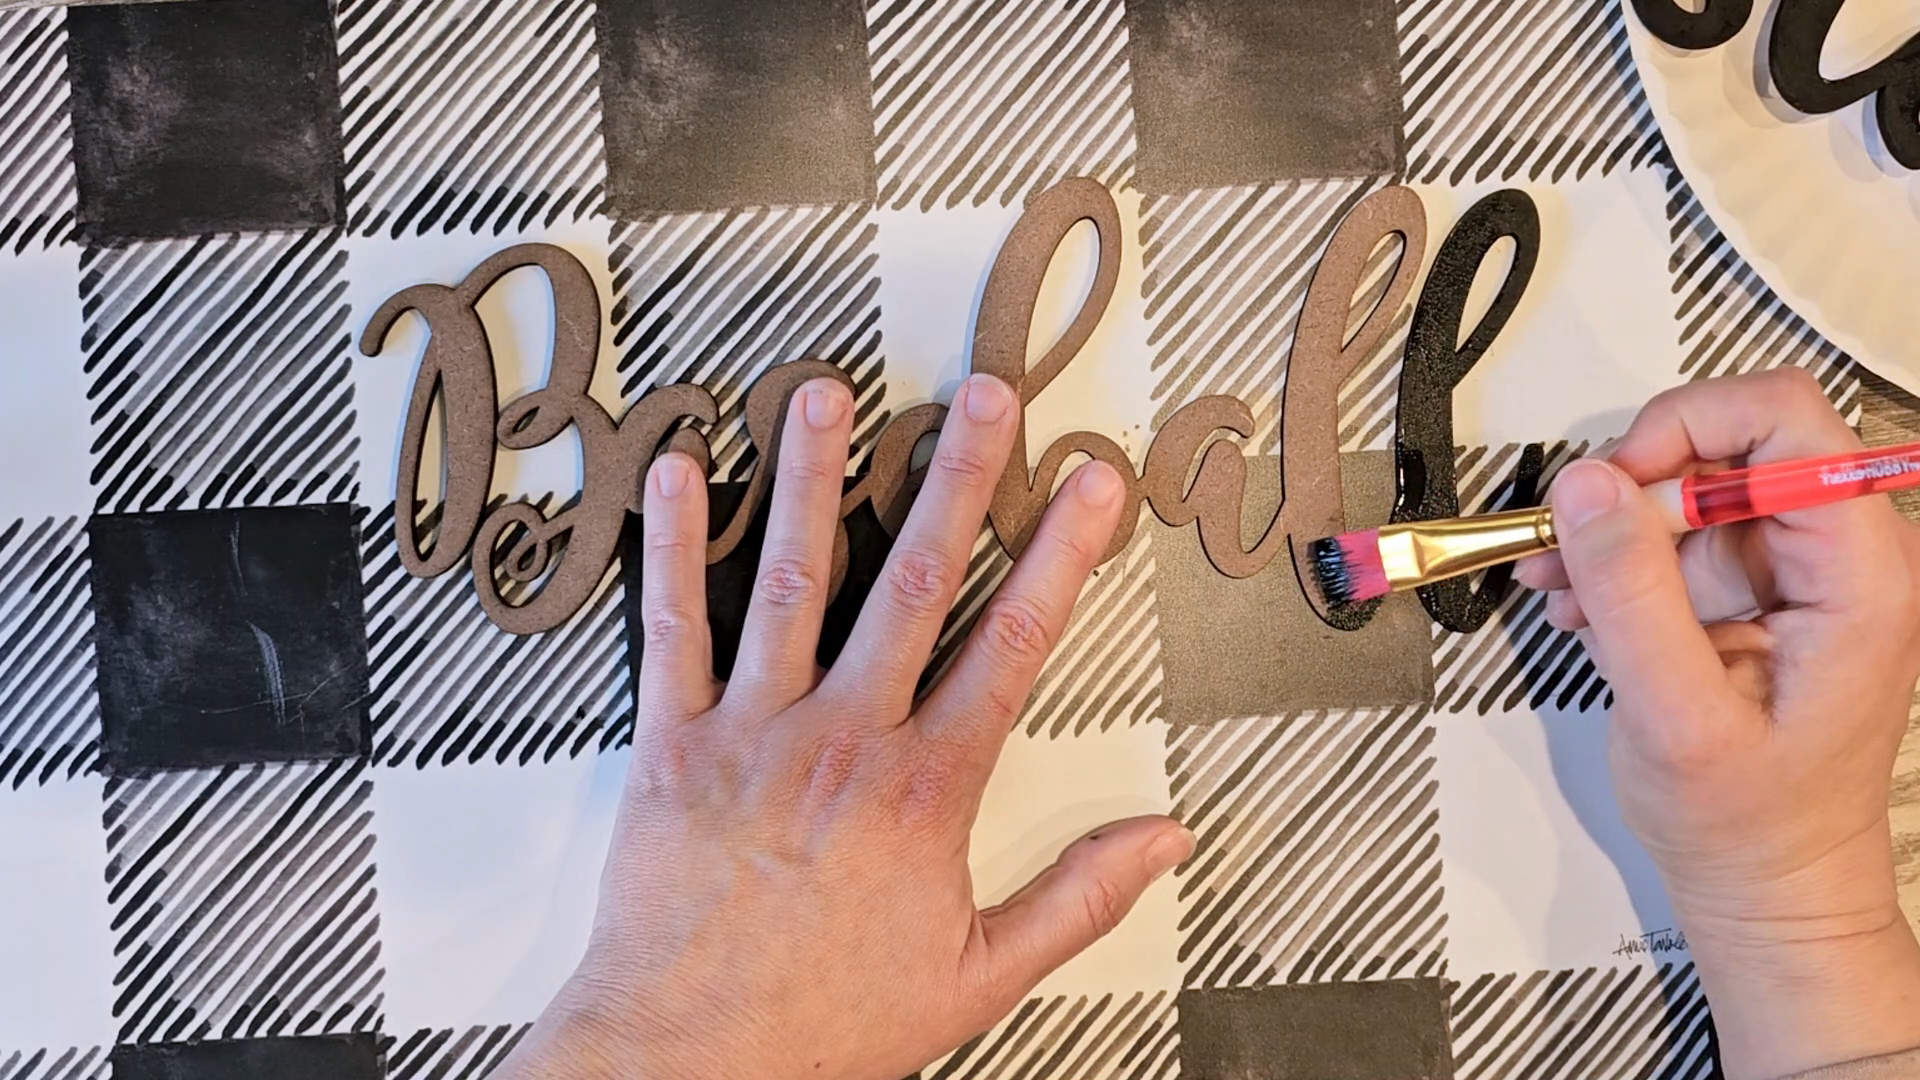
1. After you receive your kit, begin by painting the letters black (or the color of your choice). A darker color will look best on the white background. You can place the letters on the back of the circle in order to avoid getting paint on your table.
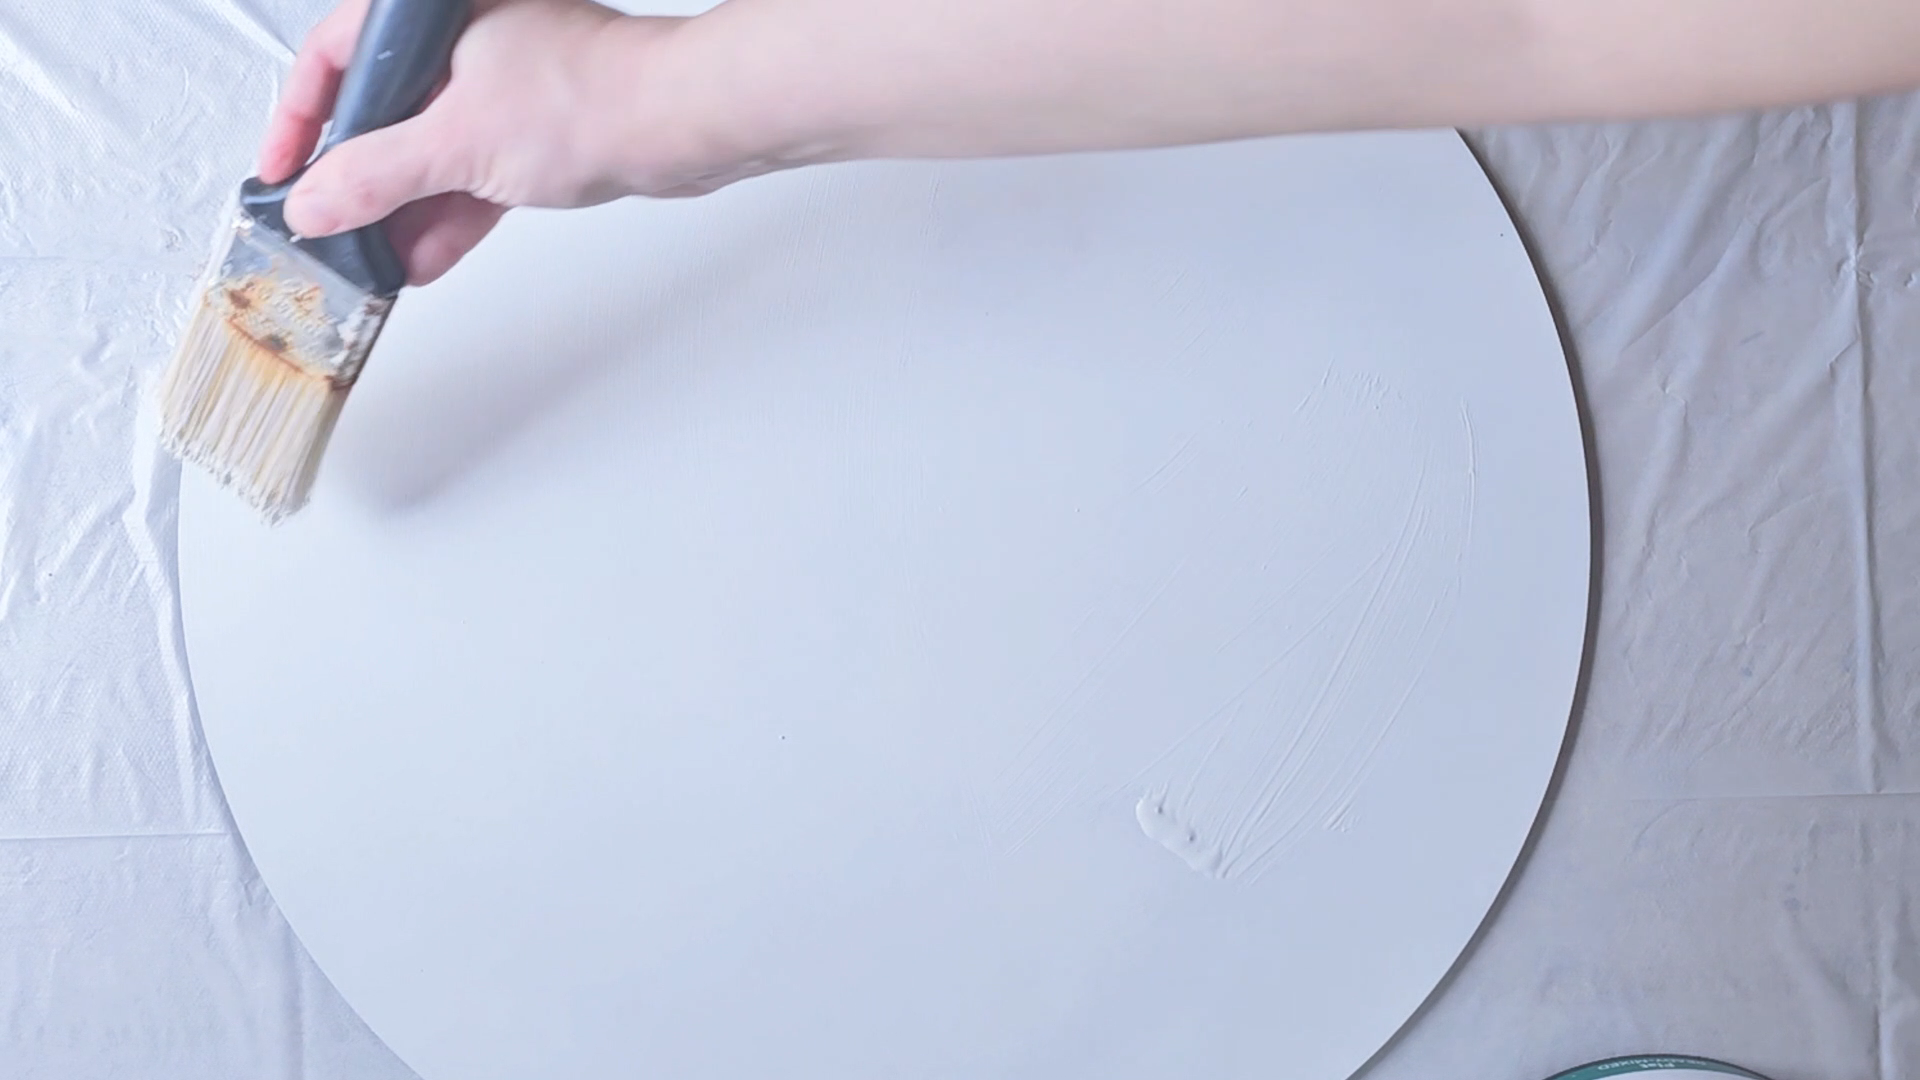
2. Use white paint to cover the circle in a base coat. Once dry, one additional coat is usually sufficient, although three may be needed. Spray paint is quick and easy but white house paint or paint plus primer is a good option. In the project video, the base coat is done with spray paint and the final coat of white is done with house paint and a large house painting brush. You can use your preferred method to cover the circle in white.
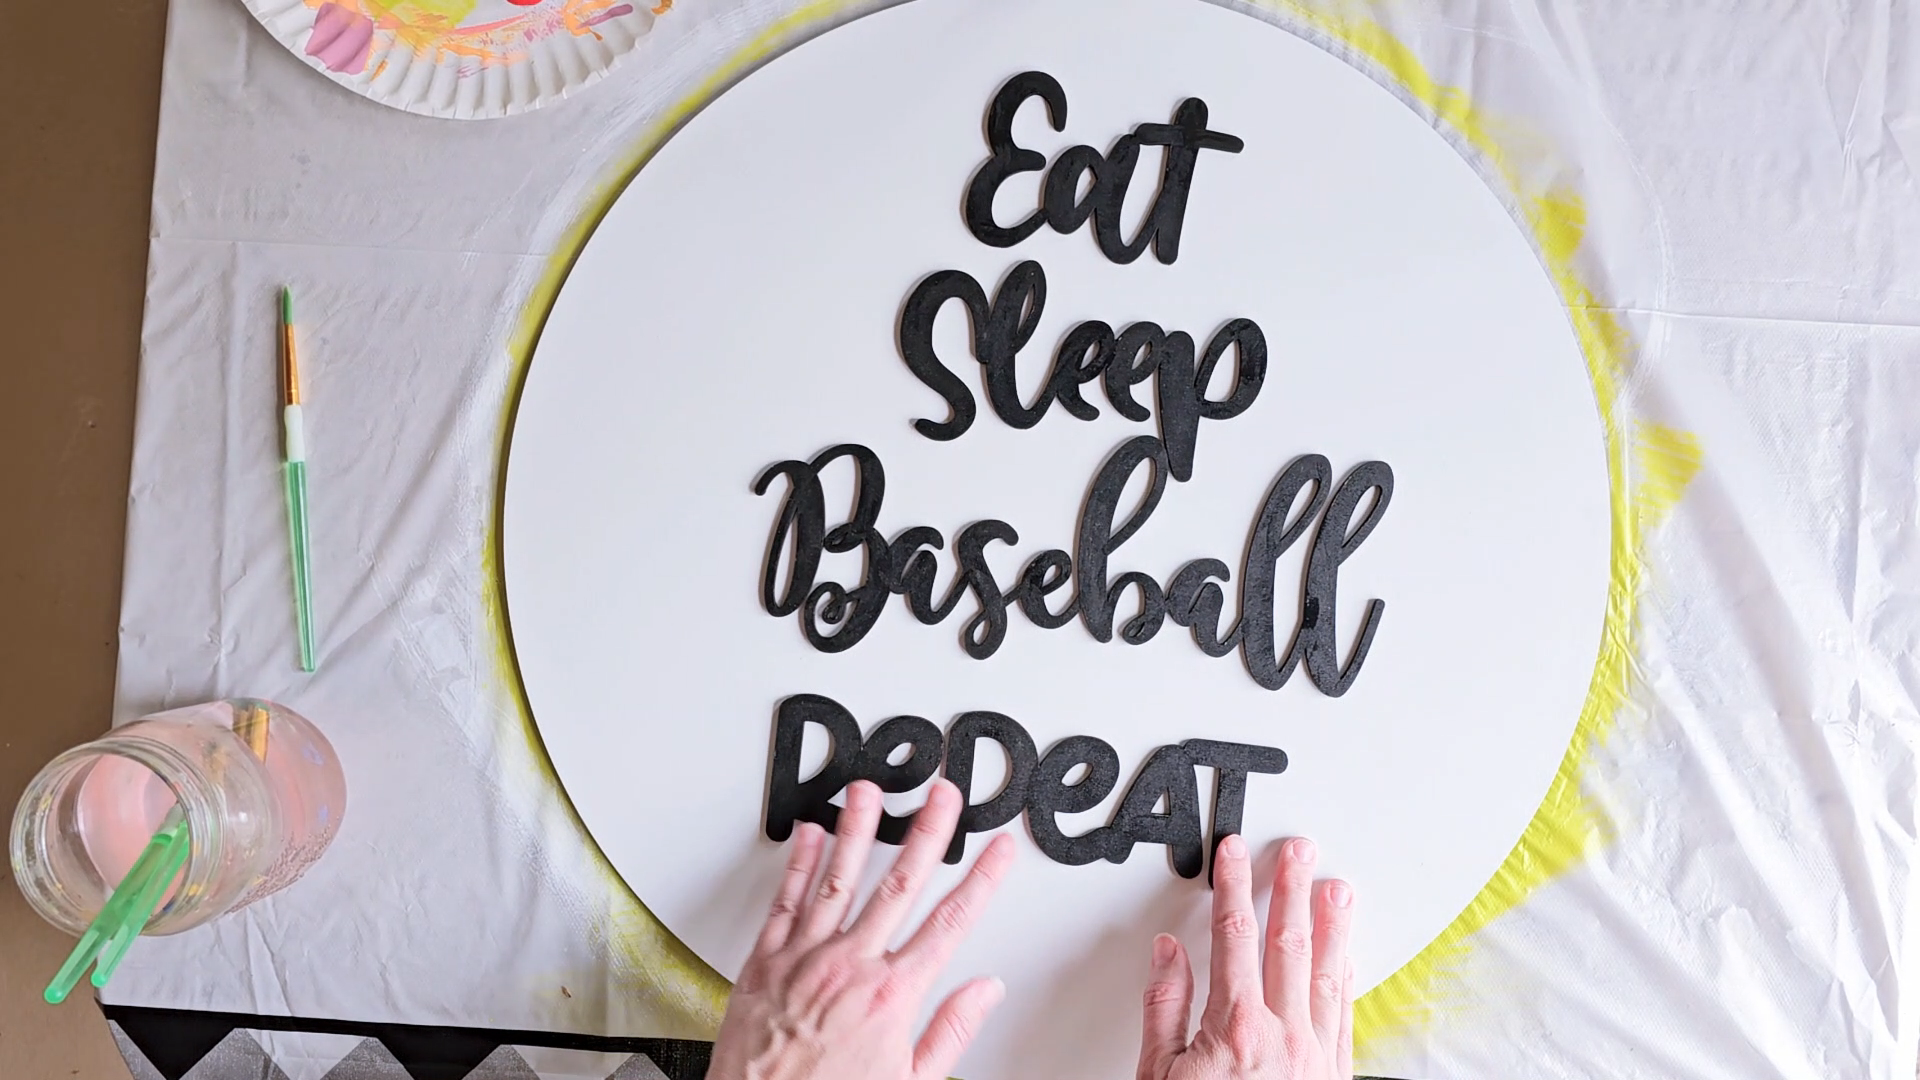
3. Once the circle is dry, you can place the letters on the circle. Try different placements until you are happy with the result.
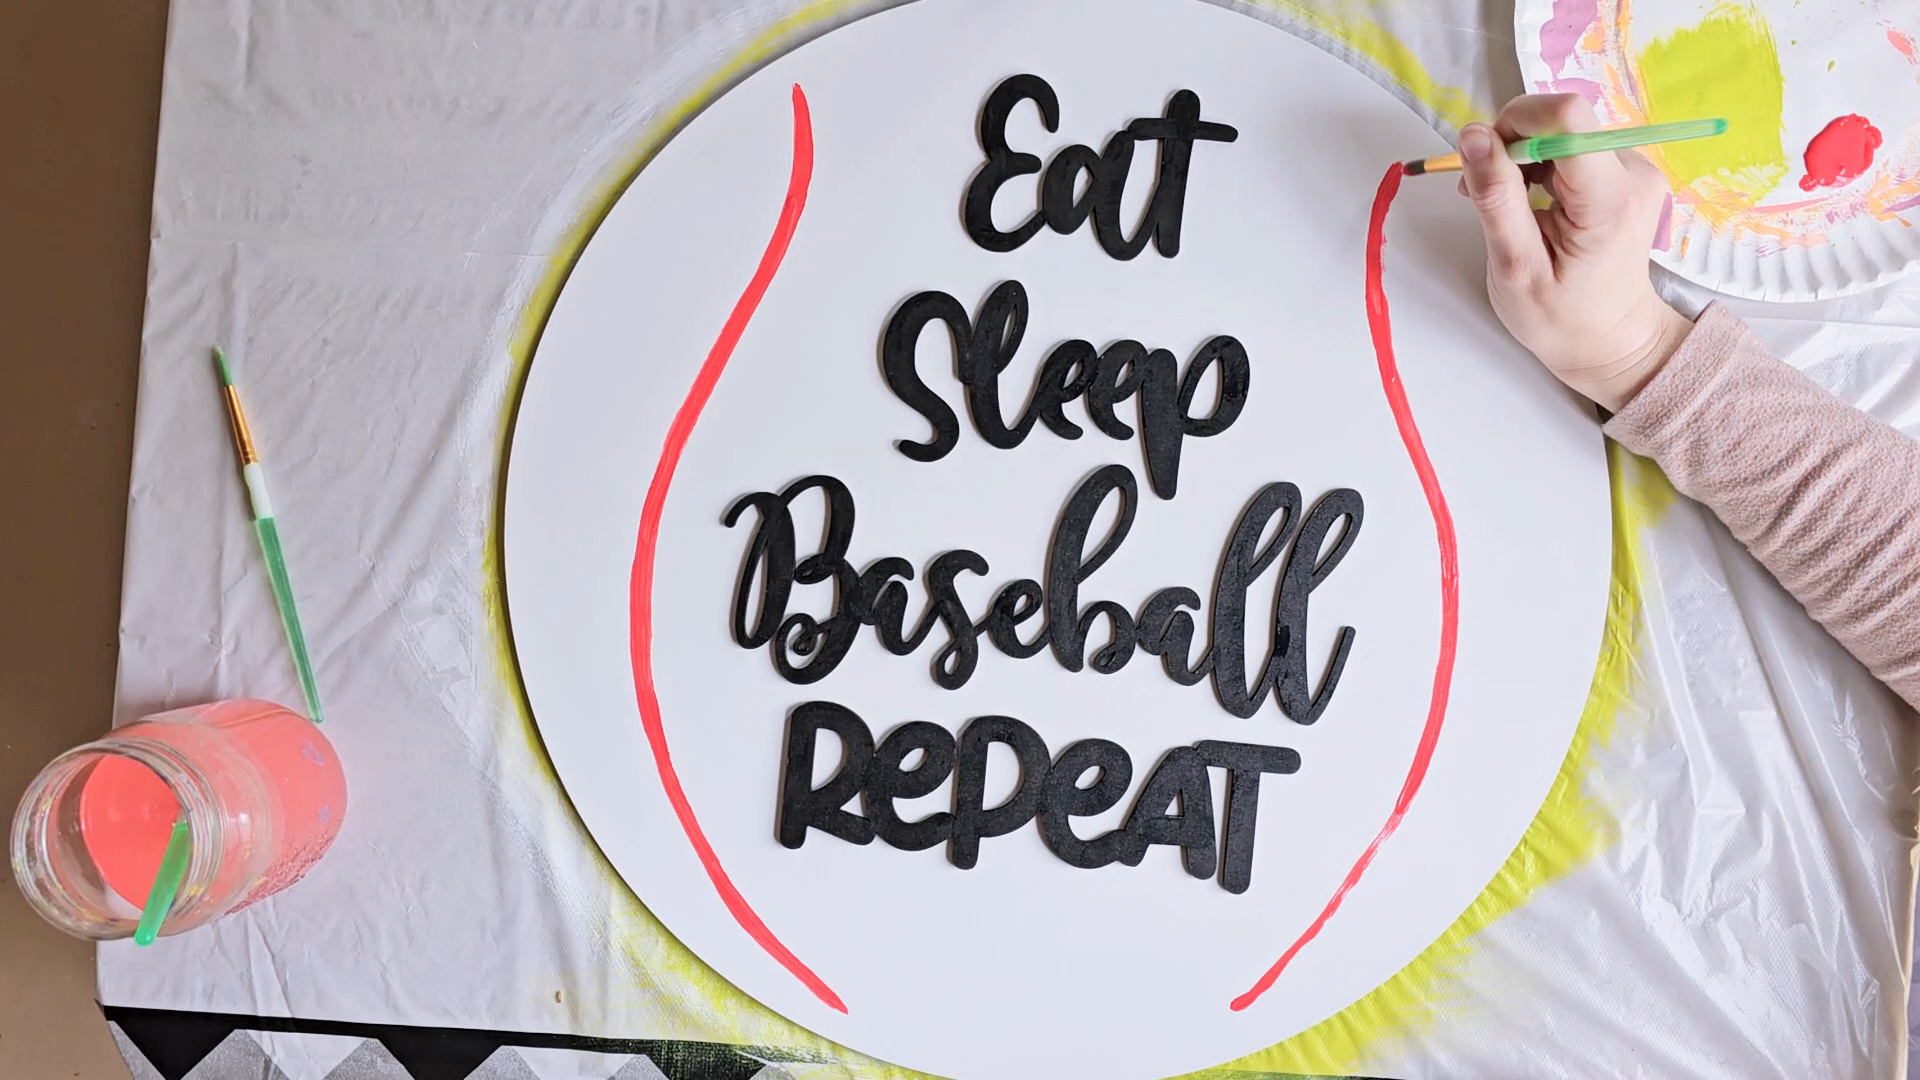
4. Use a pencil or freehand paint the curved lines for the main seam lines. If you aren't sure of the placement, trace a few circles on a sheet of paper and practice drawing the curved lines there first. Drawing or painting the seam lines is easier if you use the letter placement as a guide. Make sure your seams are about two inches away from the edge of the letters.
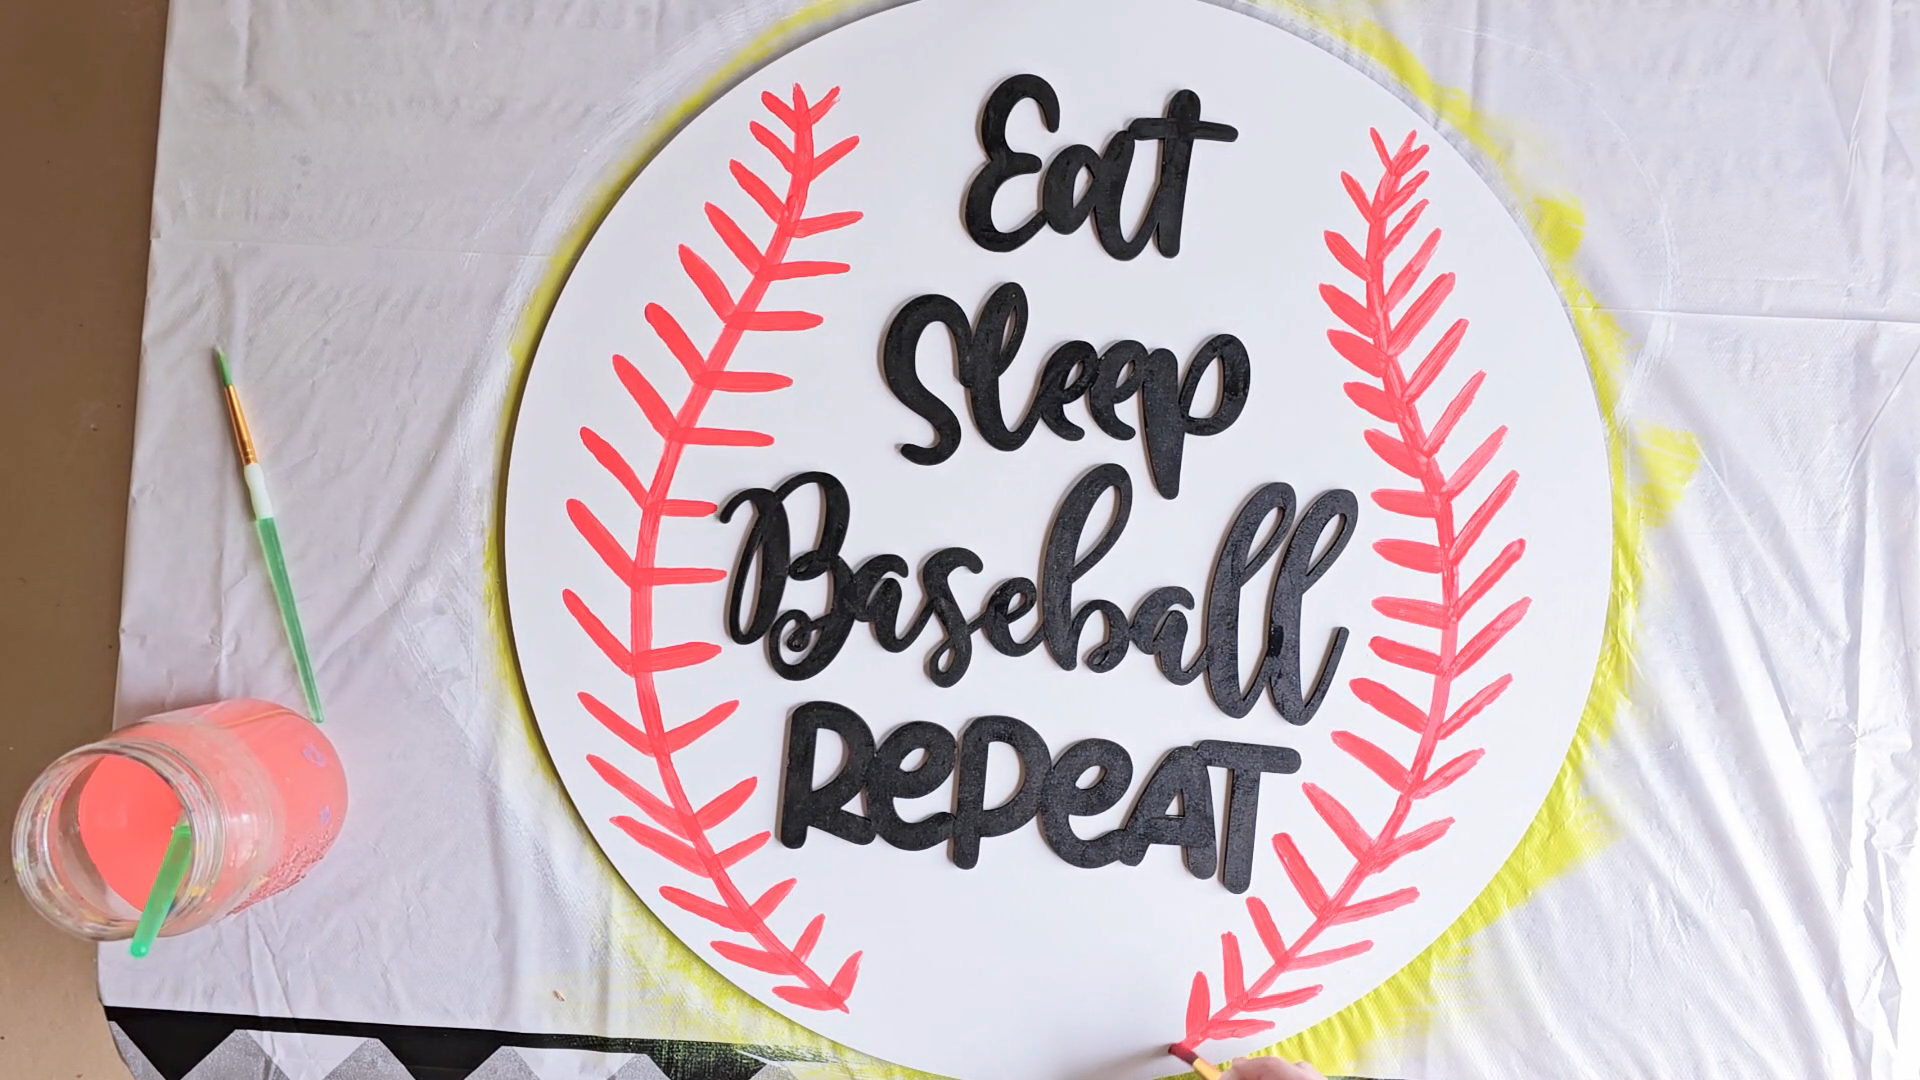
5. Next draw or paint the stitches. The stitches near the top and bottom should be much shorter and angled upward. The stitches along the outside should gradually increase in length and spacing toward the largest part of the curve and will continue to be angled upward. At the largest point, the stitches should be about two and a half inches in length. Stitch spacing should be about one and a half inches along the largest part of the curve and should decrease toward the top and bottom. The stitches along the inside should also gradually increase toward the largest part of the curve but they will be more horizontal and less angled. They may also be cut short if the letters are in the way.
6. Glue the letters in place using a craft glue of your choice. Regular Elmer's school glue will work. Hot glue is not a good option due to potential issues with storage, summer heat, strings, bumps, and likely injury during placement. If using craft glue, you can use a small paintbrush and water to wash away any excess glue before it dries.
7. If you have not already done so, paint over the seams using red craft paint. It will likely require two coats of red to create the thick red seams. Make sure to taper the main seam at the top and bottom and make the line thicker toward the center of the circle.
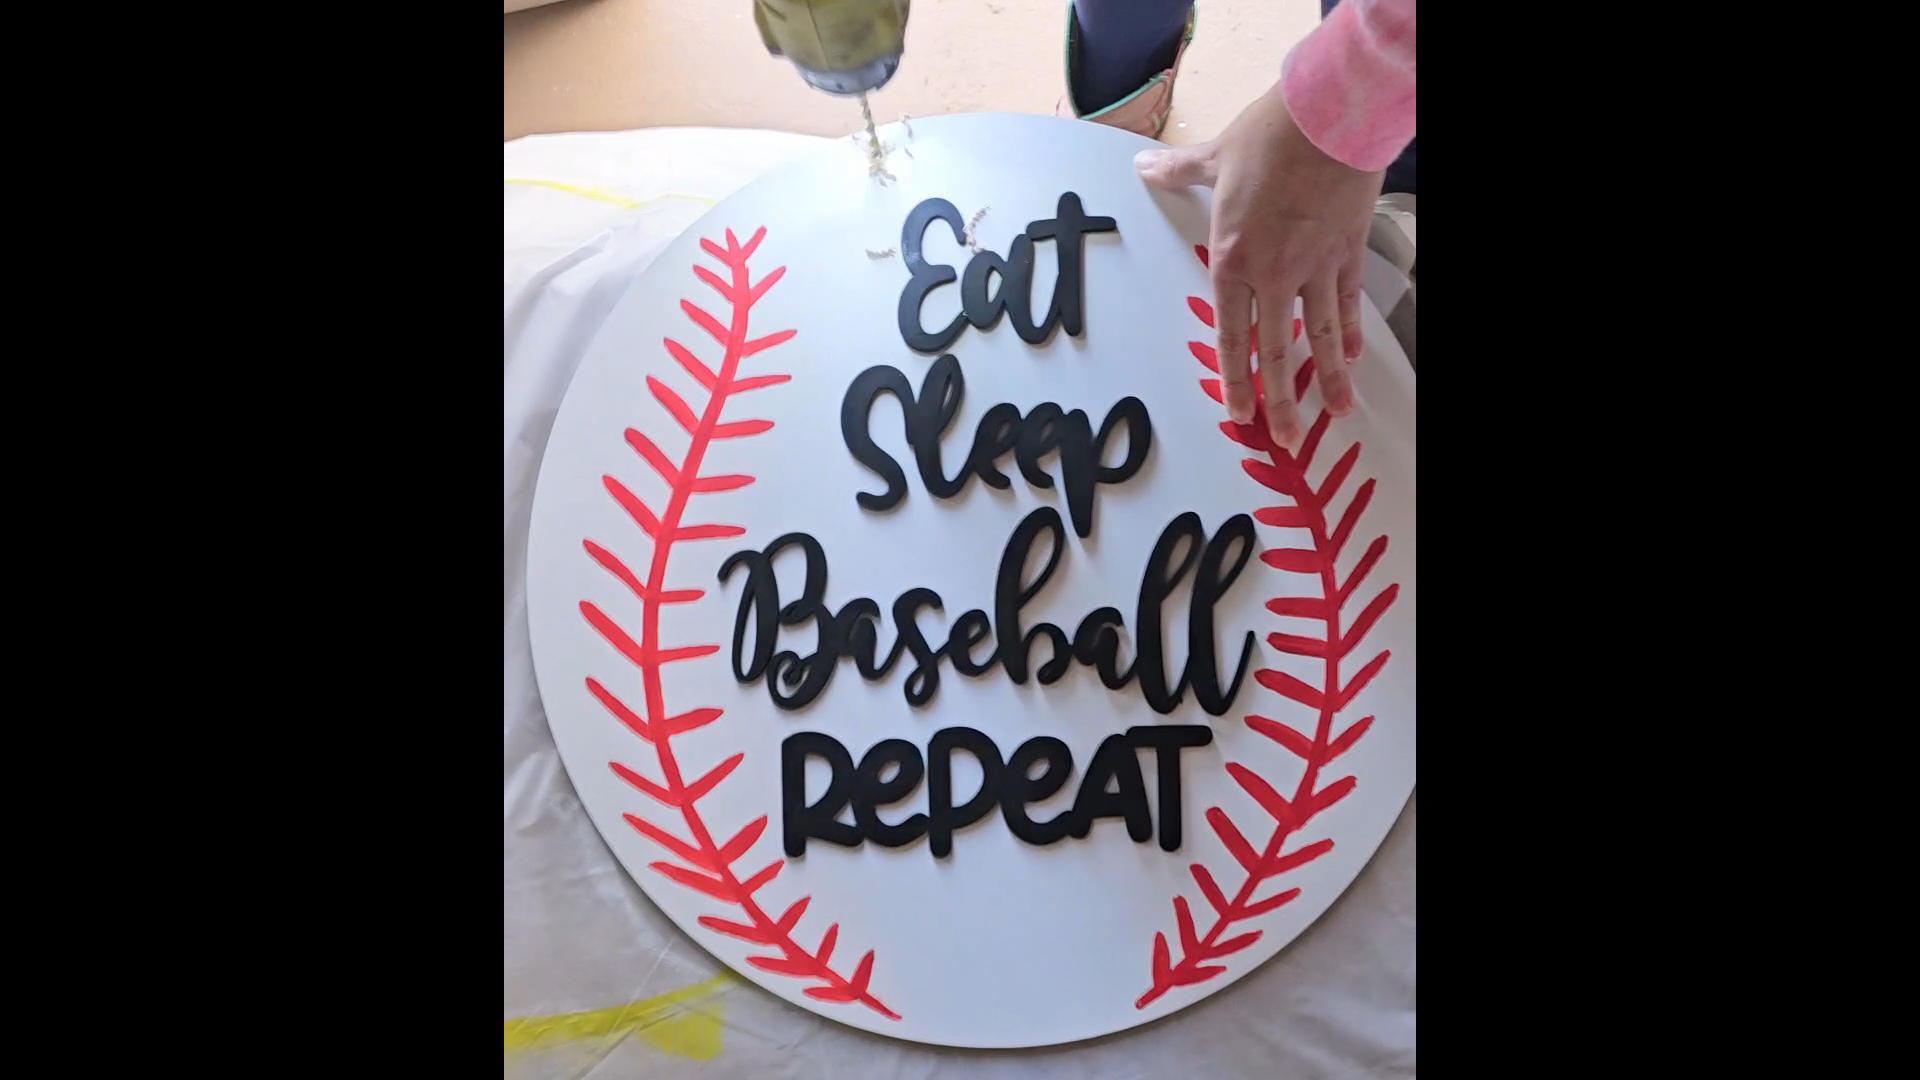
8. Using a large drill bit drill holes on either side of the word "Eat" at the top. Make sure the holes are at least one inch from the edge of the circle.
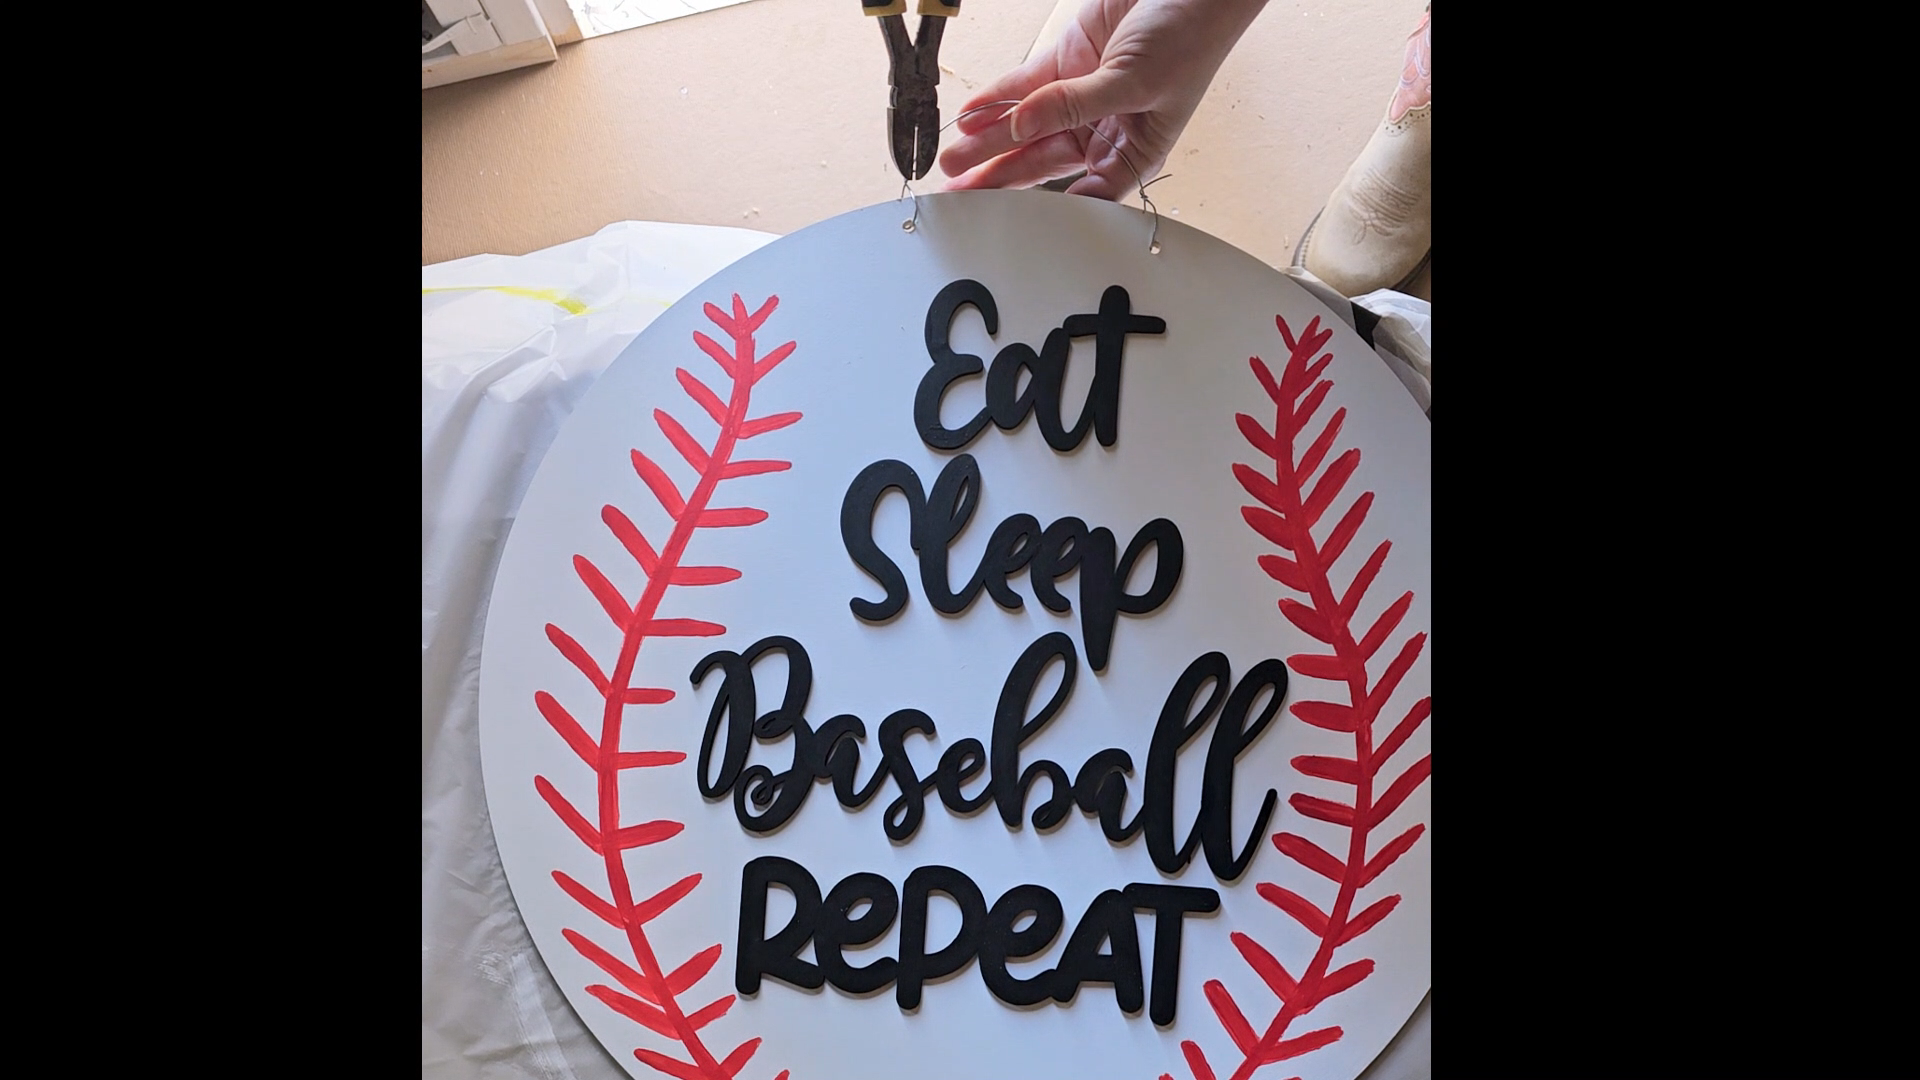
9. Cut approximately ten inches of wire or at least twelve inches of string to thread through the holes in the circle. If using wire, create an arch "handle" the size you desire and then using pliers, wrap the ends of the wire around several times before trimming them. Use the same method if using string. Ribbon can also be used.
That's it! You are done!
We hope you enjoy this fun and easy baseball themed craft project from Awesome Life Craft and that you personalize it with team colors, other baseball themed images such as a batter, glove, bats, home plate, and more. This project is great for the months right after Easter and into summer when holidays are few and far between. During this time of year, April, May, and June, baseball is the season in session. Celebrate it with pride and make your special player feel your family's team spirit.
Recent Posts
-
"Decks, Docks, & Flip Flops" Door Hanger
Summer is here with this 18" Decks, Docks, and Flip Flops Door Hanger. Customize it with the color …Jun 28th 2024 -
Hello Summer Popsicle Door Hanger
Summer is here with this 18" Hello Summer Popsicle Door Hanger. Customize it with the colors that …Jun 27th 2024 -
"Eat Sleep Softball Repeat" Door Hanger Wreath Decoration
This "Eat, Sleep, Baseball, Repeat" door hanger kit is for hardcore baseball or tee-ball players, …May 7th 2024
