
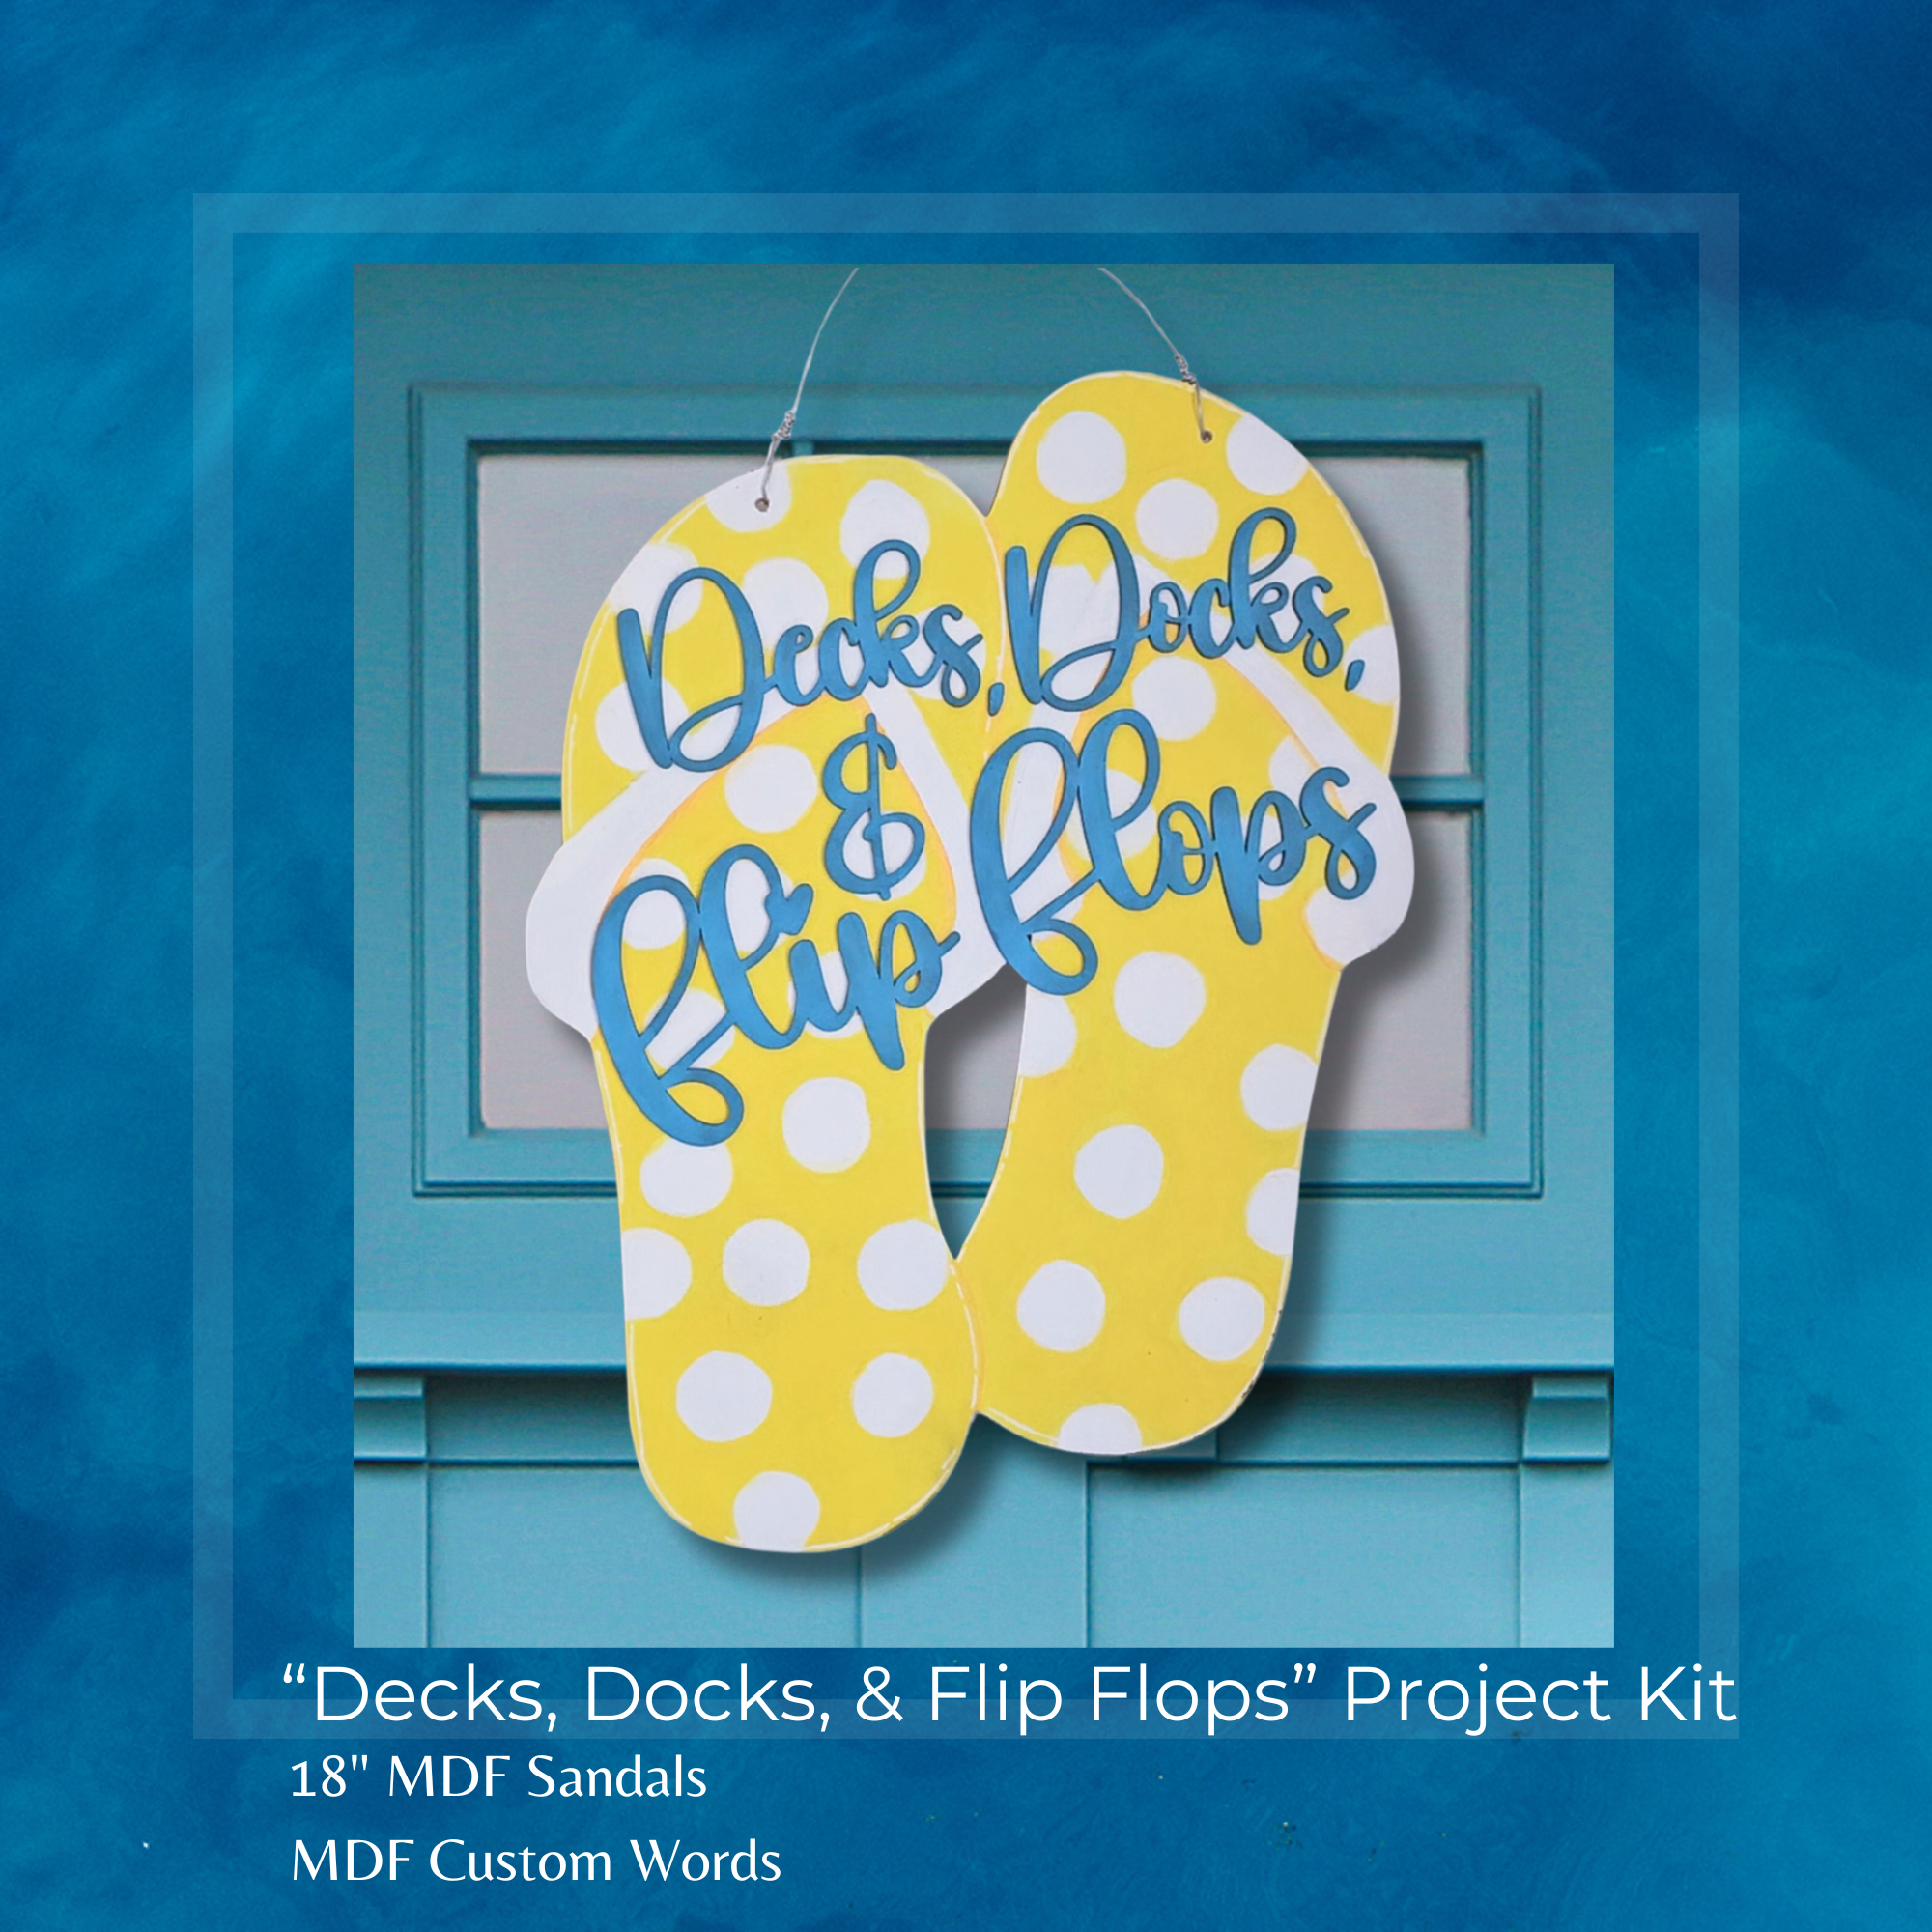
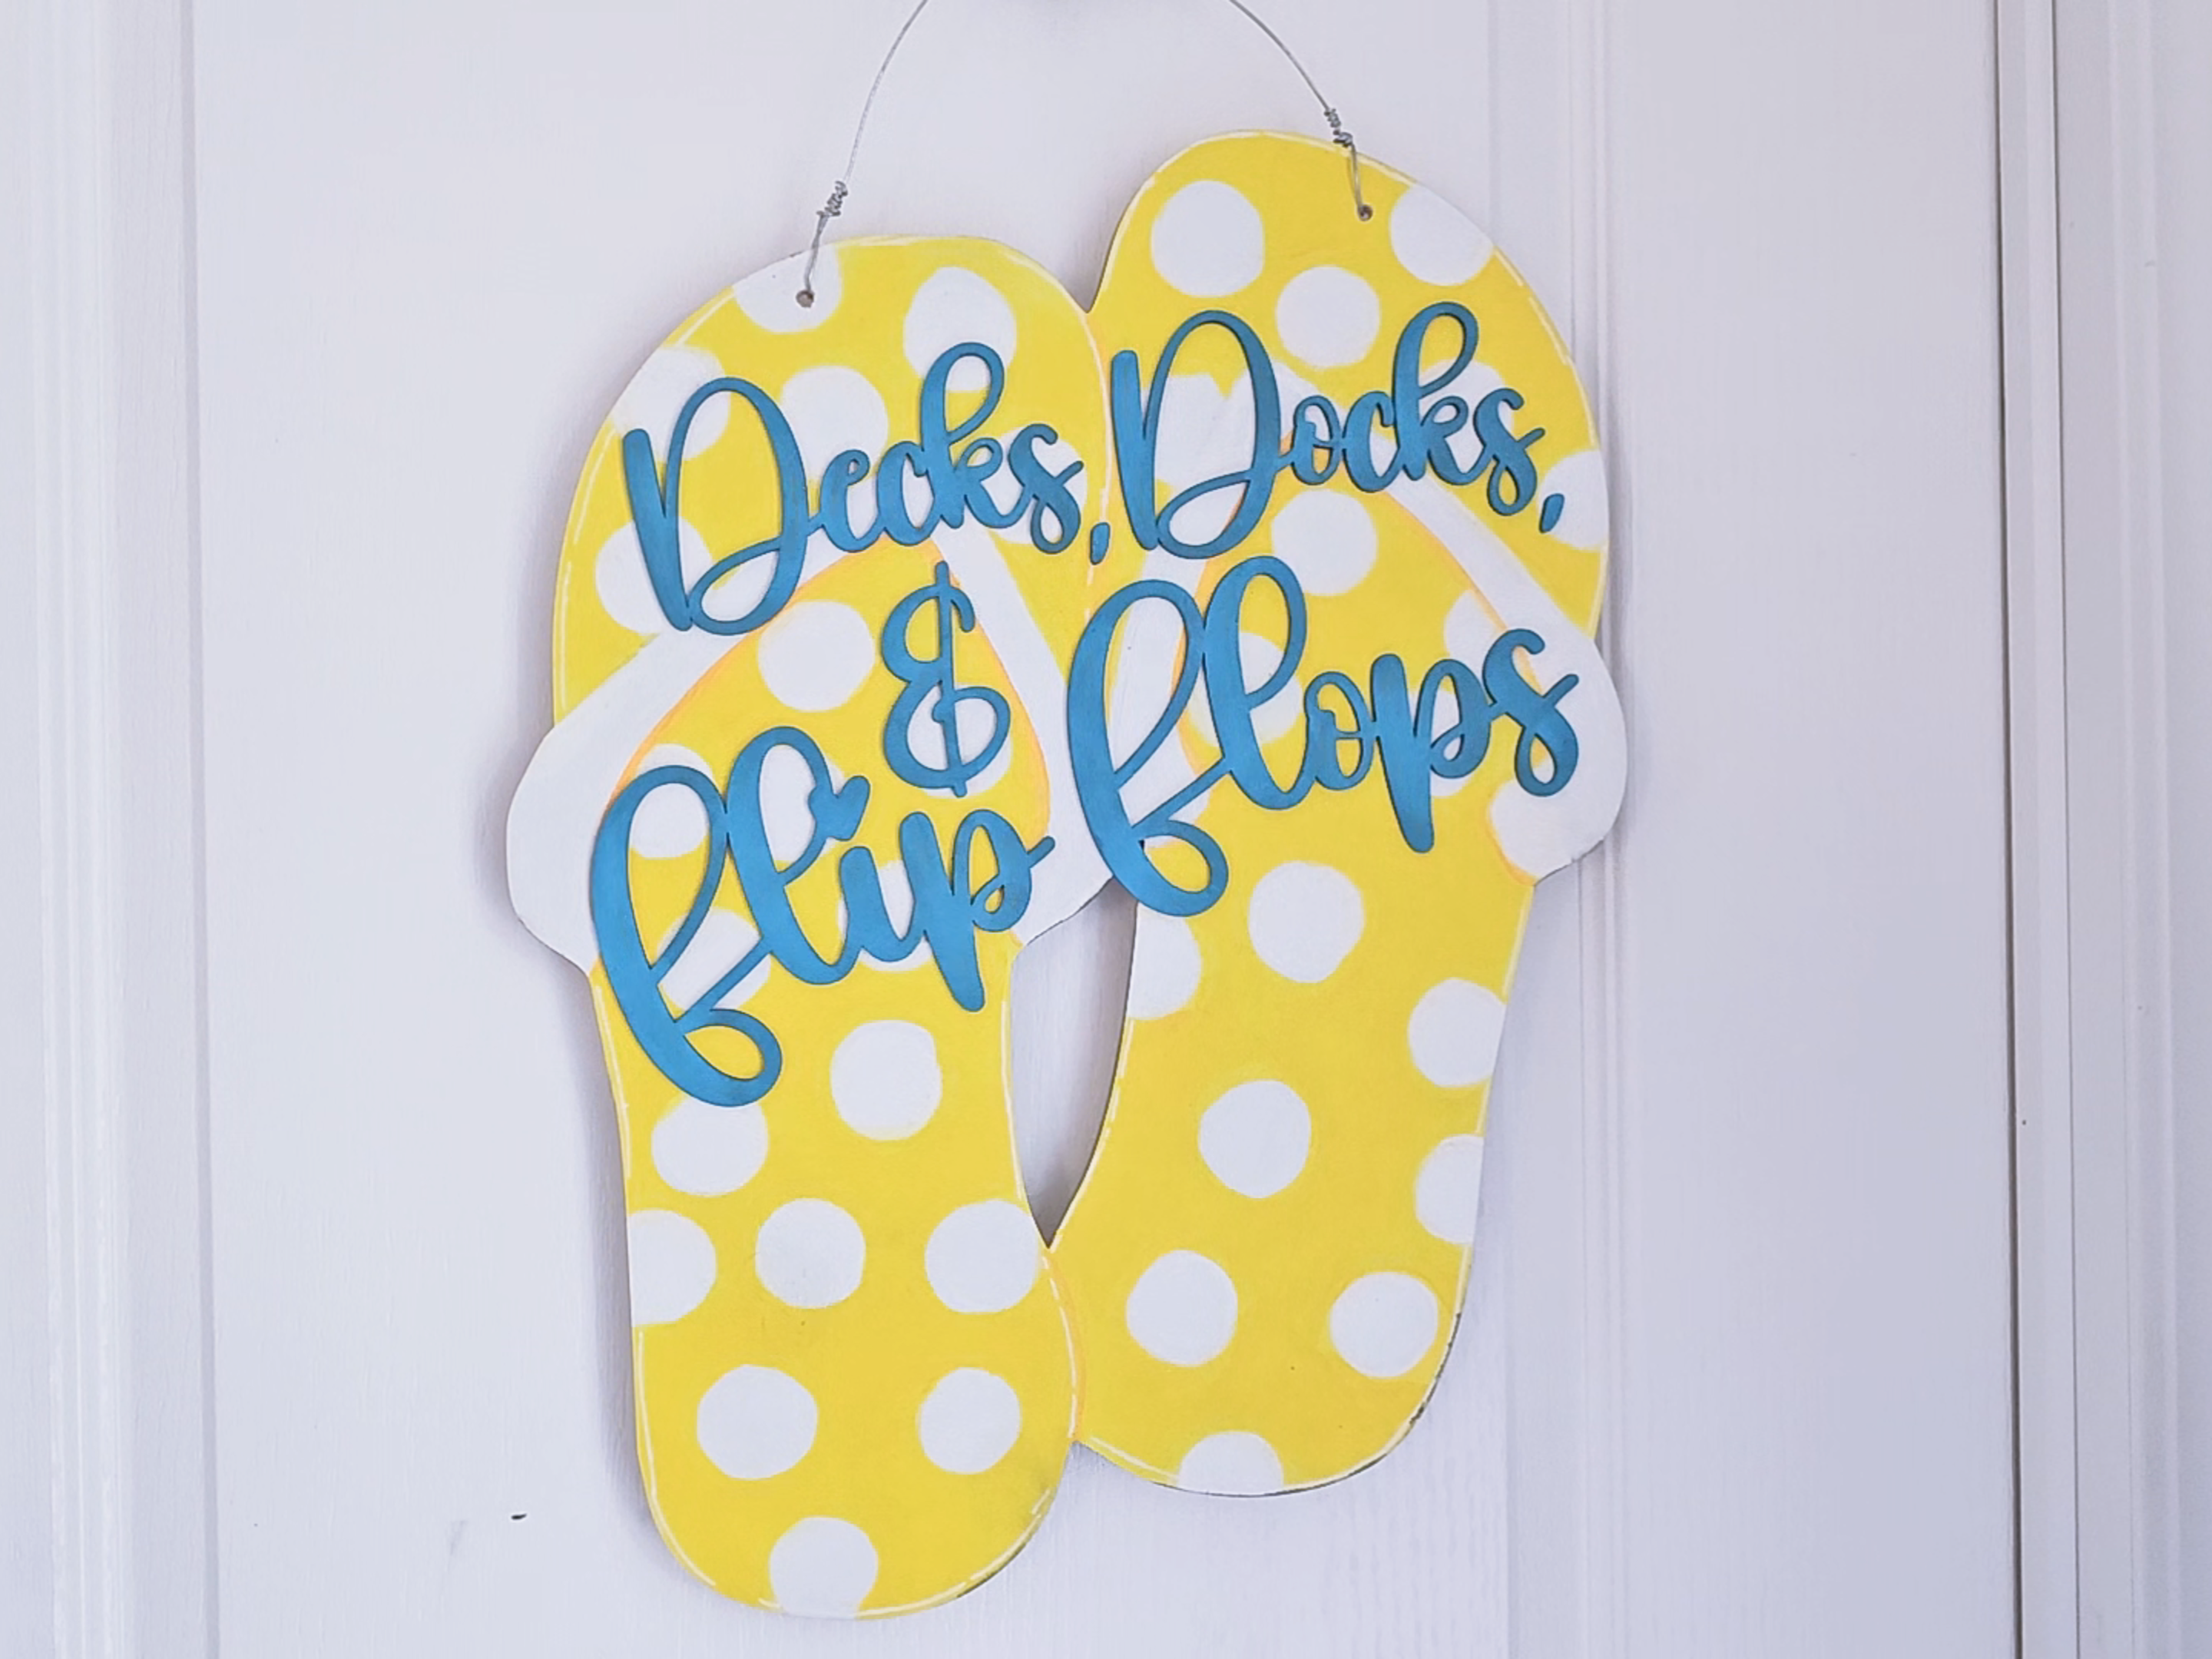
"Decks, Docks, & Flip Flops" Door Hanger
Summer is here with this 18" Decks, Docks, and Flip Flops Door Hanger. Customize it with the colors that make you feel that summer joy. The background is completely customizable. Polka Dots are easy but you could also do stripes or any repeating pattern like little hibiscus flowers, palm trees, or flamingos. Use a rubber stamp or stencil for easy painting.

This kit includes all of the wood pieces you will need to create the project shown. View the photos and video to learn how to create this awesome DIY craft project.
MATERIALS
Kit Includes:
(1) 18" MDF Sandals
(1) "Decks, Docks, &" in 3" font Daily
(1) "Flip Flops" in 4" font Daily
You will also need:
- paint colors for the sandals (at least 2 colors recommended)
- paint color for the letters
- craft glue
- string or wire for the hanger
- varnish/sealer
- drill with 3/8" drill bit or similar size

LET'S GET STARTED
1. After you receive your kit, begin by painting the letters. I chose a dark turquoise. You probably need at least two coats. I like to use acrylic paint but you could also use spray paint to paint the letters.

2. Step 2 is optional. You can choose to add a primer layer of paint like I did here, or you can leave the wood as is.
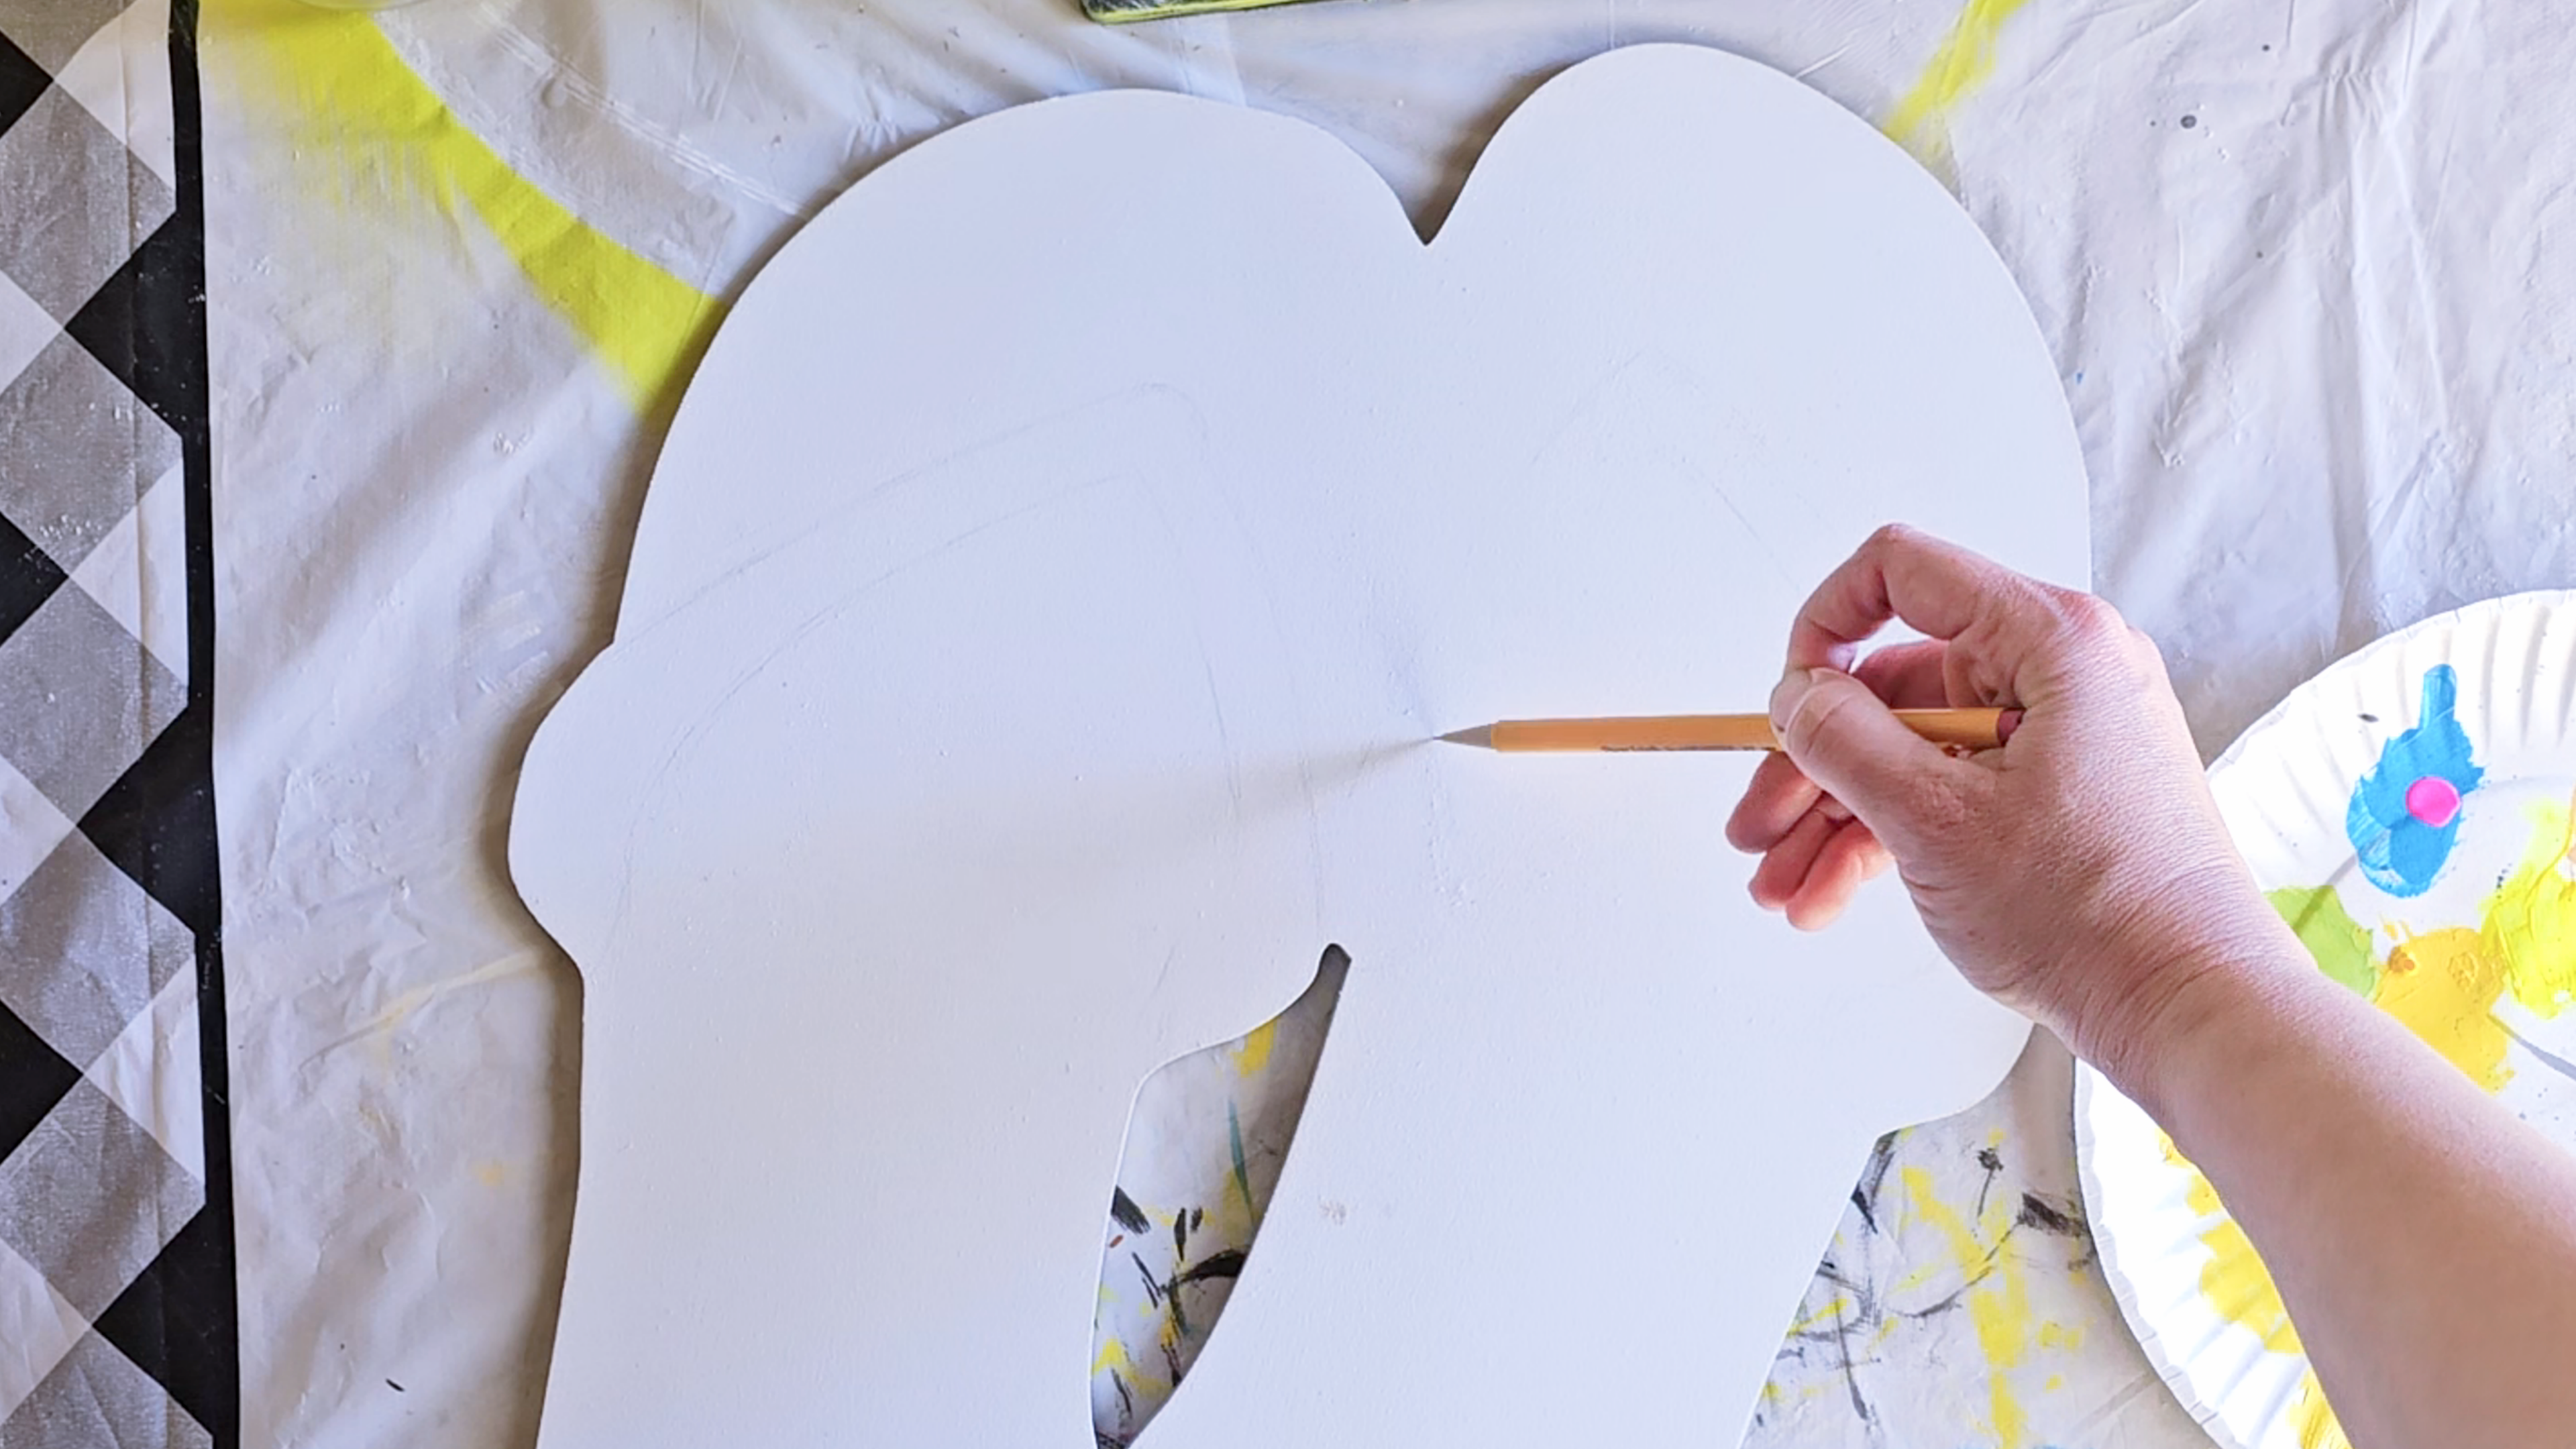
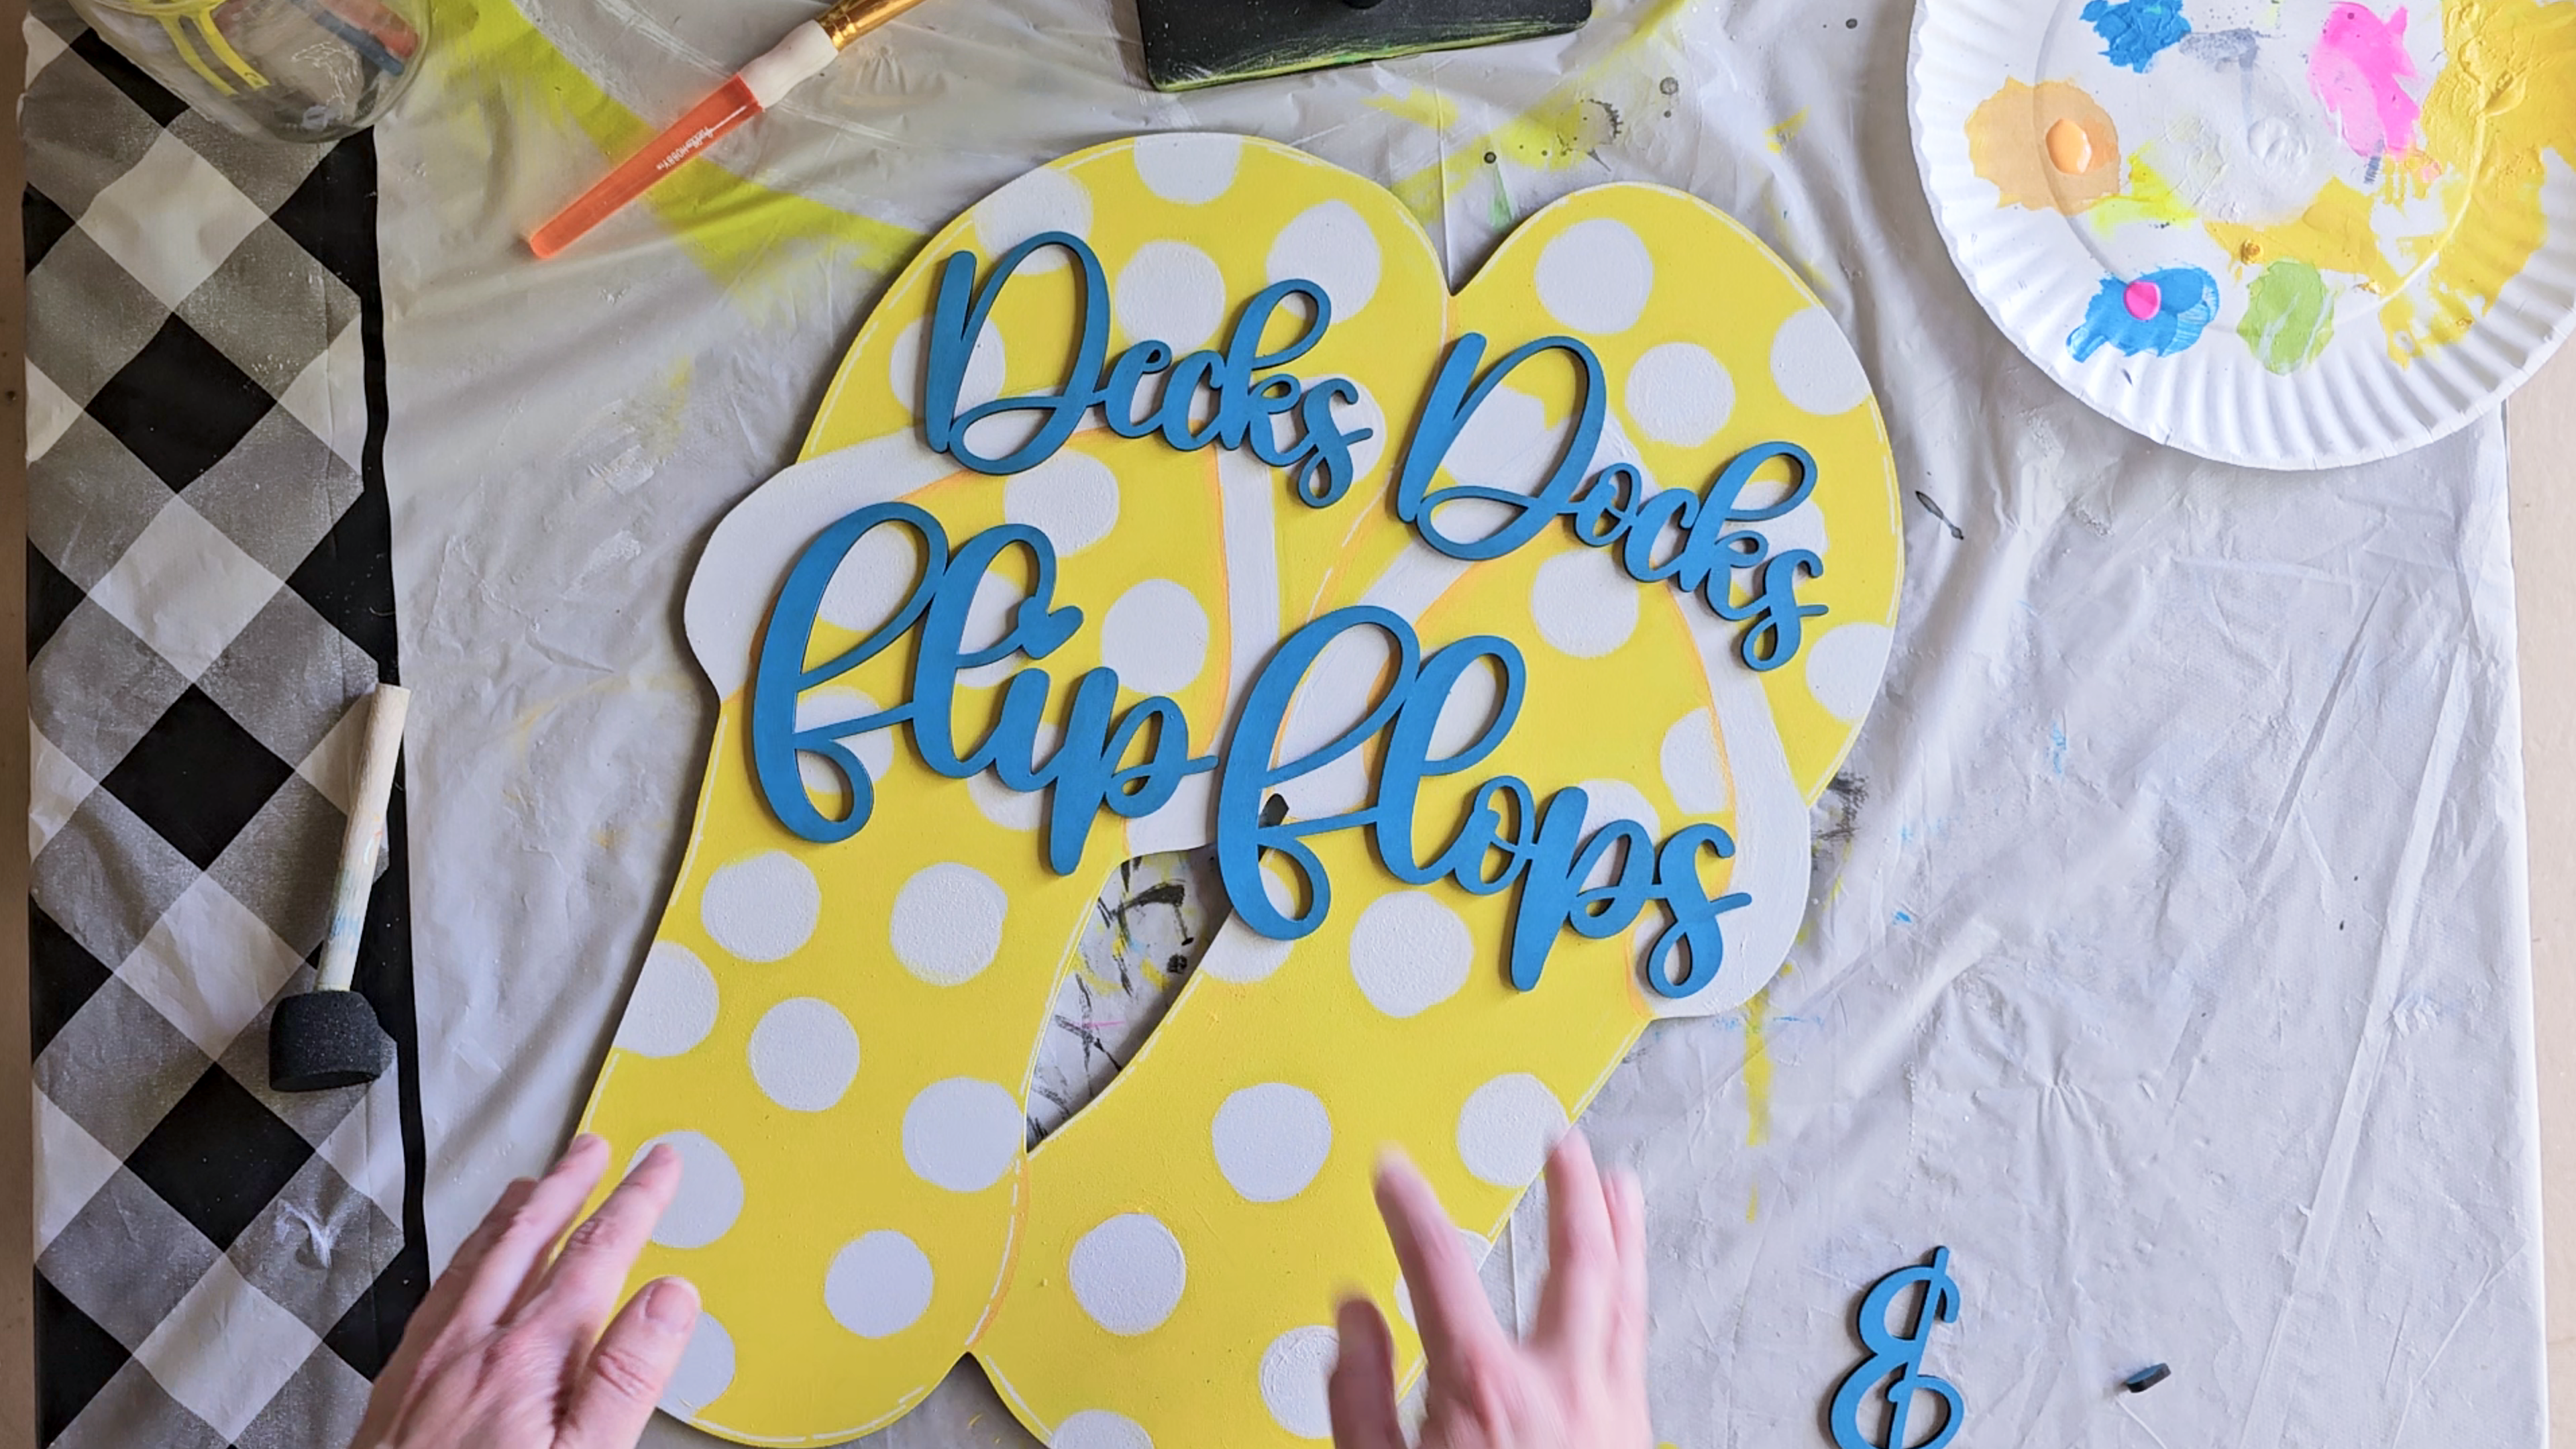
3. Next, I drew out the lines for the straps. I guesstimated where the centerpoint would be by looking at a pair of my own flip flops. The words will cover this up so it doesn't have to be perfect. Don't stress.
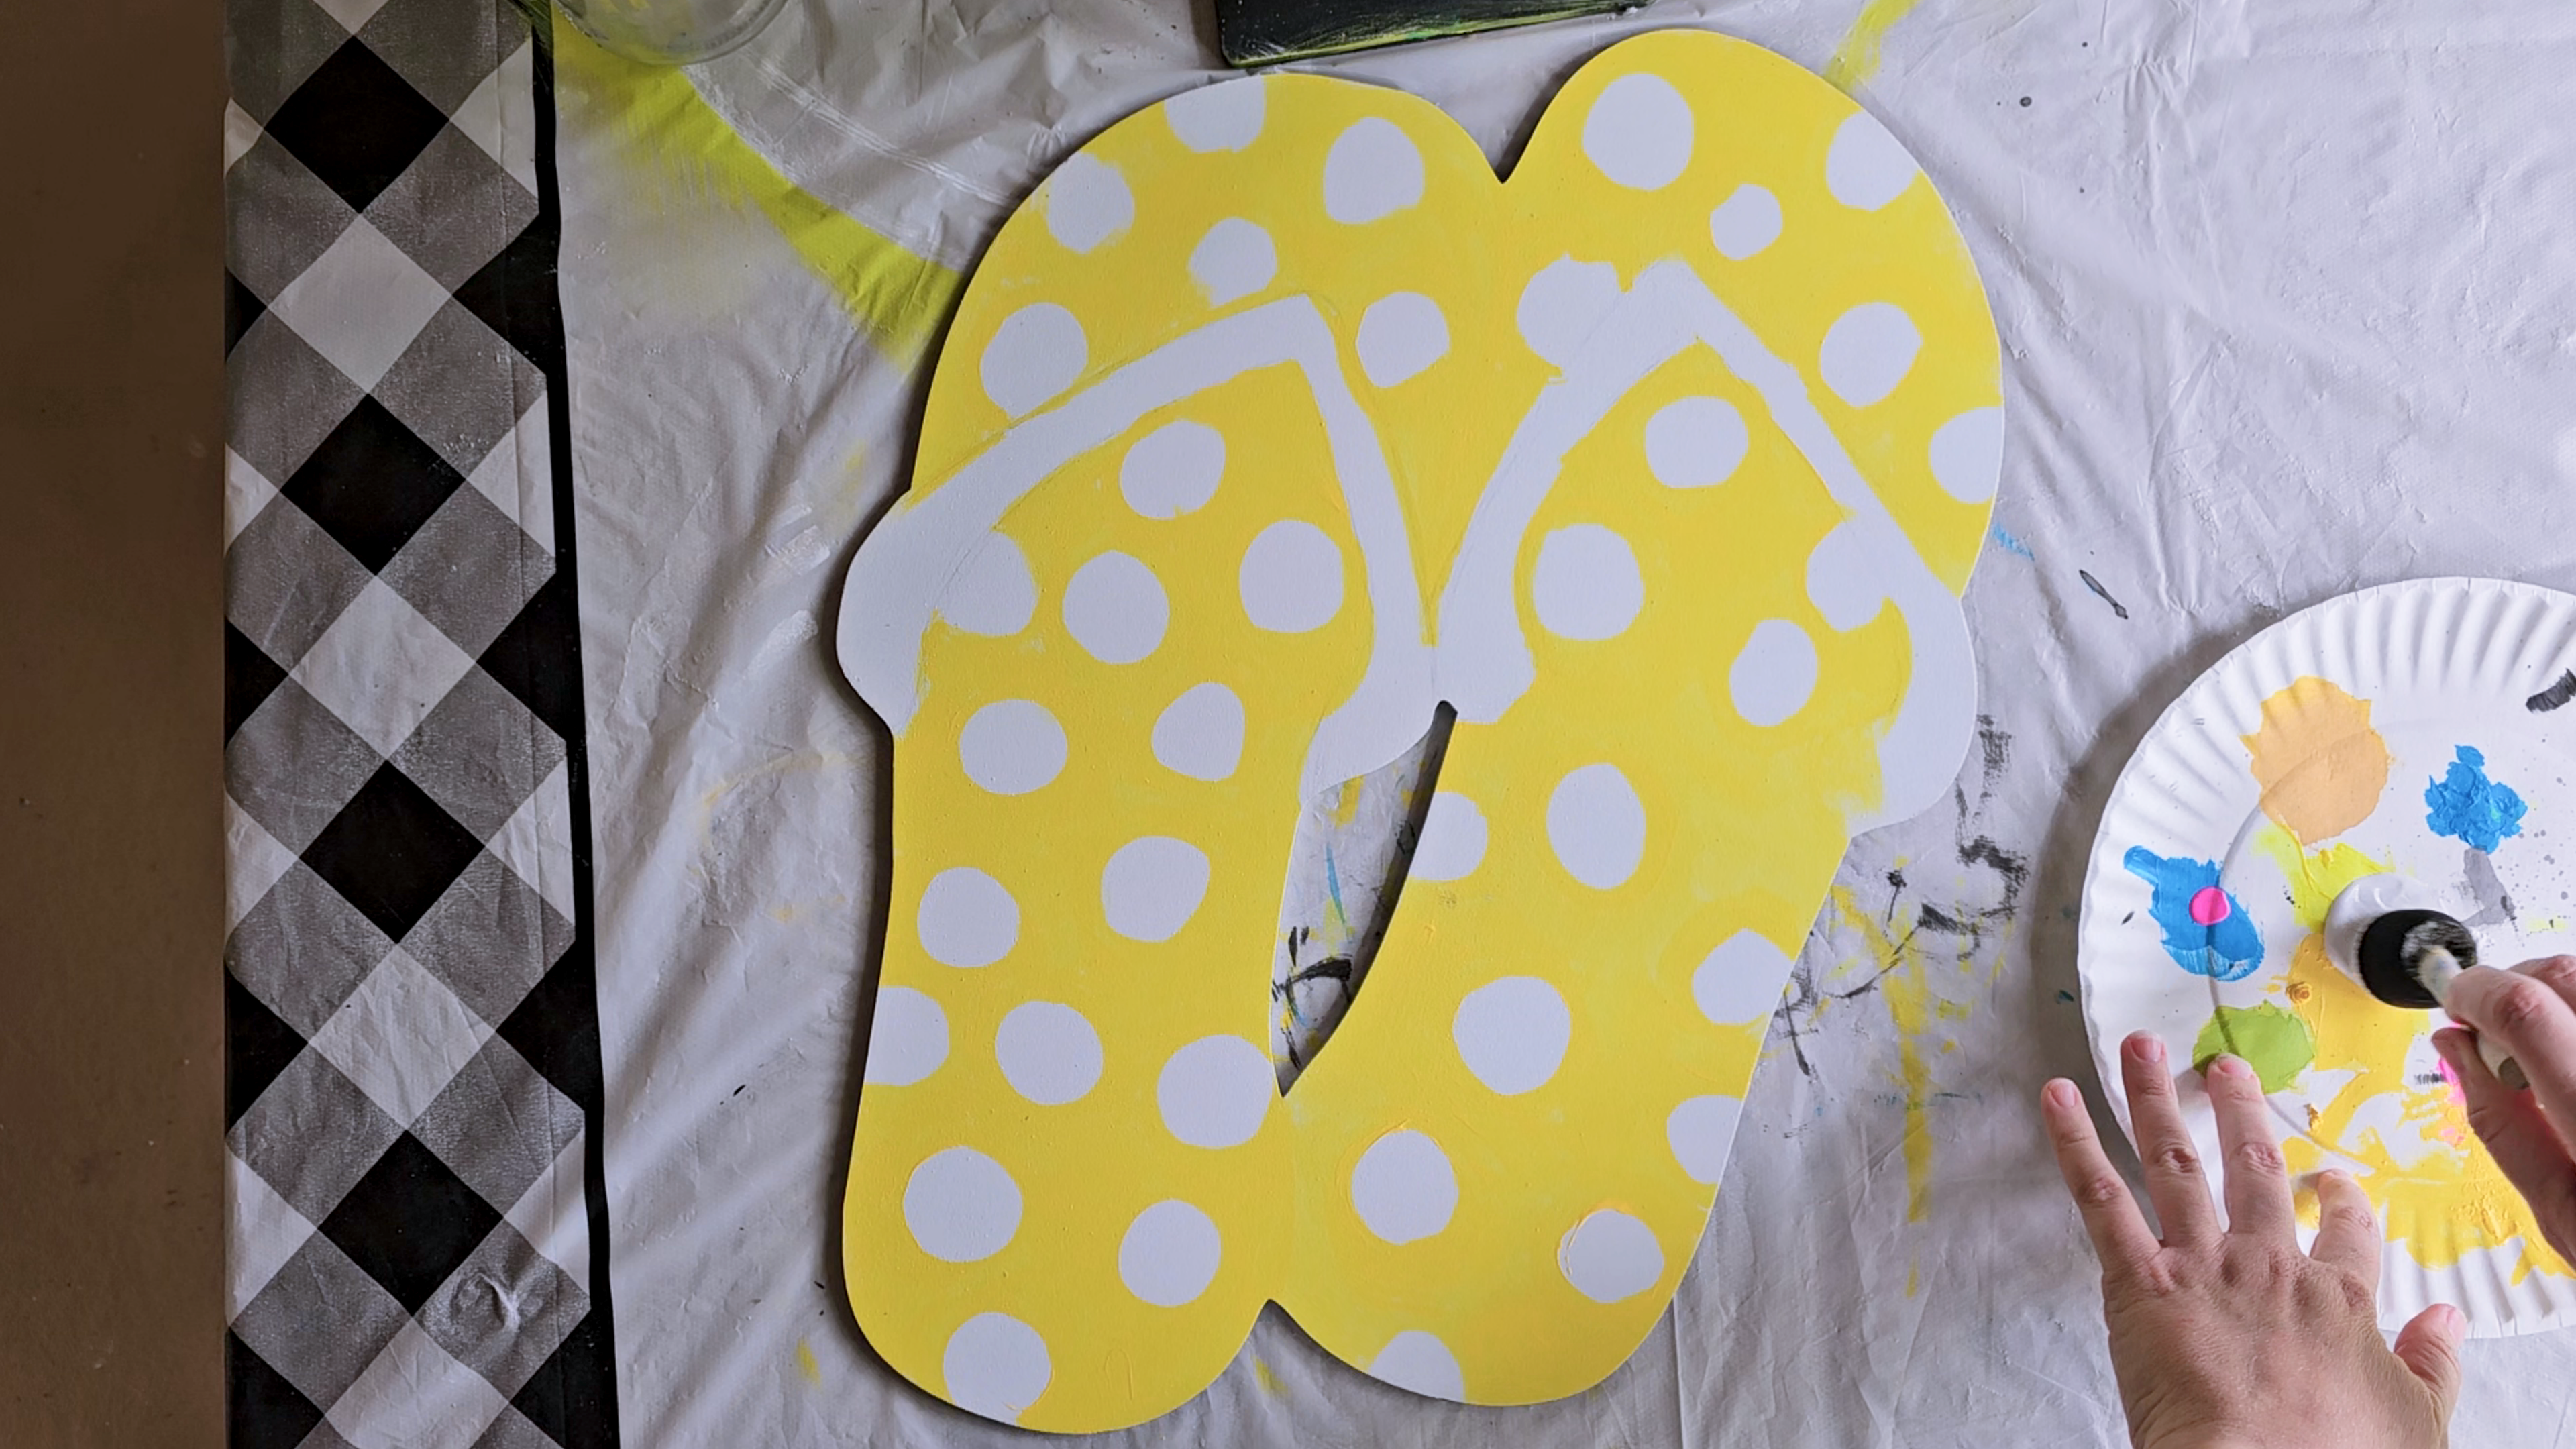
4. Next, paint the body of the sandals. You can choose any colors you want but remember that the letters will need to stand out on the colors you choose. It is best to choose colors of the same tone. I'm using lighter colors so that my dark words will stand out. If you choose dark colors for the body, lighter letters will stand out. If you choose light colors for the background, dark letters will stand out. If you mess up, don't worry, you can paint over it a different color.
To make polka dots, paint your background color first, let it dry, then use a round sponge dabber to paint the dots. You may need to do at least 2 coats for the background and 2 or more coats for the dots.
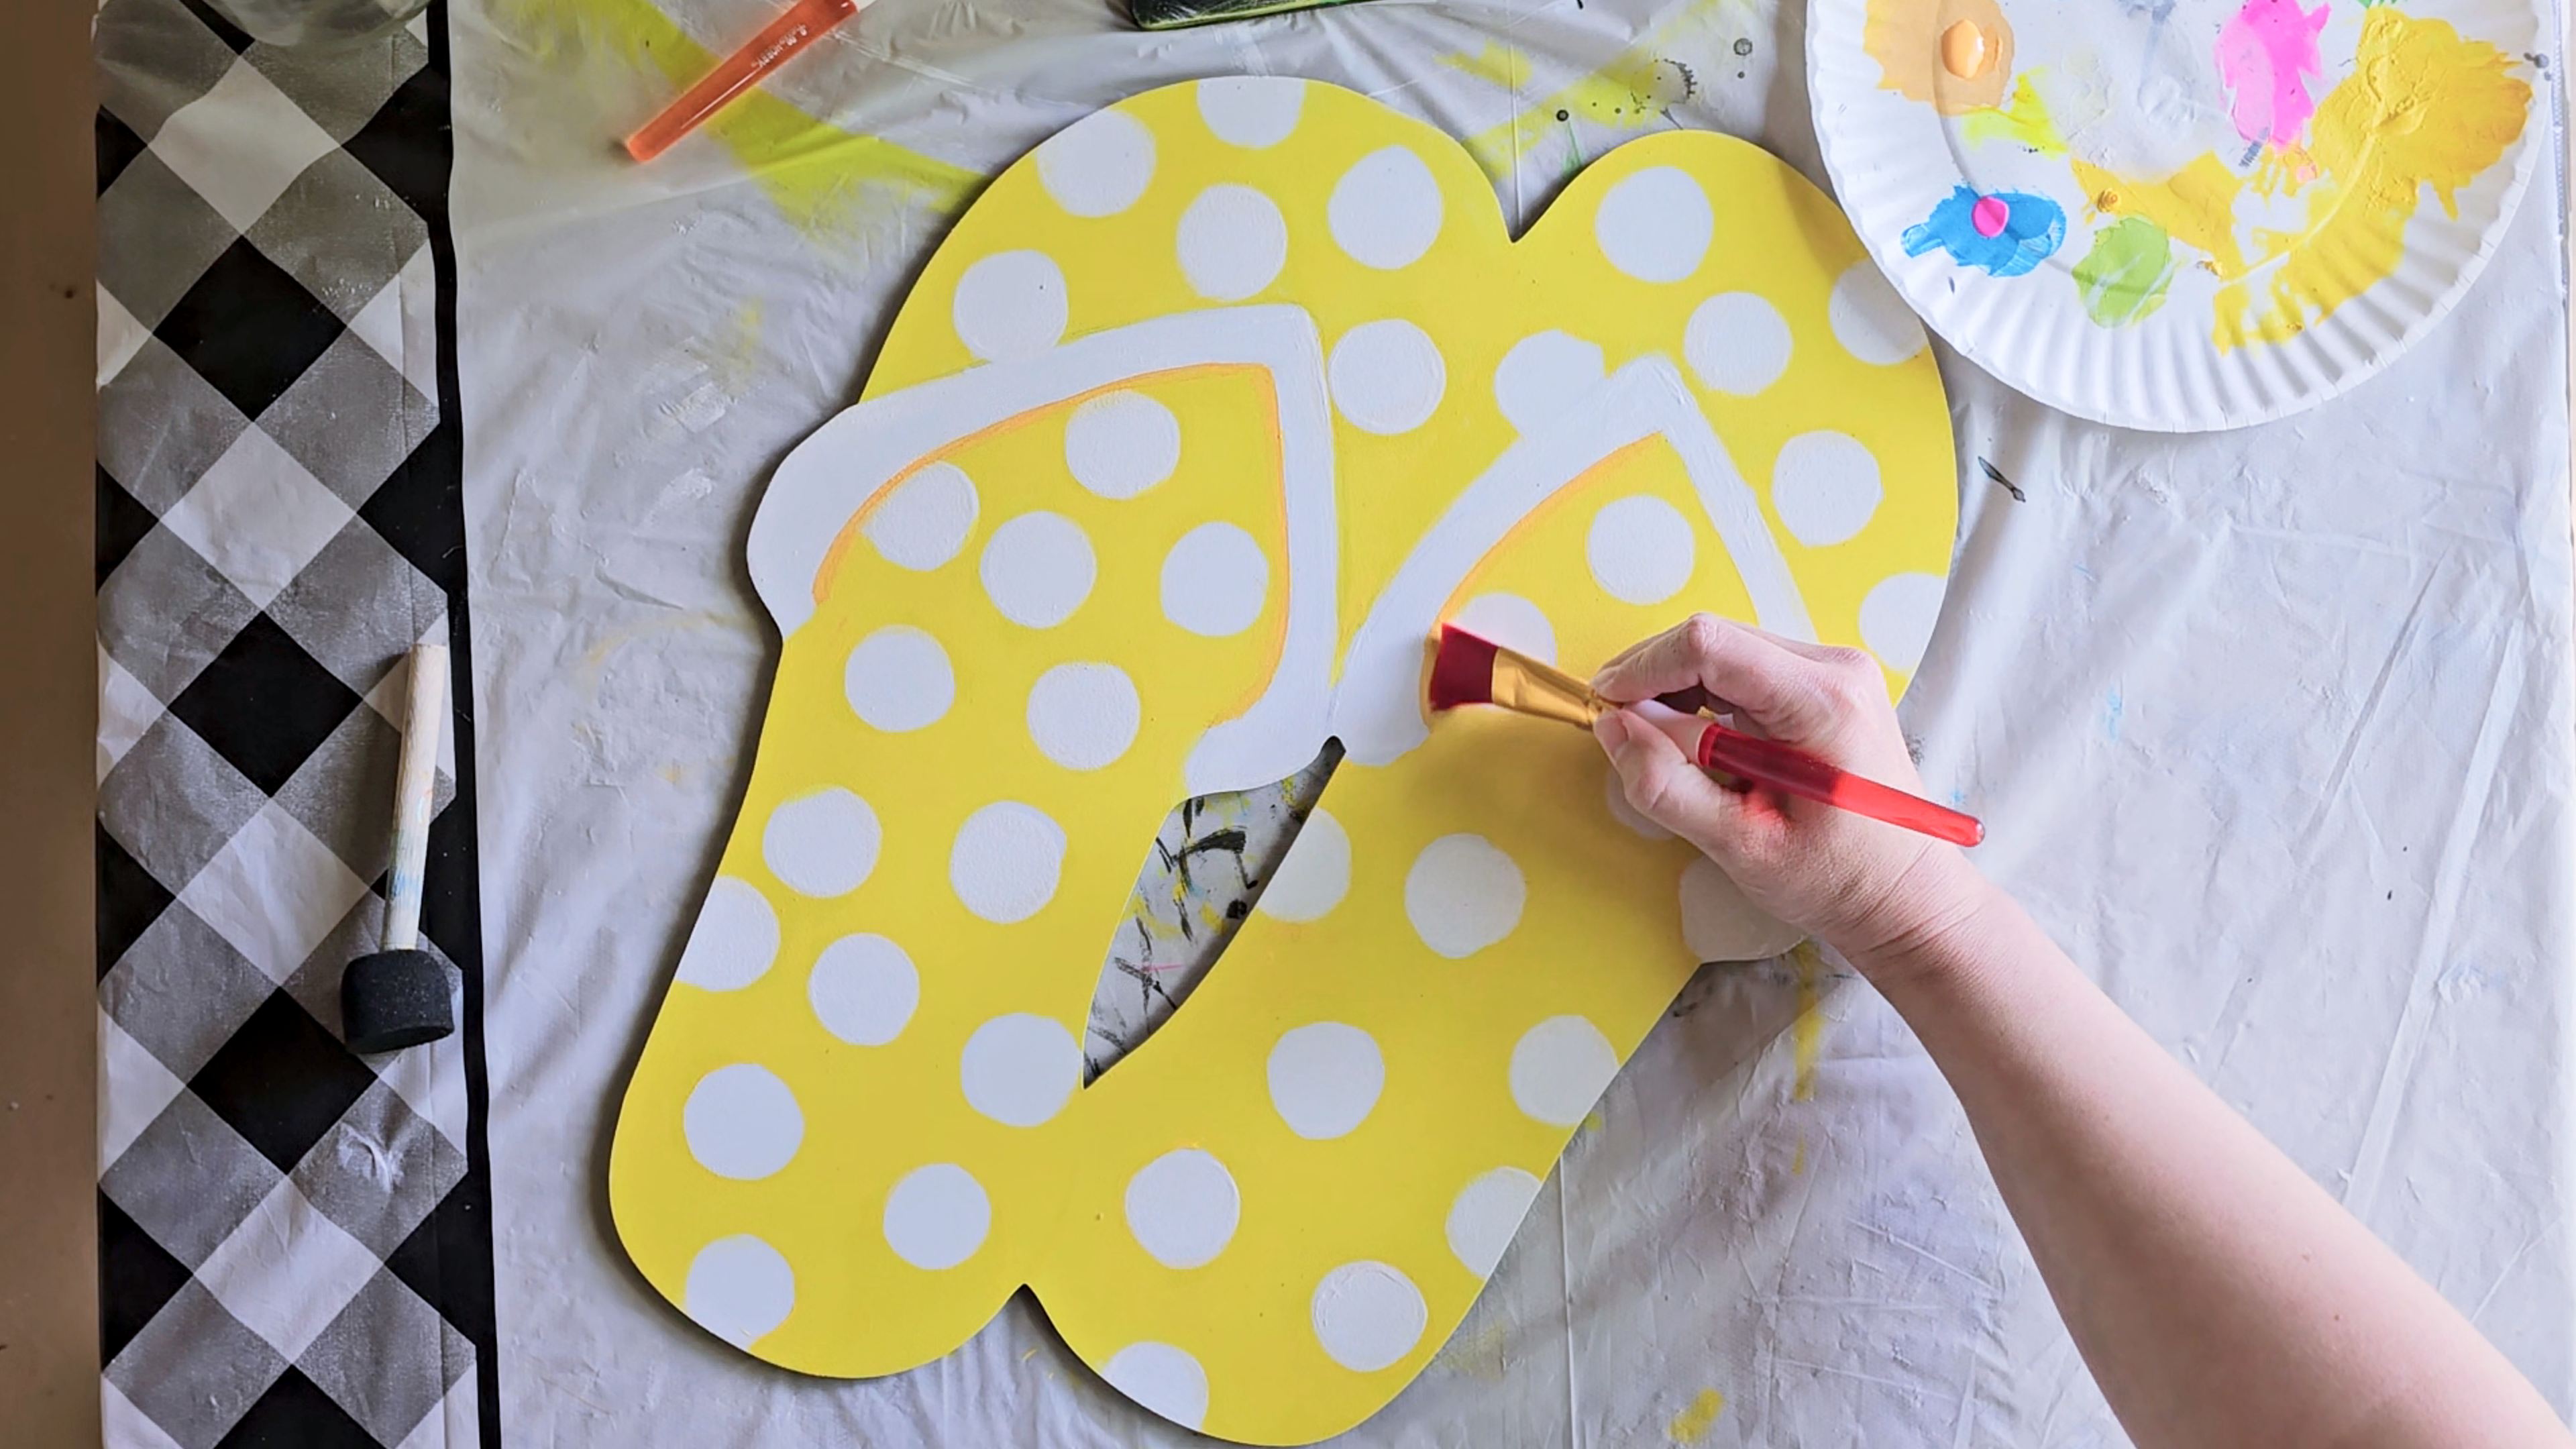
5. This step is also optional. I wanted to create a shadow under the straps to create a more 3D look. I choose to use orange because this was one tone darker than my yellow background. To achieve the look, I painted a thin line orange right under one side of the strap and then immediately went in with a large flat dry brush to blend and fade out the orange line. On the left, you can see where I waited a bit too late and the orange line didn't blend as well. Again, the straps will be covered by words so this doesn't have to be perfect.

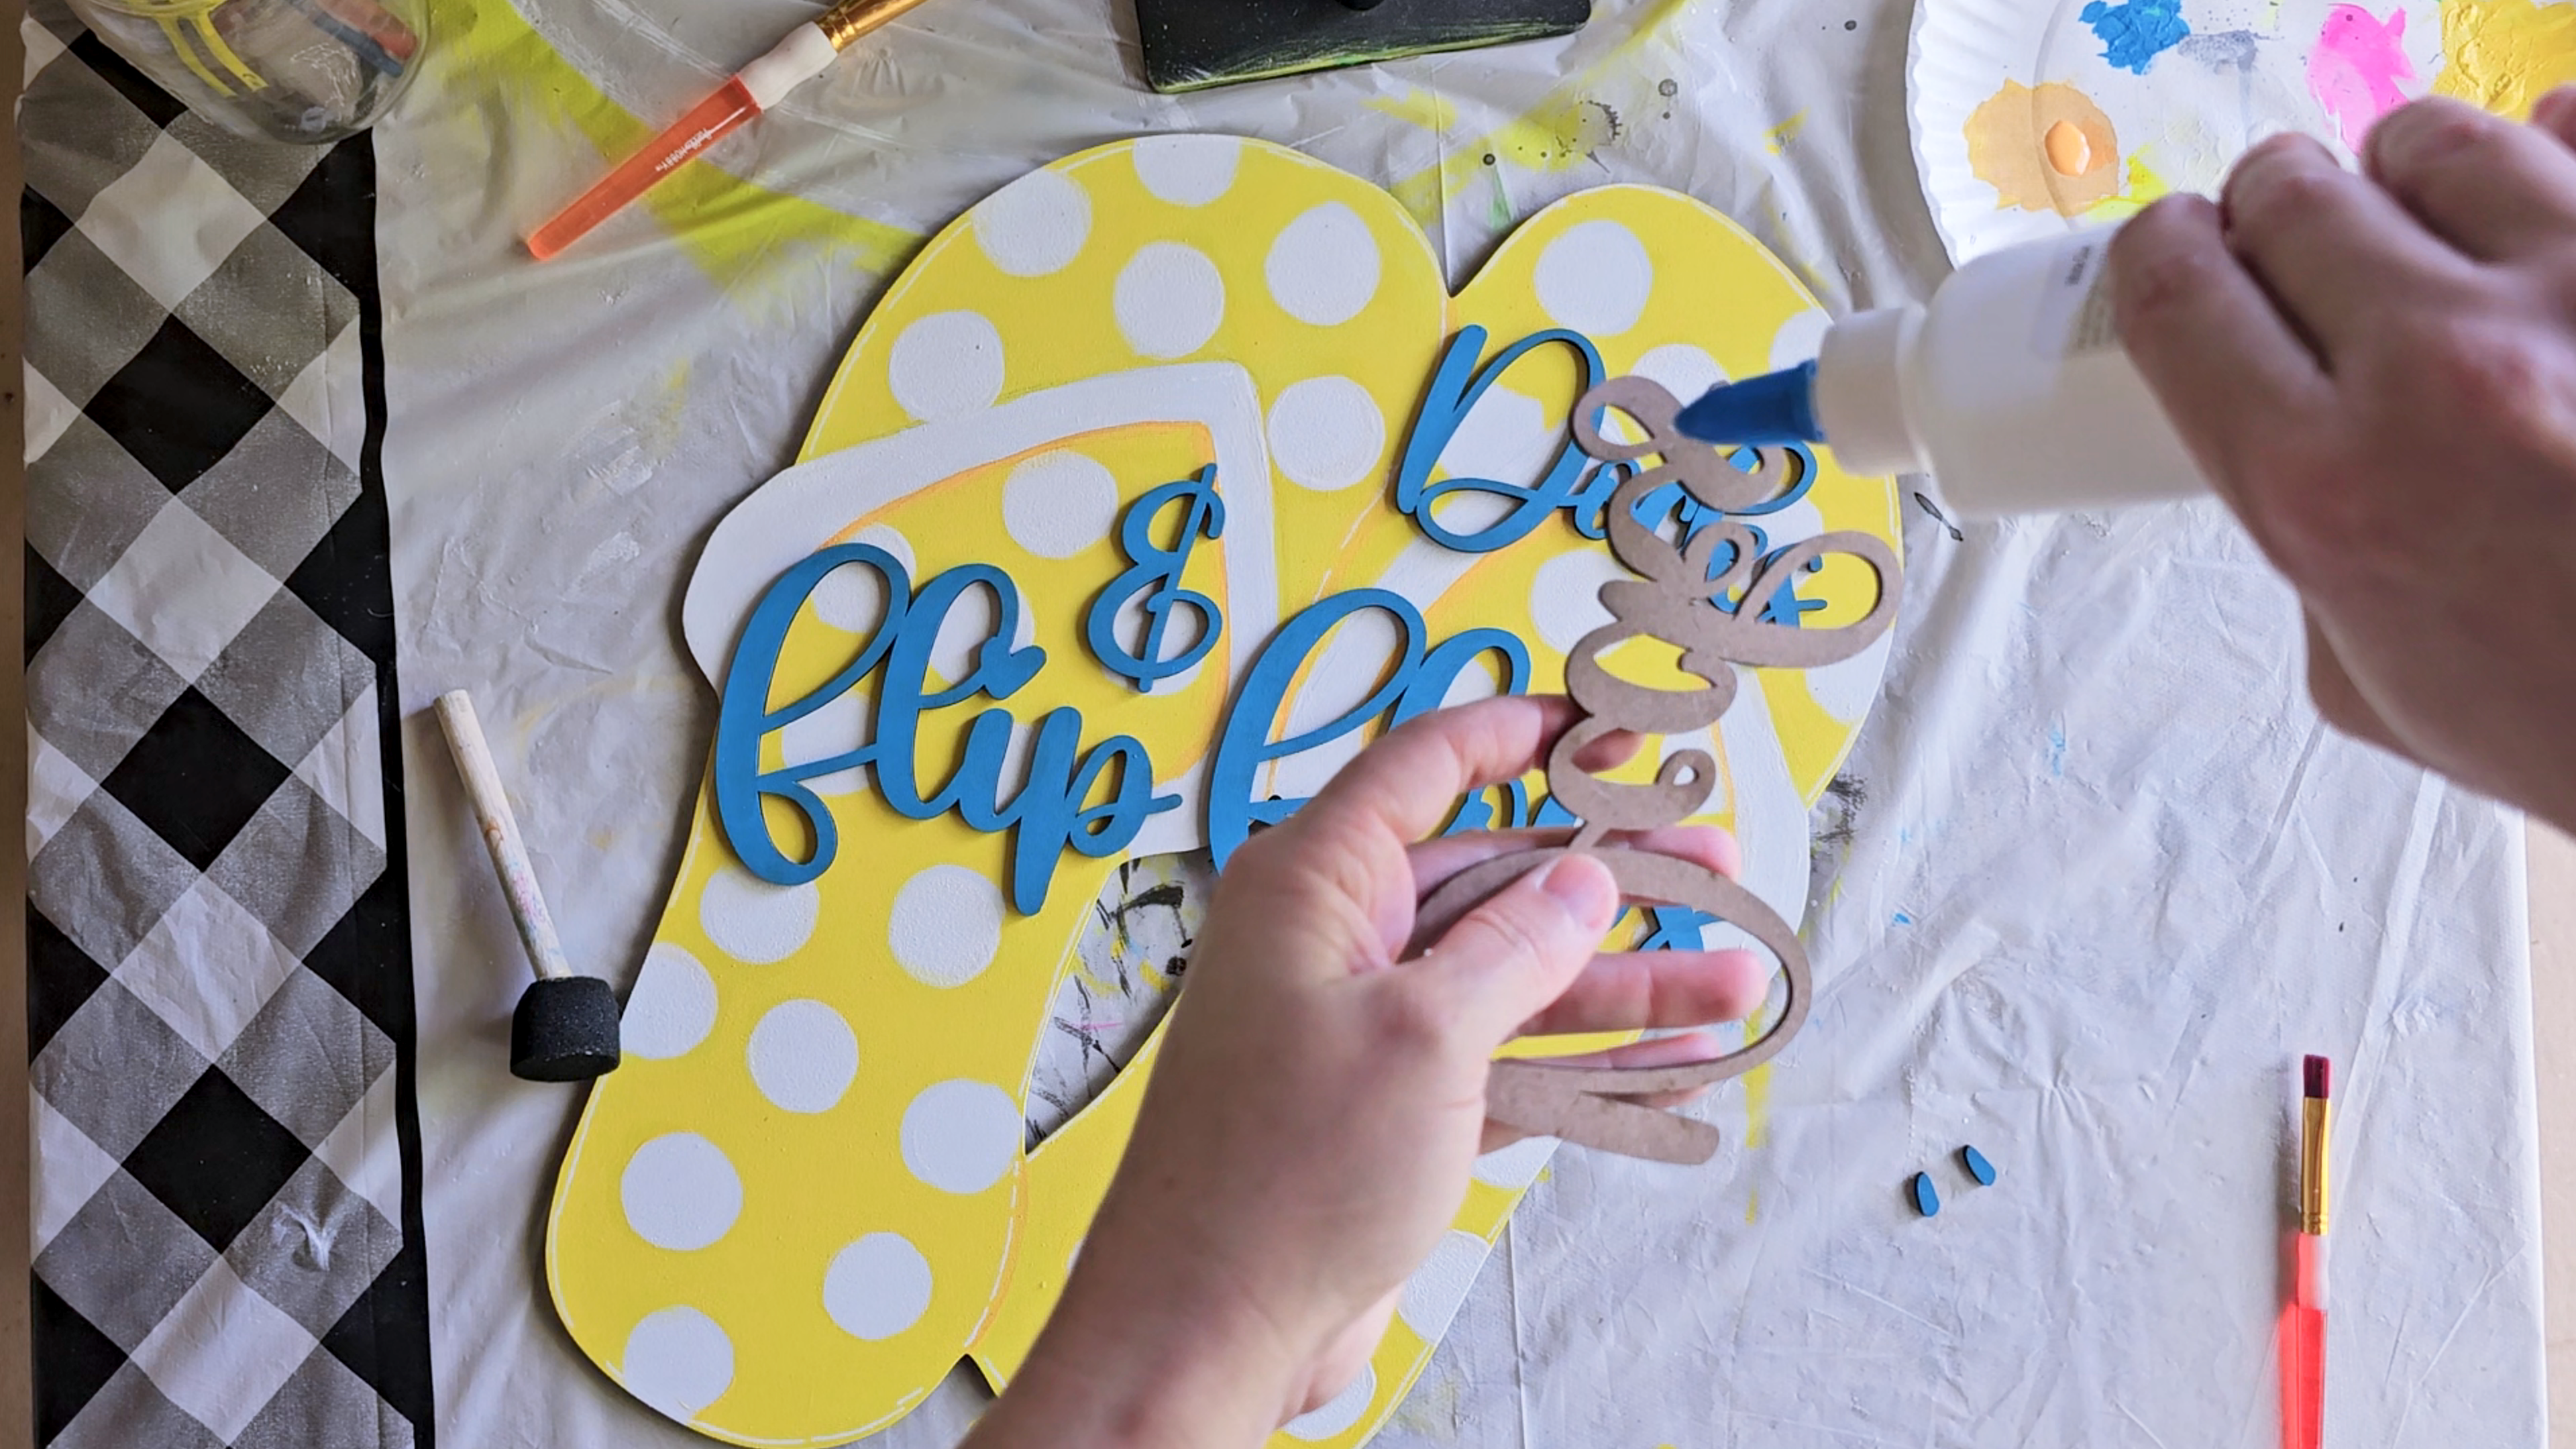
6. After the background is dry, arrange your letters. Glue the letters in place using a craft glue of your choice. Regular Elmer's school glue will work. Hot glue is not a good option due to potential issues with storage, summer heat, strings, bumps, and likely injury during placement. If using craft glue, you can use a small paintbrush and water to wash away any excess glue before it dries.
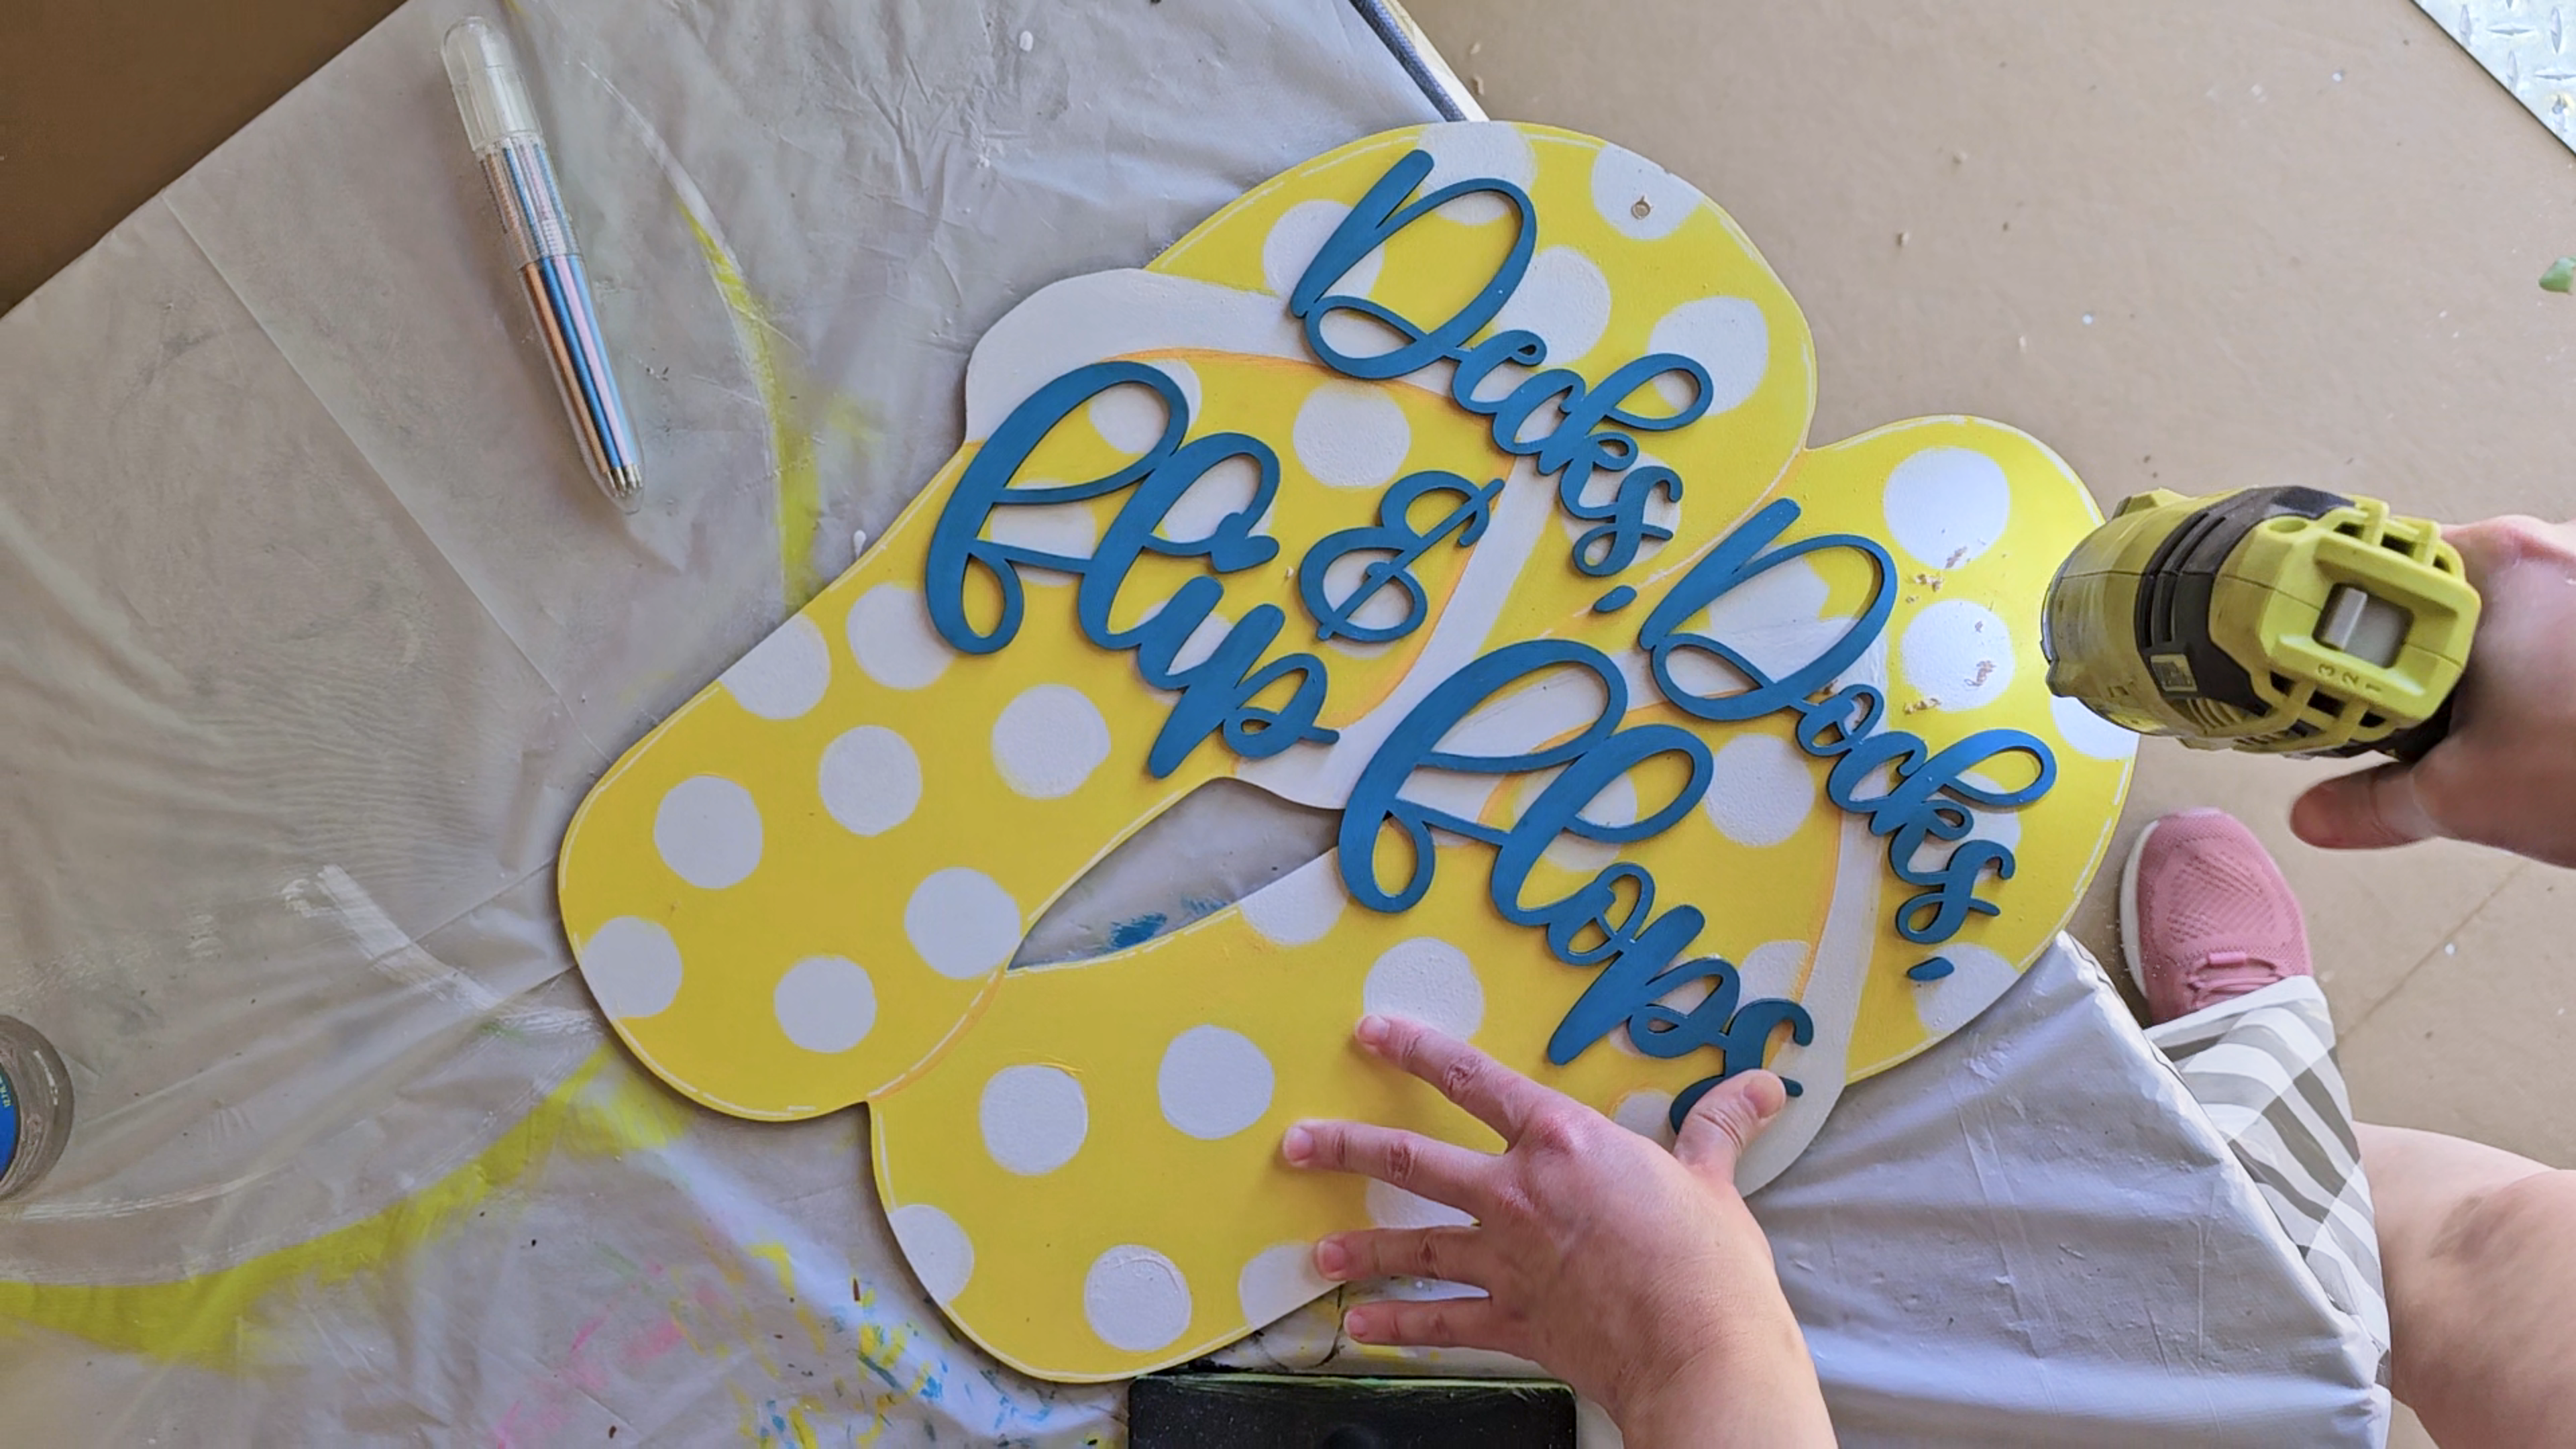
7. Using a large drill bit, drill holes on either side at the top, slightly offcenter. Make sure the holes are at least one inch from the edge of the shape. In order to get the shape to hang evenly, drill the holes right before the shape starts to curve at the right and left corners.
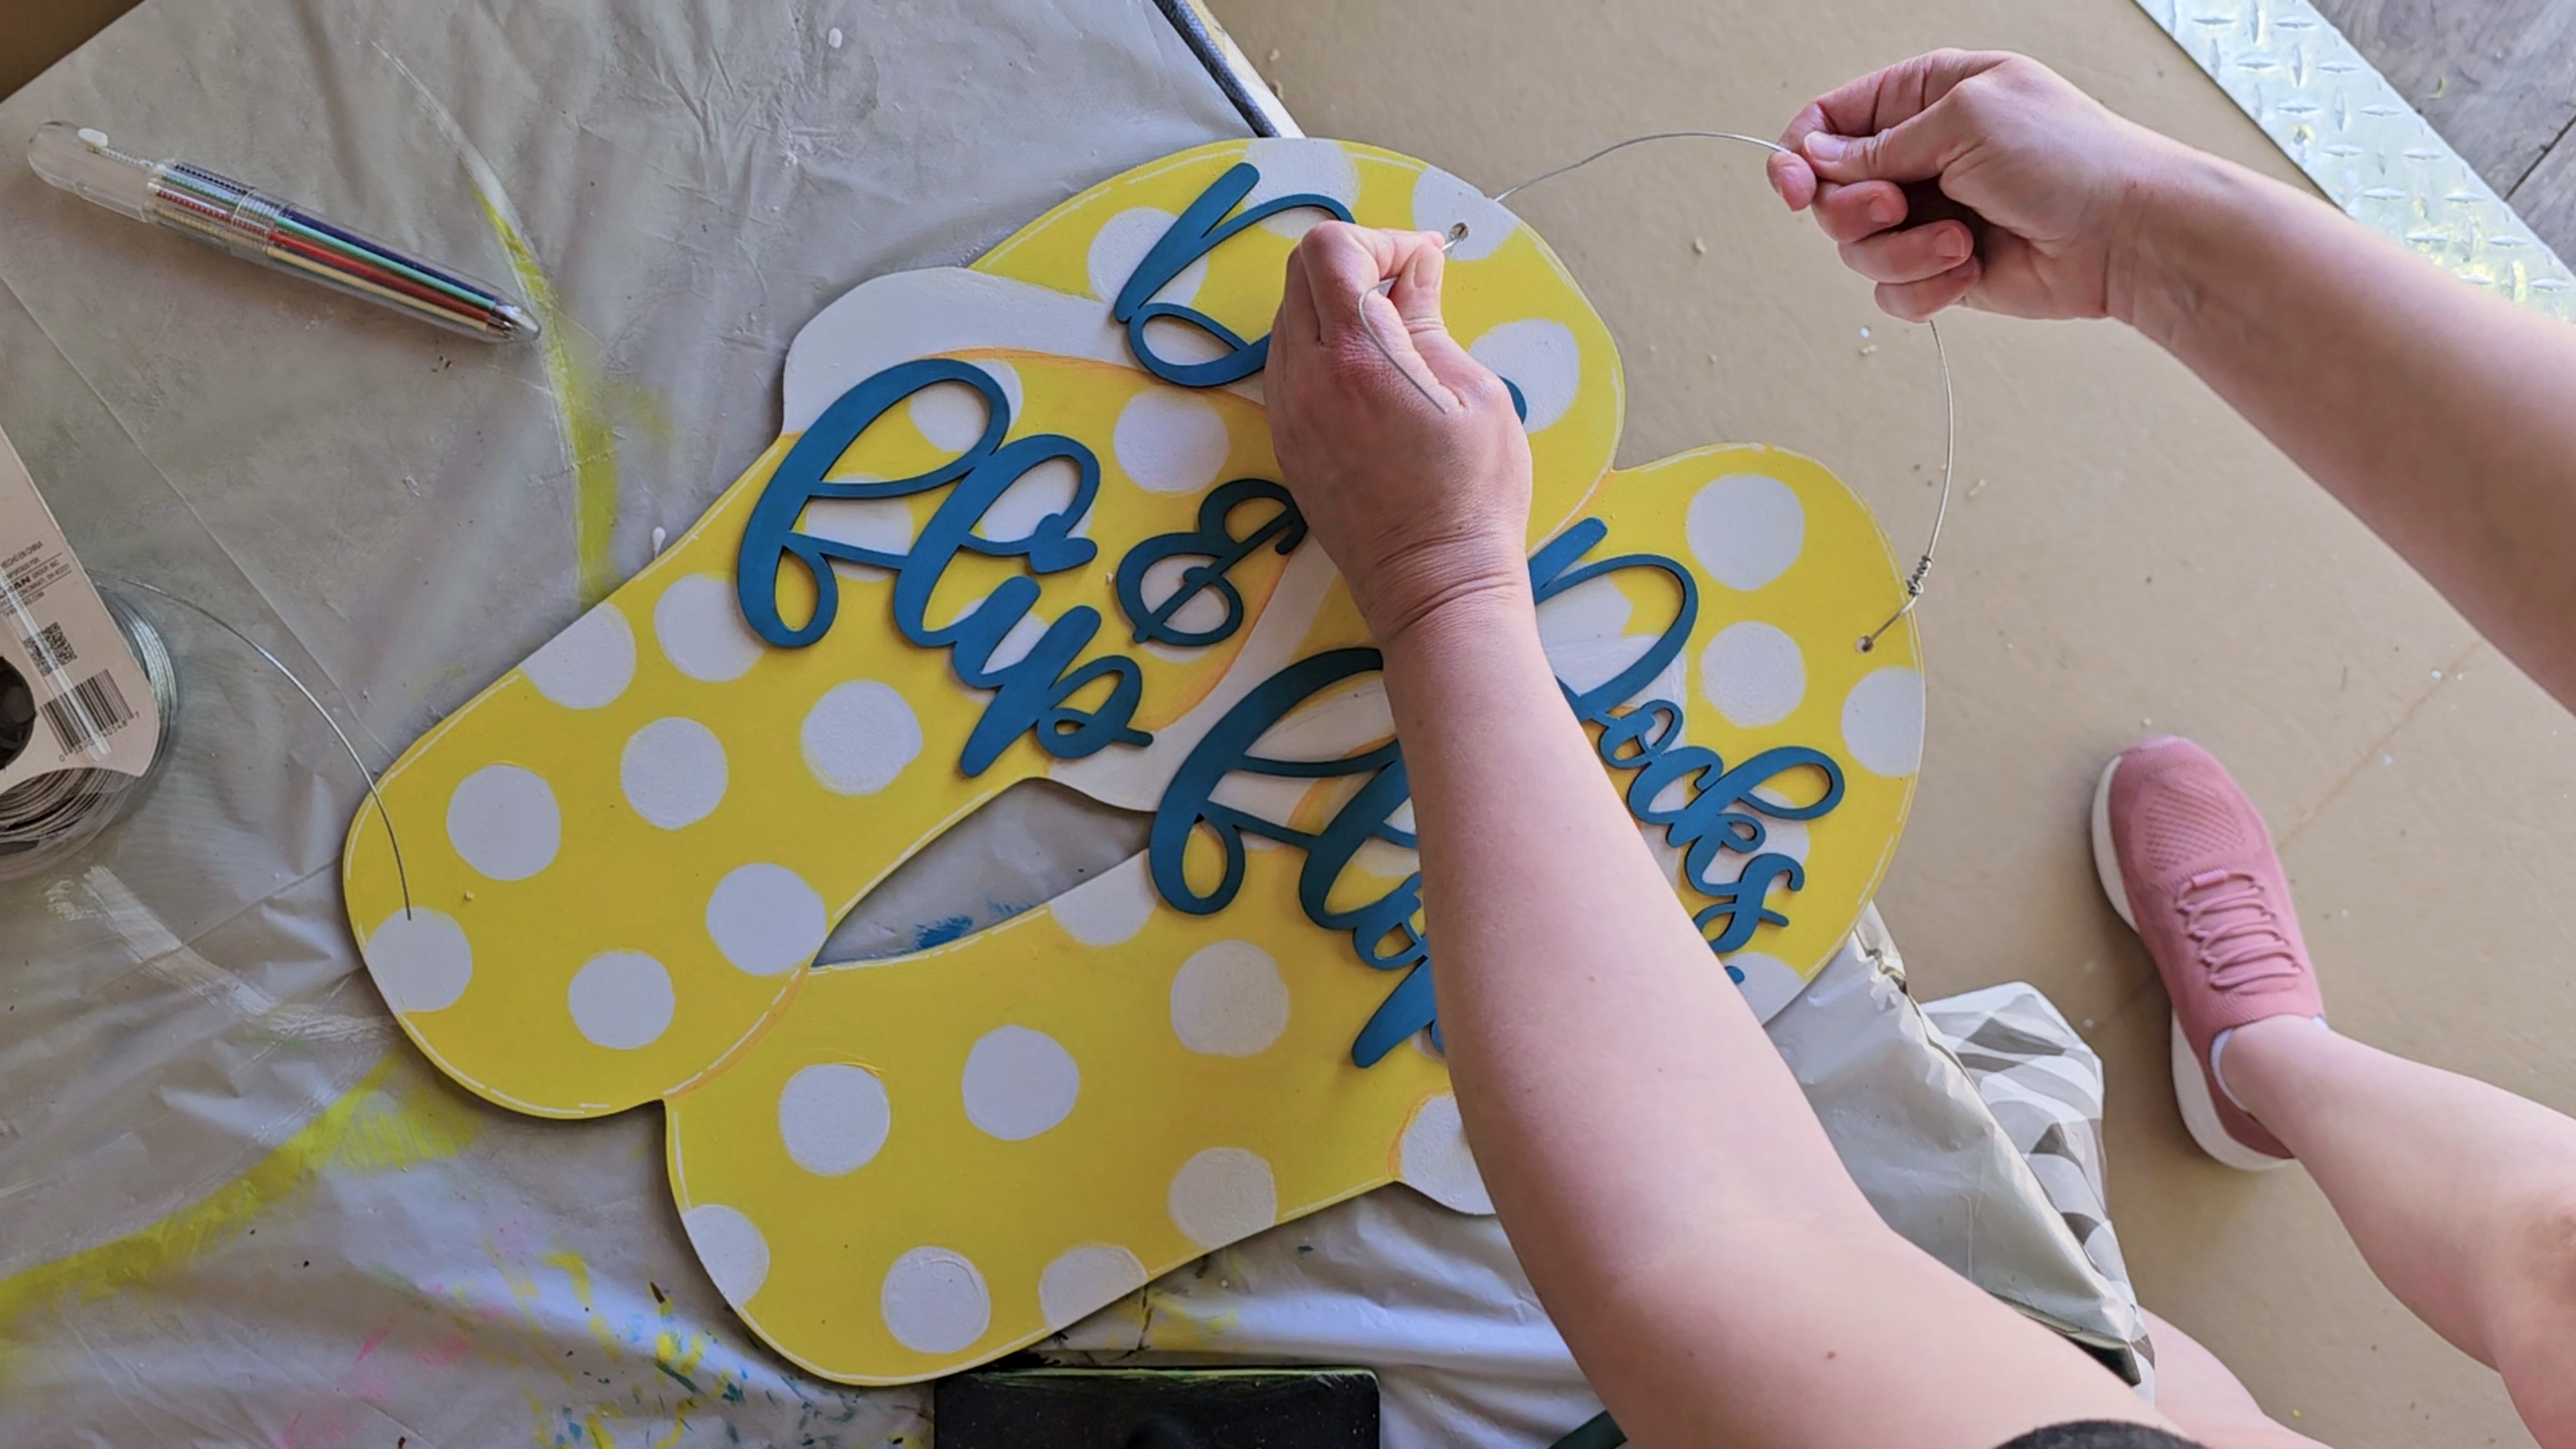
8. If using wire, create an arch "handle" the size you desire.
Using pliers, wrap the ends of the wire around several times before trimming them. Use the same method if using string. Ribbon can also be used.
9. I almost forgot! You can do this step earlier but we need to add some shine! This step is also optional.To make the shape look three dimensional, add some thin white lines to the corners and around the edges. I started by painting the lines along the corners with my flat brush. Then I added a few lines along the top and bottom.

That's it! You are done!
We hope you enjoy this fun and easy summer treat themed craft project from Awesome Life Craft and that you personalize it with the colors that look best with your deck and porch decor. This project is great for the months right after Easter and into summer when holidays are few and far between. This is the time when we can't wait to start enjoying the pool and warmer weather.

Recent Posts
-

"Decks, Docks, & Flip Flops" Door Hanger
Summer is here with this 18" Decks, Docks, and Flip Flops Door Hanger. Customize it with the color …Jun 28th 2024 -

Hello Summer Popsicle Door Hanger
Summer is here with this 18" Hello Summer Popsicle Door Hanger. Customize it with the colors that …Jun 27th 2024 -

"Eat Sleep Softball Repeat" Door Hanger Wreath Decoration
This "Eat, Sleep, Baseball, Repeat" door hanger kit is for hardcore baseball or tee-ball players, …May 7th 2024